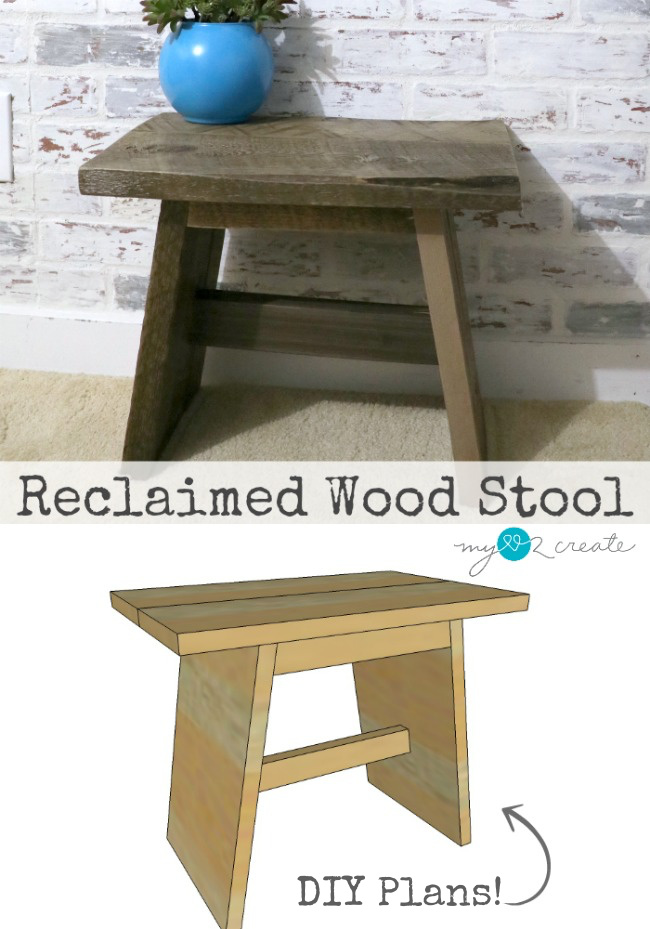
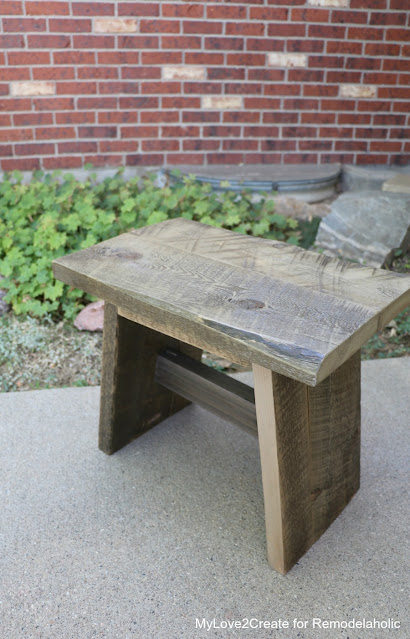
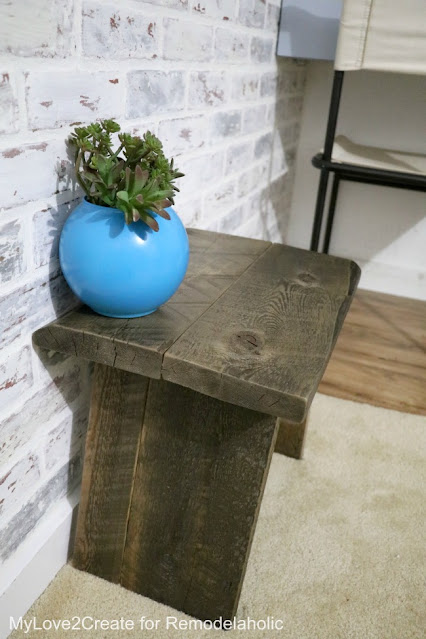
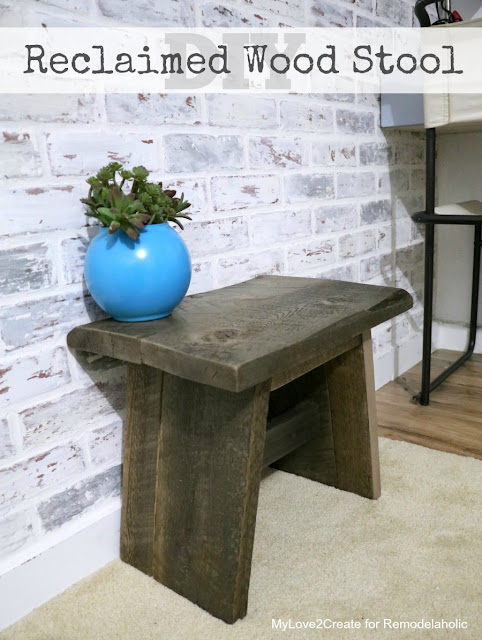
I am sharing my Reclaimed Wood Stool Plans with you today! I kind of love this stool, and don’t worry, if you don’t have reclaimed wood you can build it with new wood!
But first one more beauty shot…
Ahhhh. Rustic goodness.
Ok now let’s get too it!
How to make a Reclaimed Wood Stool: (* indicates an affiliate link,
read more)
Supply list:
1- 1×10 board or scraps
1- 1×6 board or scraps
1 1×2 board or scraps
Wood glue
Drill
Clamps
Sander
Finishing supplies as desired
Please note I am giving the dimensions for 3/4” thick wood in the supply and cut list. The wood I actually used is 1” thick reclaimed wood, and it can be more difficult to find, but the cut list can be used for either thickness, or you can use a thicker wood too, modify to fit your needs/wants, the true beauty of DIY. 🙂
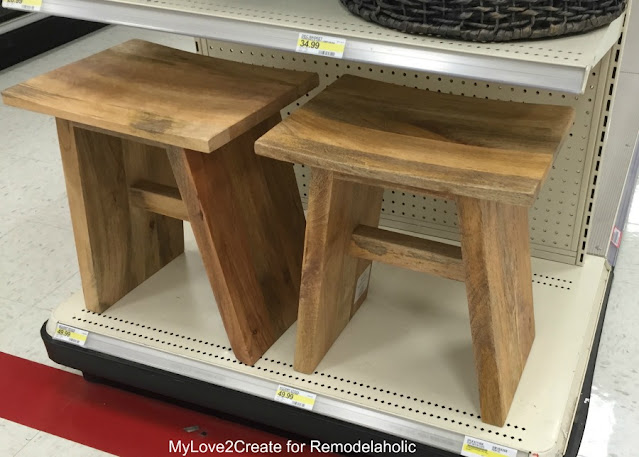
The idea for this stool came from these cute stools I spied in Target one day. I snapped a quick photo, because that is what I do when I want to build something. It is a good thing I did, because I have not been able to find this stool online, anywhere…so I don’t even know if they sell them anymore.
Never you fear! You can make your own, you can use actual reclaimed wood or new wood, either will work!
Step 1: Cut wood, drill pocket holes and attach boards together.
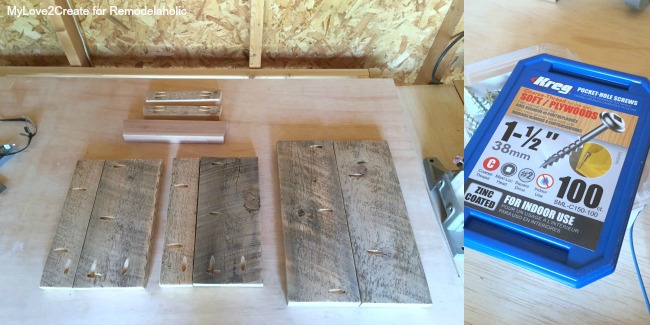
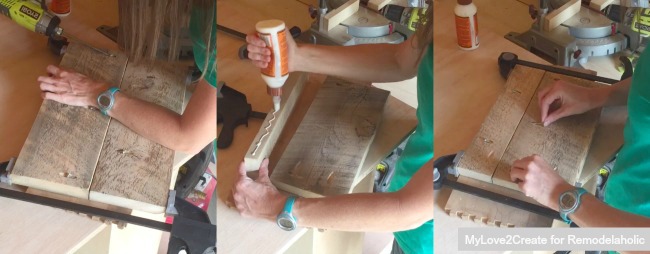
After making all your cuts you can start building the top/seat. Drill 3/4” pocket holes into the 1×6 boards as shown and attach the boards together with wood glue and 1 1/4” pocket hole screws.
Please note that I had to adjust my screw length to match my board thickness, this it very important to remember when using a pocket hole jig. Again, if you are using 3/4” wood you will use 1 1/4” pocket hole screws.
I glued and screwed the boards together with my pocket hole screws. I always make sure to clamp my boards in this process so my boards don’t shift while drilling in the screws. The top boards are on the right and the two legs on the left.
Step 2: Attach aprons, legs and middle support board.
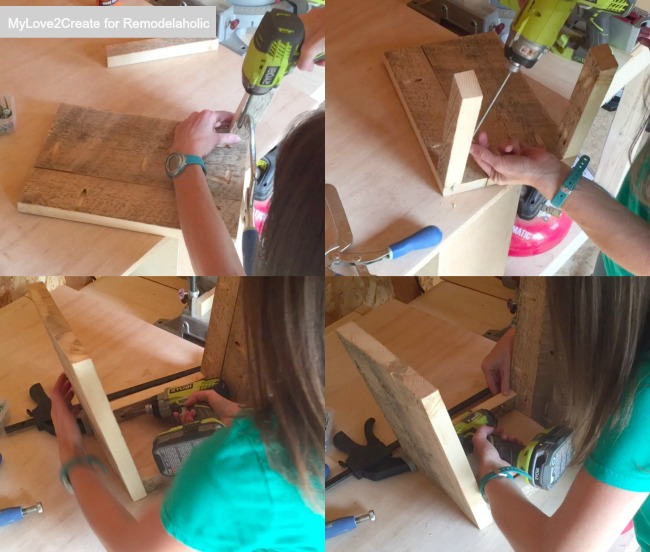
To build the stool, I started by adding the two apron pieces to the top of one leg, making sure they were flush with the top. Then I glued and clamped the other leg to the apron pieces and added my screws. I did need to use a shorter drill bit for this, because the space was tight.
I want to note that you can build this stool without pocket holes as well, just pre-drill and screw through the legs from the outside into the apron pieces using 2 to 2 1/2” screws. You can also use nails and a nail gun, but screws are more sturdy.
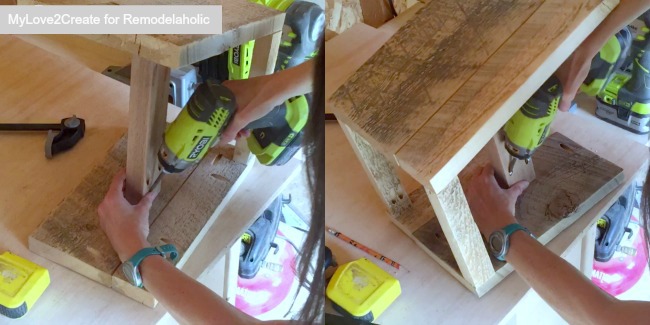
I measured and marked where I wanted my support board on my legs and attached it with my pocket hole screws.
Step 3: Attach top to base of stool
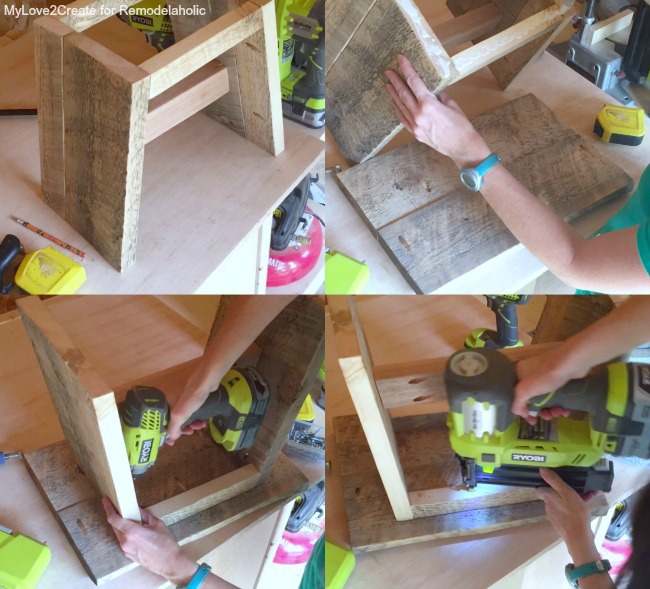
For the final step attach the base to the top. Attach with 3/4” pocket holes and 1 1/4” pocket holes through both legs into the top. Also pre-drill and attach 2” screws through the aprons as well.
Step 4: Finish as desired
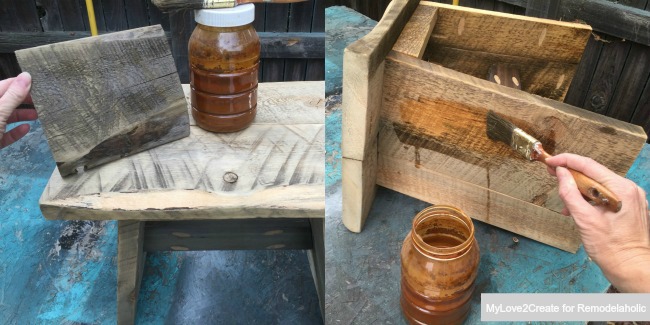
I decided to go with a natural vinegar and steel wood stain to help unify the pieces with a nice natural grayish color. On the left I tested it on a scrap piece to see if I liked it, on the right I am applying it to the stool. I have used this same stain on several projects like my
Chalkboard Coat Rack and my
Marvel Subway Art.
You may have noticed that I filled in my pocket holes with wood filler…I wasn’t entirely sure I should have done that, I think they might have blended better without being filled. Oh well, life lessons, I did try and paint them with some craft paint to try and blend them better, but totally forgot to take photos of that process…but I don’t think I did a very good job anyway. Ugh.
You can’t beat the character of reclaimed wood. I used this same wood for shelving in my
Teen Boys Bedroom Reveal, it is just so pretty!
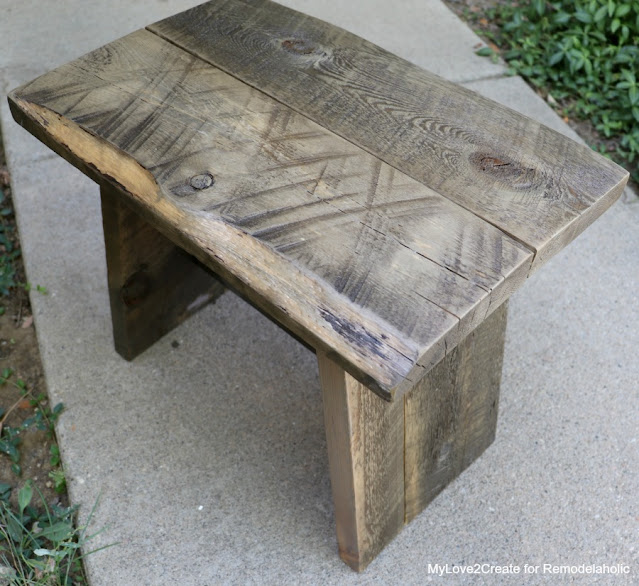
The cut side of the legs I ripped were also very different in color, but hey I think it adds character. 🙂
I sealed it with three coats of poly, sanding with 400 grit sandpaper between coats one and two for a nice smooth finish.
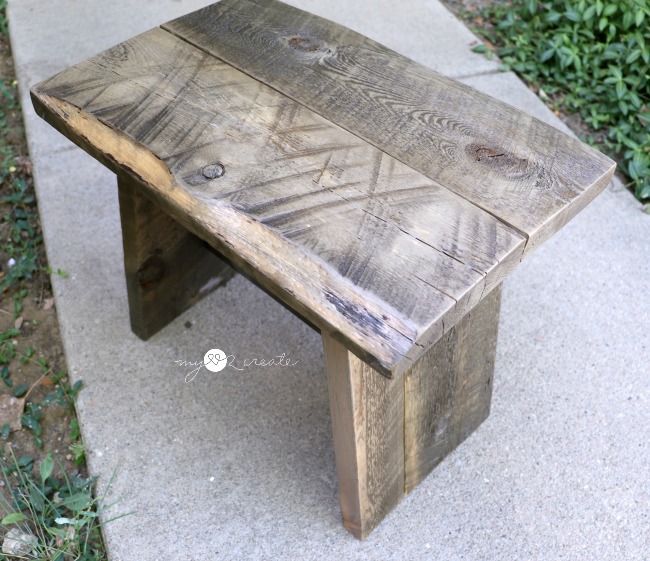
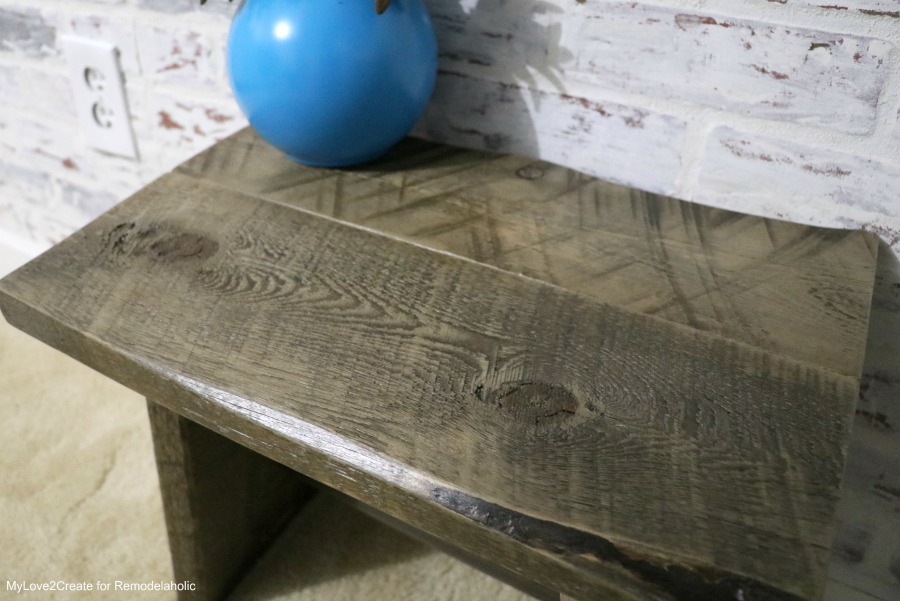
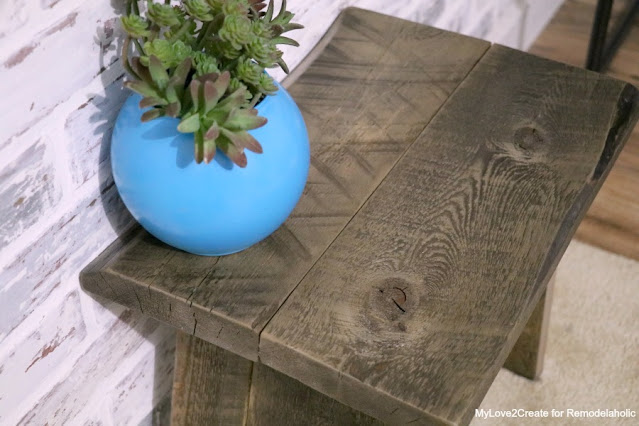
I love the rustic live edges…
And the fun thick legs.
It could make nice addition to any room in the house.
It looks great in my boys room, but I might steal it for the kitchen! 🙂
This really is a simple build especially if you use the dimensional lumber I provided in my cut list. You can always get creative with your finish and make it look like reclaimed wood, or just paint it!


I saw your feature on ReModelaholic and commented there as well, but this is going to be my next project at Woodshop! Thanks so much for the DIY tutorial!!
I love all kinds of stools. I've made a lot lately and I really should keep one in every room of the house! 🙂
Your reclaimed wood stool plans are perfect Mindi. I love how it turned out. So imperfectly pretty!
gail
pinned!
ps shared on fb
Loving this diy, the wood makes it just perfect!
Thanks for your article
This is really a great post! I learn many things. Thanks for sharing