I hope you all had a wonderful Memorial Day yesterday! We had a great day and it was jam packed!
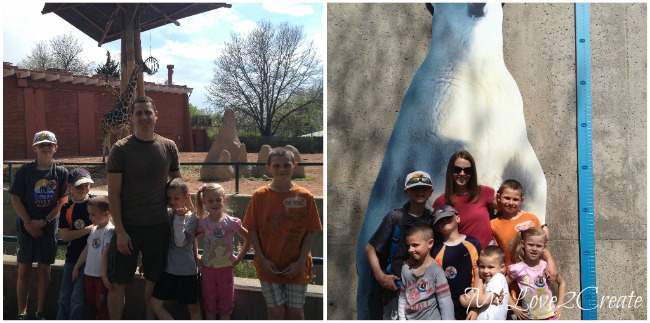
My husband and I ran the Boulder Boulder 10K in the morning. We came home and took our two youngest to a birthday party and while they were there we went with our oldest 4 boys to Dave and Busters. Then we all went to the Denver Zoo for a couple of hours, and then came home and went to our friends house for a barbecue. Phew!
It was awesome, we had a good talk with our kids about those who serve our country and their sacrifice, and why we honor them. I think this might have been the most impactful part of our day. We had several minutes of silence and reflection and prayer, and my kids were perfect. I couldn’t believe how well they responded to this. What a blessing to live in this great Nation!
Anyway, I am sharing this fun repurposed table top into game box. It first appeared on My Repurposed Life back in April as another one of my contributor posts.
What is a game box you ask?
Well, it is called solving a problem. You see around my house we have lots of games and a closet that holds them, but it is overflowing. And most of my kids can’t reach so when they try to pull one out, all the rest fall to the floor…sound familiar?
Enter this little beauty…or not so beauty…anyway, this was, I assume, a table top at one time. It was totally worth a save from someones trash pile in my opinion, and since the rescue it has been hanging in my shed for about a year.
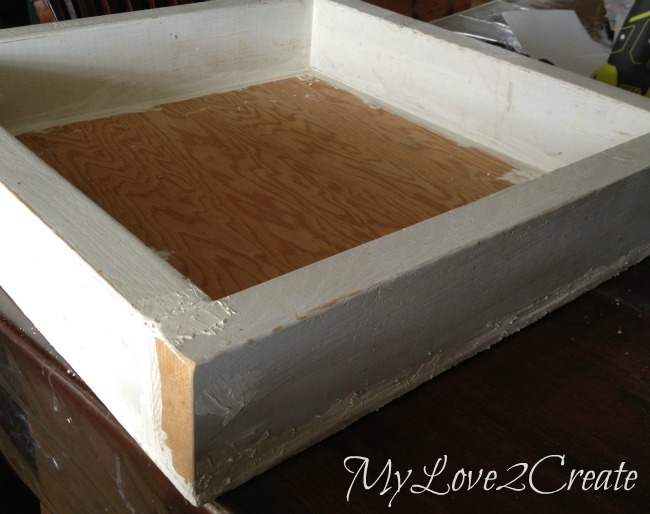
In order to help solve my game problem I decided to give this old table top new life and purpose. First I cut some free scrap 2×4’s (maybe from an old fence) and built a box to the same size of the table top. Then I screwed on a piece of scrap plywood for the bottom.
To make it look more finished I added bondo to all the cracks, which is a type of spackle. Once it dried I sanded it smooth, and primed the box.
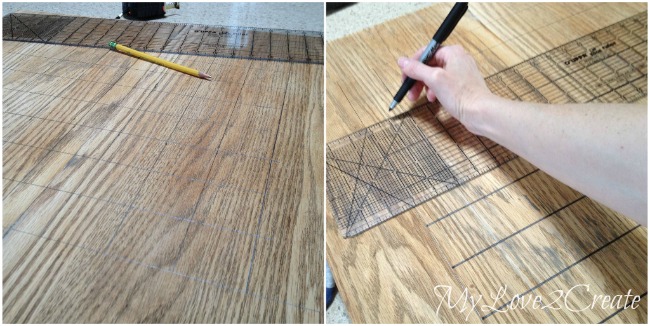
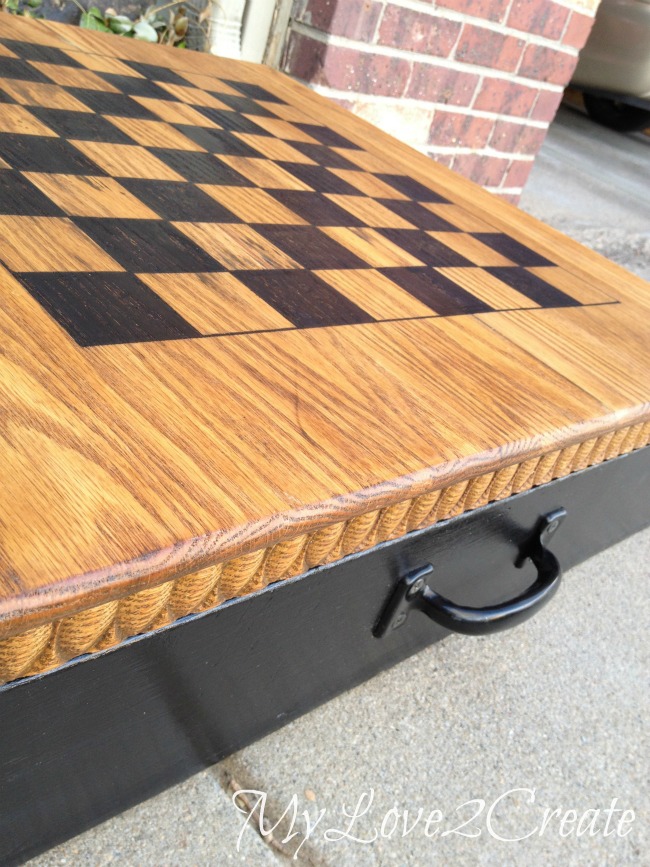
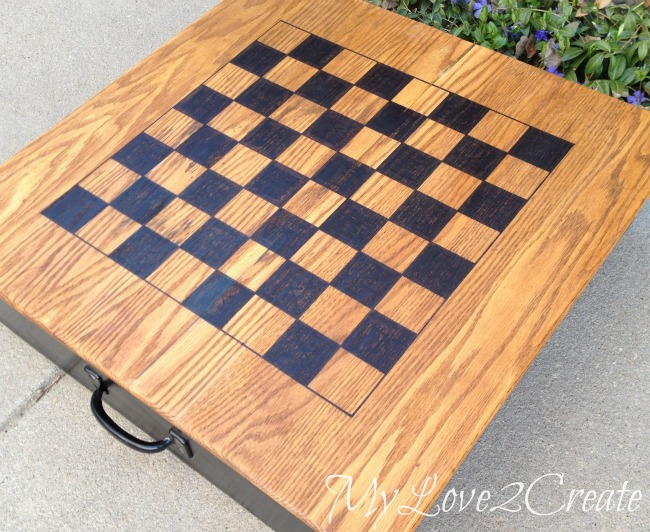
Now to old table top, I first sanded off the old stain. Then set to work making a chess/checkers board on the top. My boys like chess, and I have learned it but don’t play much. Which is why I had to look up how many squares are on a chess board. I made mine into 2 inch squares, and there are 8 squares on each side. First I measured with a pencil and then went over it with a sharpie marker. (oops, the one above is a Bic marker, it had a fine tip, better for the lines)
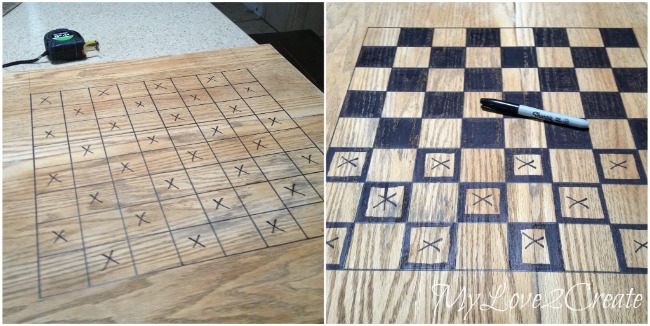
To make sure I didn’t mess up when I colored in the squares I X’d out the ones that would be black. Then I made the box outline’s wider and went to town scribbling in the rest! It was like grade school all over again! And look there is the Sharpie!
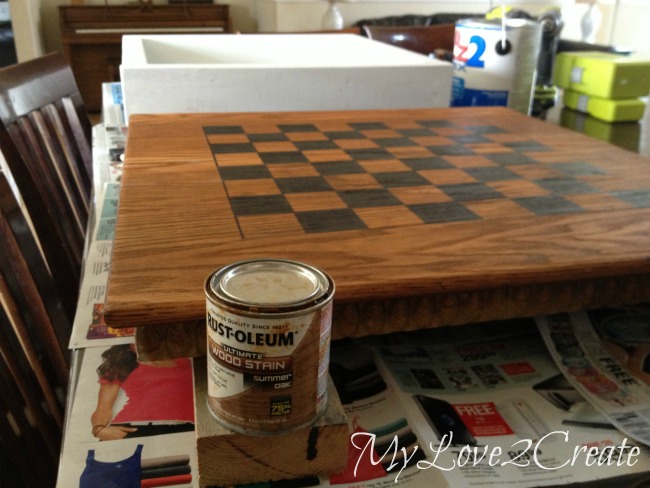
Now to make it pretty! This Rustoleum summer oak did a great job, don’t you think? You can see my primed box in the back.
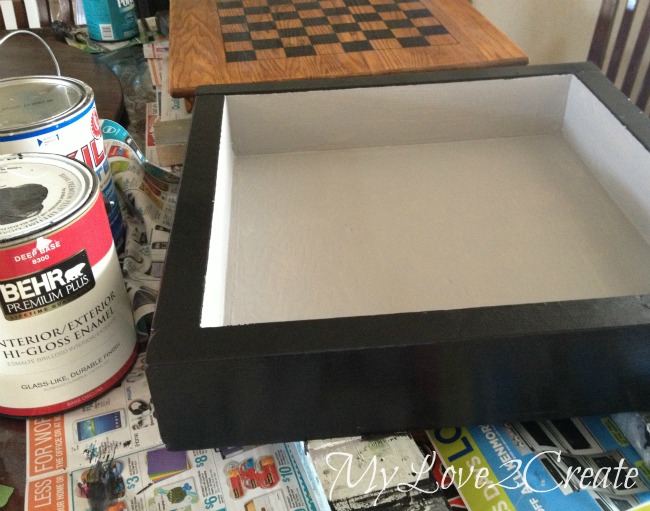
After I primed the box I painted it grey, but wasn’t liking it. So I taped the inside (I wasn’t painting it again!) and did the outside with a black that I had, can you believe this was an oops paint? I always snag black or white oops paints, it is so worth it, because they are hard to find in that section.
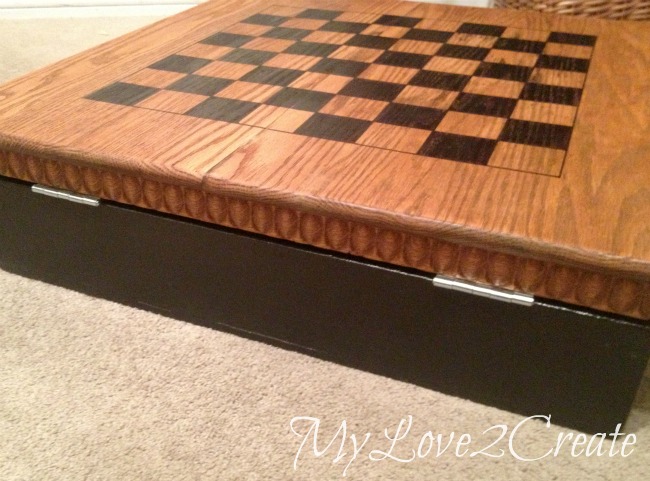
Once I placed on a couple of hinges…
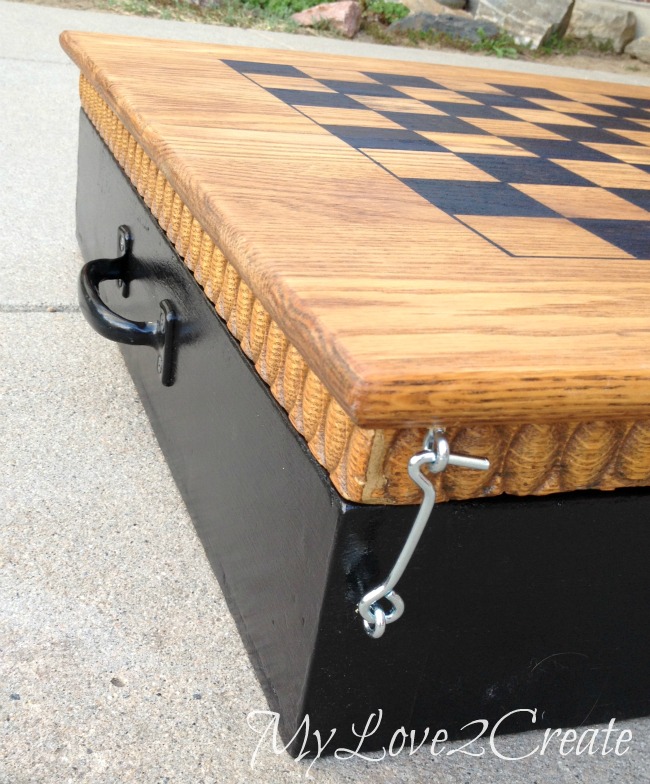
… a handle, and a hook and eye latch thingy, (I have no idea what that is really called 🙂
I was in business!
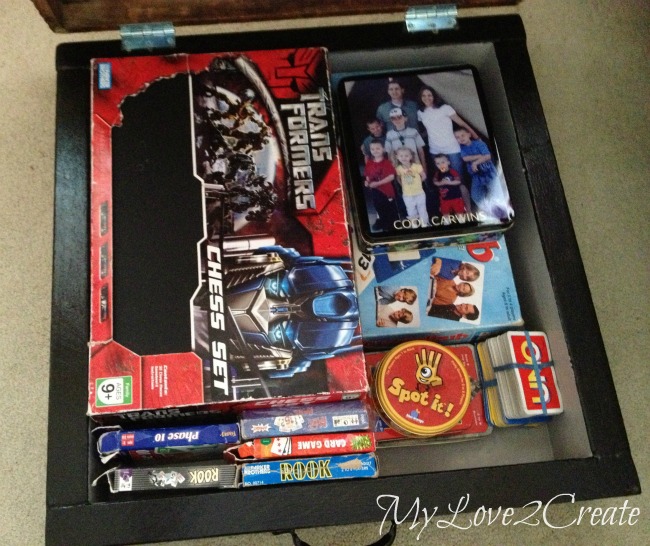
I threw in a bunch of kid games, ones my kids play the most,
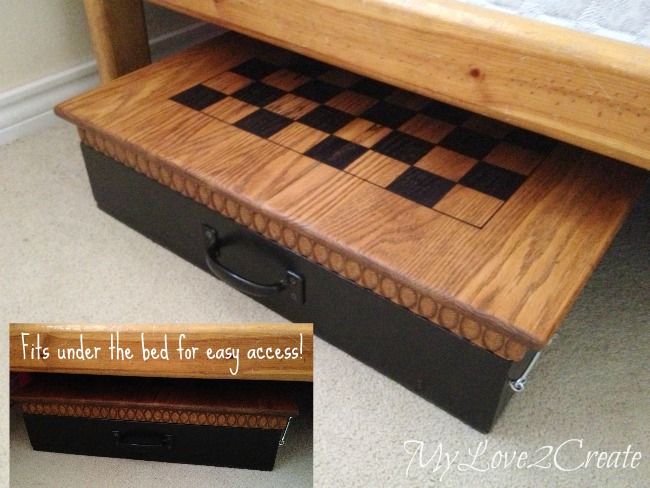
And tucked it neatly under the bed! It makes easy no mess access for the kids, and one of my favorite features…
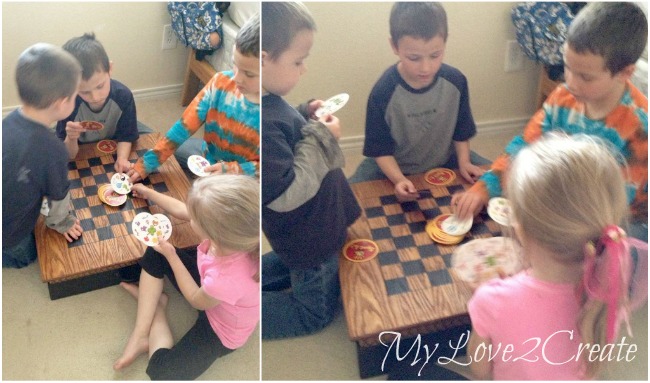
A perfect game surface for any game! And of course checkers and chess too!
It is easy to carry with the handle.
Please note: I have since attached a soft close lid device so little fingers don’t get smashed! It is important to remember this for safety reasons.
If I had room in my house, I would have made legs for this and used it as an actual table for game playing and game storage. It would be simple to do, but for my family it works best under a bed. I even considered putting wheels on it, but with kids I could see it used as scooter or skate board…yeah, you get it!
It has been super fun for the kids, and I love having it too. I was thinking this might make a great Father’s day present also, especially if they love chess!
Thanks for stopping by!
Hugs,
Mindi
I will be linking to these parties.





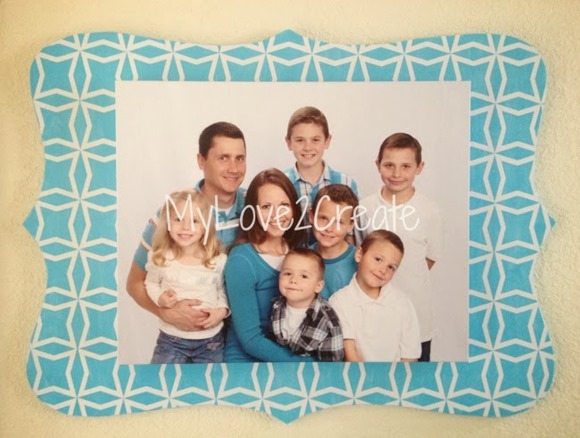
wow! what a busy family! Love seeing pics of the gang. 🙂
Hope your week is going well Mindi!
gail
Such a great idea Mindi and awesome tutorial!
Marie@The Interior Frugalista
I missed this when it was on My Repurposed Life, but what an amazing idea!!!! So many uses coming to mind for this one!
I remember this one! such a fun project
I WANT ONE!!! This is genius! I am serious Mindi…I could so see using this for so many games that we have and the fact that you can carry it and move it around only makes it more fun for kids! Awesome work! And that photo of you up there with your little sweeties is adorable! I am glad that you had a wonderful weekend and a job well done! Nicole xoxo
Brilliant as usual! I will be stealing this idea. Maybe if I have our games put away, instead of on a shelf, we might be able to find all the pieces and actually play them.
I love this idea! Such a functional and stylish solution. I will be imitating you.
So smart!
Awesome! And I spot our favorite game – Spot It!! 🙂
Wonderful idea! We have the same problem with games around our house! Thanks so much for linking up at Creative Spark Link Party! This beauty will be featured in this week's party on Wednesday! Be sure to stop by and link up more great projects this week!
Mindi – I think you dominate my features on Trash 2 Treasure Tuesday but I just always love your work. Featuring you today! 🙂
This is such a great idea and it came out so pretty! Feature on Do Tell Tuesday today ')
I so enjoy when you can repurpose and item. Your tutorial is great and love the game table. Thank you for sharing with the Clever Chicks Blog Hop! I hope you’ll join us again next week!
Cheers,
Kathy Shea Mormino
The Chicken Chick
http://www.The-Chicken-Chick.com
Hi Minid, Brilliant as ever!! Love it! We love playing games my whole cabinet is over taken by them. lol I need to make one. Thanks for sharing at the party! Theresa @DearCreatives
So happy to feature this practical and beautiful game box at Think Tank Thursday. Thanks for joining in!
This is such a clever idea! Pinning for later. 🙂
Ummm…so may I borrow your muse? Seriously, you come up with such clever ideas! 😉 This is adorable and practical! I love it!
Oh, your family is lovely! 🙂 Glad you and the gang are having fun!