Rustic Industrial Table
This is one of my contributor posts from My Repurposed Life, I posted it many months ago. I am excited to finally share it with you today, cause… I kind of love it!
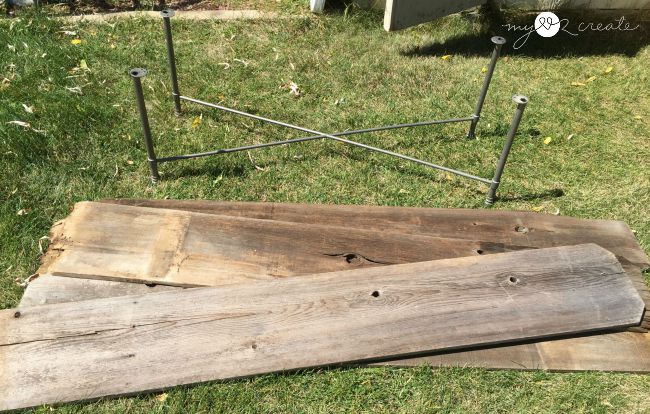
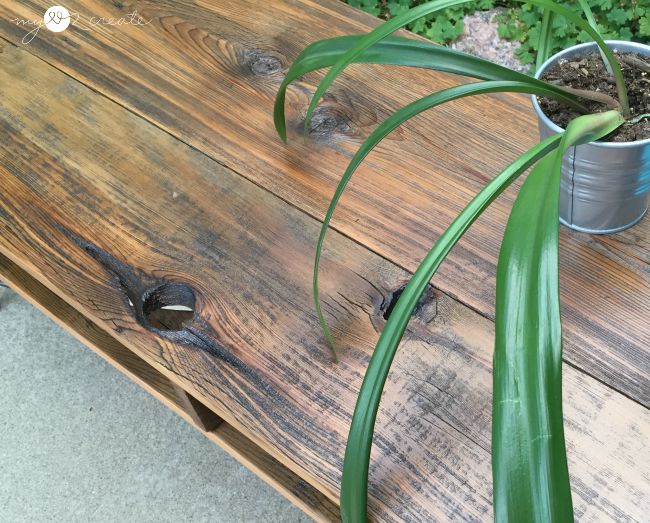
This old fence wood was free from the curb during our city spring clean up, I got it a few years back. I loved the width of the fence panels, so I took several. I also used it on my curtain tie backs repurposed into towel hooks.
I scored this metal base, plus a larger one, and a pair of small metal legs at a garage sale for $3! Talk about awesome!! They all had Tommy Hilfiger mdf tops on them and I knew I couldn’t fit them in my car with the tops on, so I asked the lady if I could just take the legs. She brought me a screwdriver to remove the tops, and I got to leave them with her, while I went home with just the legs!
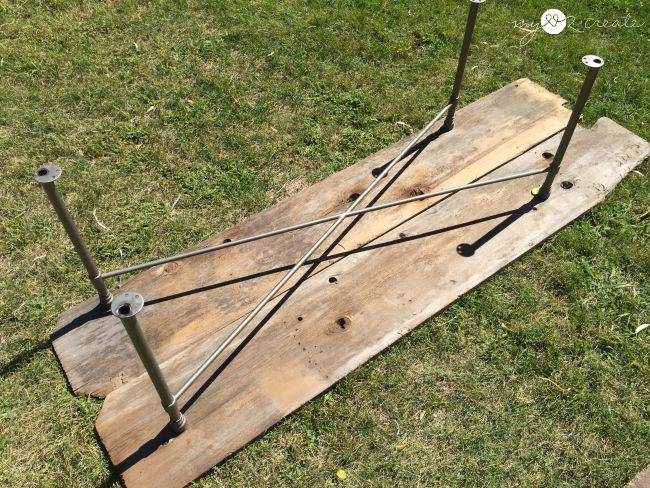
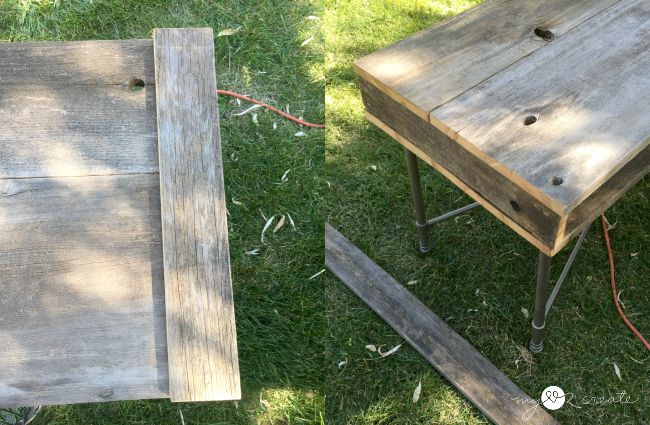
I knew these metal legs would be perfect paired with some reclaimed fence wood, so I set to work to see how they would fit together. Two top pieces were a little too long, but I could fix that easily. 🙂
If you don’t have metal legs laying around 😉 you can check online for metal table legs or hairpin legs
that will look just as fabulous!
The first thing I did was measure the metal base, then I added an extra inch to each side. I squared the ends of my fence boards and then cut them to the length I needed, 51”. I cut 4 boards at this size.
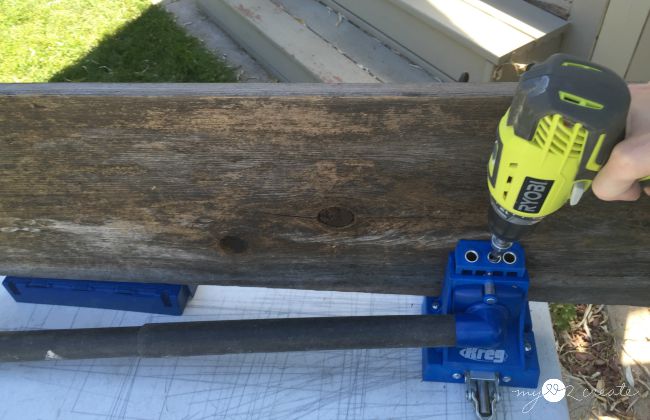
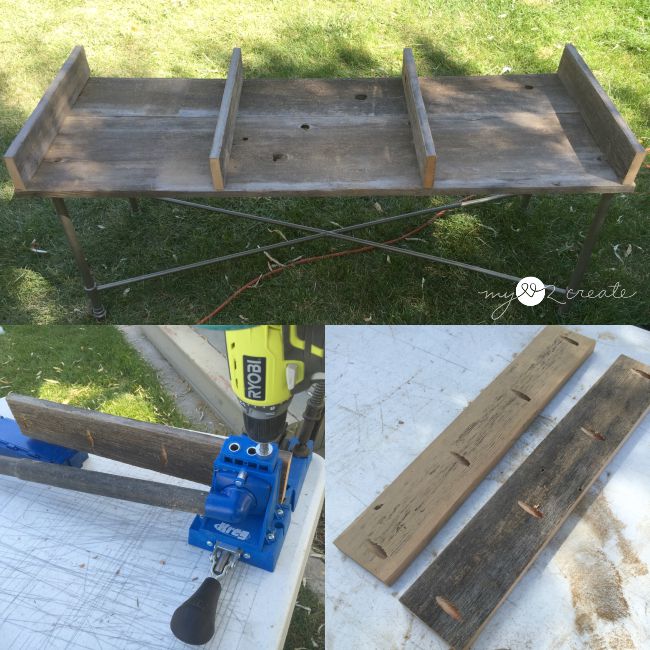
For attaching the boards together I drilled 3/4” pocket holes with my Kreg K5 Pocket-Hole Jig.
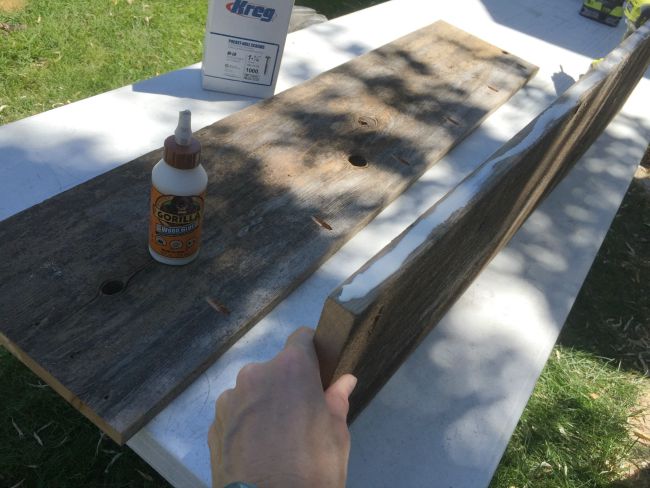
I added some gorilla wood glue for extra strength…
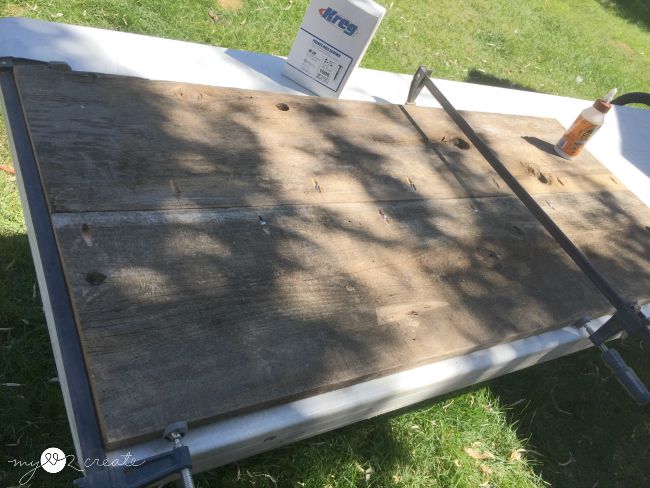
Then I clamped the boards tougher and drilled in my 1 1/4” pocket hole screws.
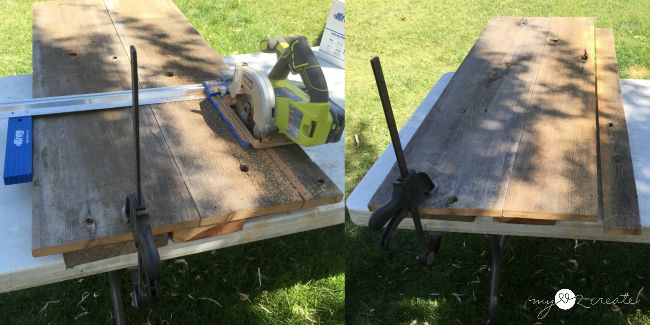
Now that I had my boards joined I needed to rip them to the correct depth. I used my Kreg Rip-Cut and Ryobi Circular Saw
to cut them to 19” deep.
The strips I cut off ended up being 3” wide, and I had two because I ripped both sets of boards. They were perfect, for making a shelf.
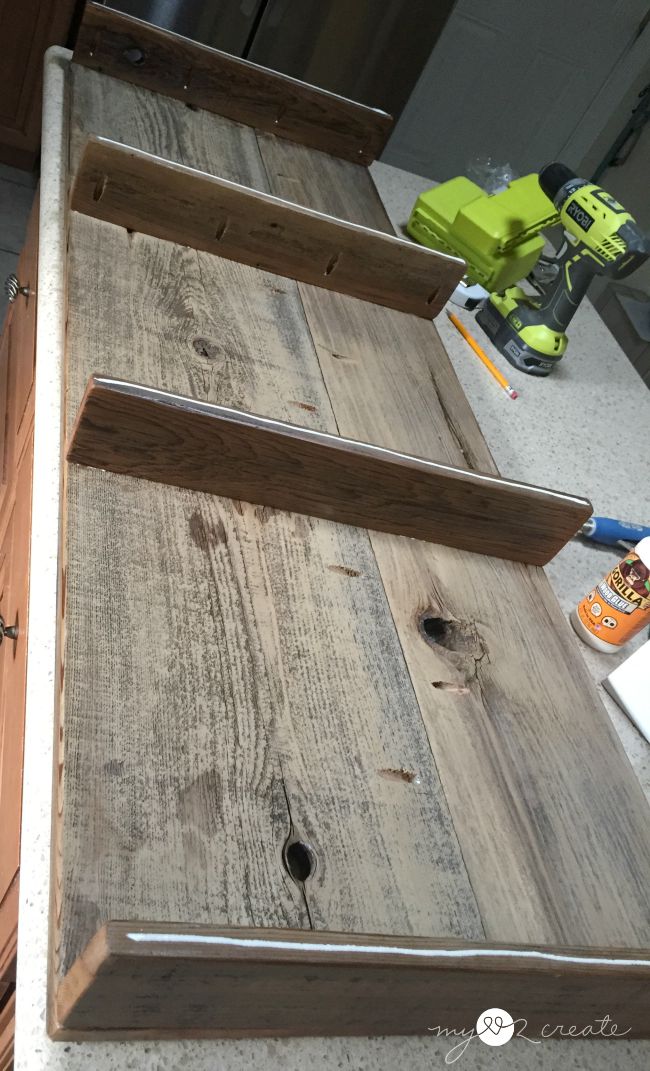
I cut the strips into four pieces that were 19 inches long so they were the same length last my table top and bottom, they would serve as the divider pieces.
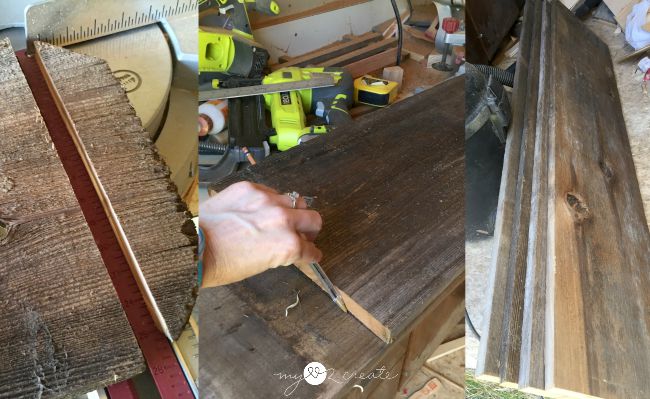
I layed out the strips to see how many to use, then I drilled pocket holed into one end of each board.
I also sanded them, you can see the difference in the bottom right photo above. The dark board is not sanded yet. This is a very dirty step, wear a mask!
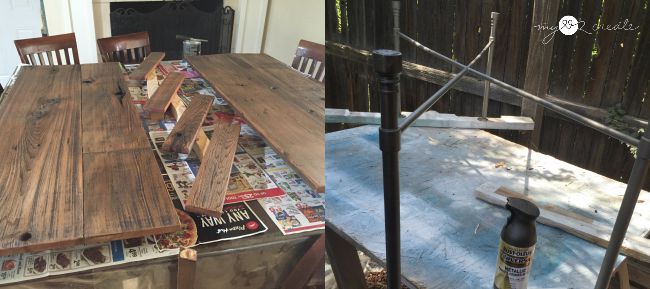
I decided to finish my boards before I built the table top to make it easier. I applied one coat of natural stain and then three coats of poly to all the boards. I always sand with a fine grit paper (I use 400) after coats one and two, to give my wood a smooth finish.
I gave my metal base a fresh coat of oil rubbed bronze spray paint, and I was ready to put it all together!!
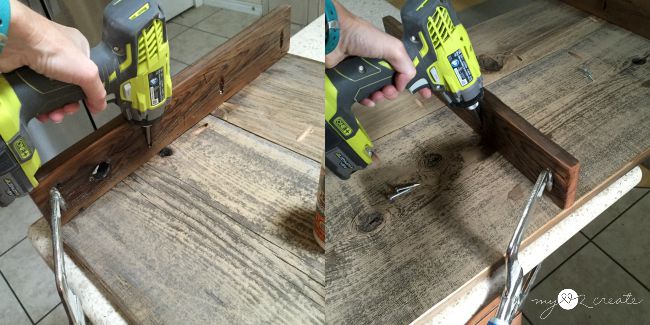
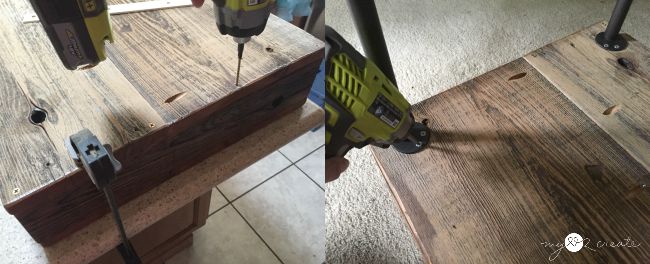
I turned the top piece upside down and attached the support boards with pocket hole screws and glue. I love using my Kreg Right Angle Clamps to help hold my boards in place while I attach them.
You can see the unfinished underside of the top board, it is quite different than the finished support pieces!
Once all my support boards were attached to the top I added glue so I could attach the bottom.
I placed the bottom board on the support boards, making sure to have the finished side facing the top. Then I clamped it down and pre-drilled holes so I could attach the bottom to the supports with 2 inch wood screws. I put four screws into each support board.
Then I screwed on the base with 1/2” screws and it was finished!
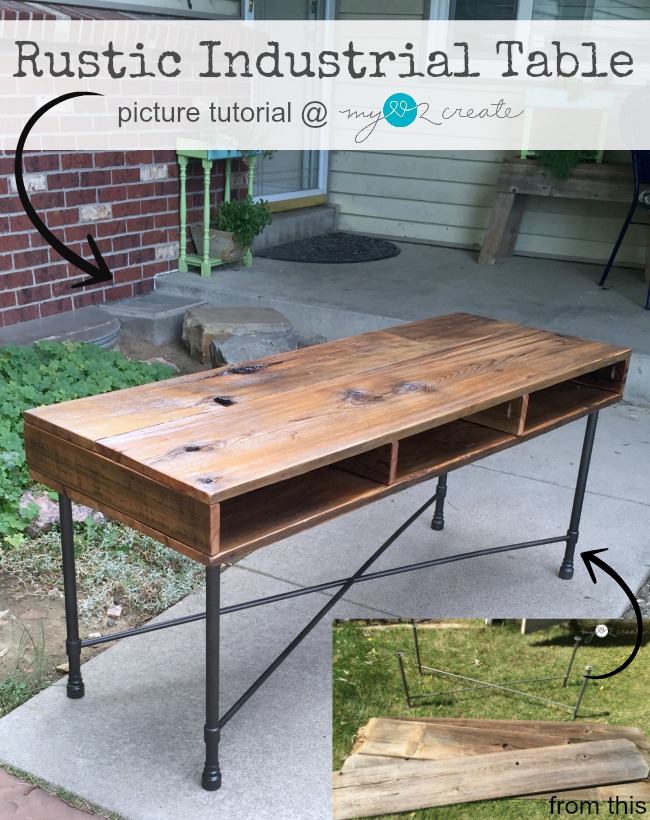
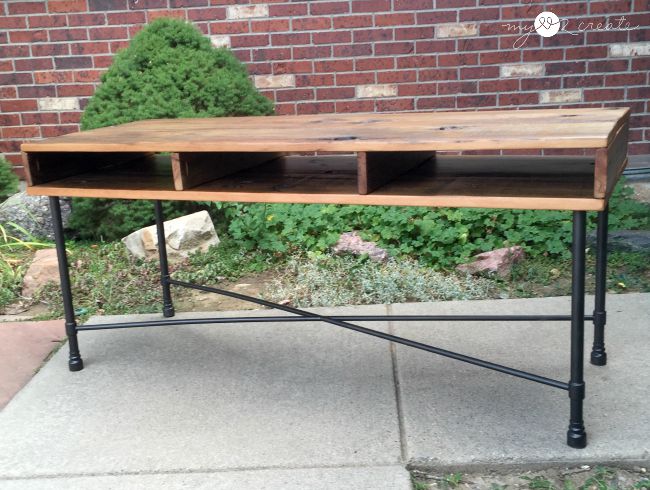
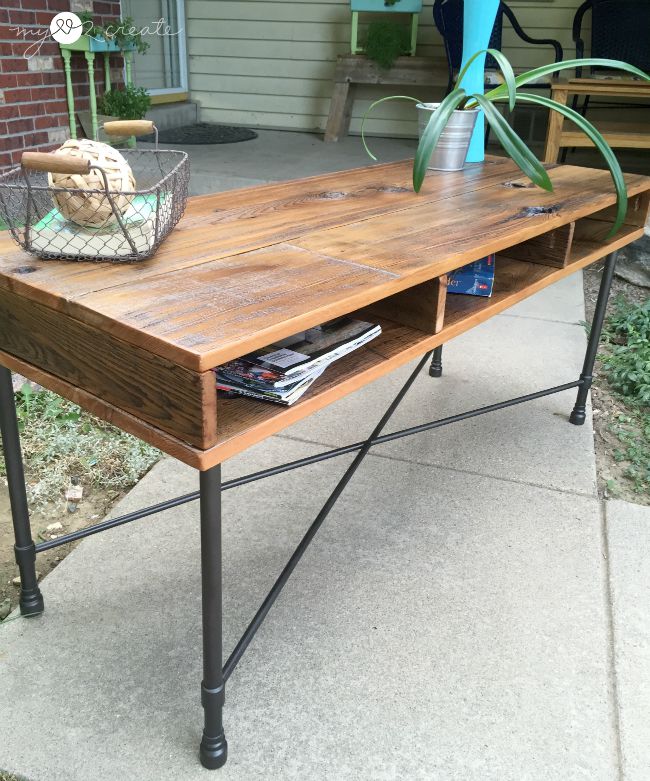
This is such a simple and easy build, but with reclaimed wood it really makes a statement!
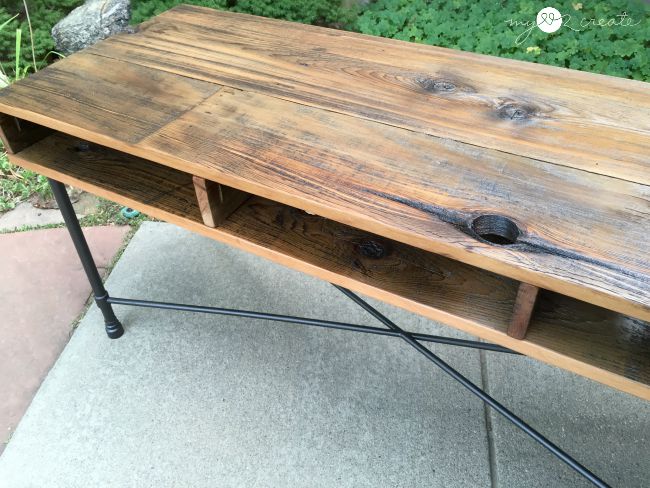
I decided to leave an open look by not putting on a back piece. It makes for easy access to magazines, remotes, books, and DVD’s from either side. I am calling this a coffee table, but I secretly think it would make a great TV table as well since it is a few inches taller than a coffee table.
If you don’t have metal legs laying around (which most of you probably don’t!), you can use metal plumbing pipes like Gail did in her DIY Industrial Shelf post! Another easy DIY to get the look you want!
The finished weathered wood is just beautiful, I really think working with it is one of my favorite things. I have done many projects with weathered wood, my Reclaimed wood table still makes me swoon when I see it. 🙂
If you need reclaimed wood I suggest checking on the free section on Craigs list, or free cycle. People are always getting rid of old fence wood. And don’t be afraid to ask if you see it in front of someone’s house, chances are they are just going to throw it away!
I hope you have been inspired to create something!
You can see more Rustic Industrial ideas on my blog here! Thank you so much for reading!
Hugs!!
Mindi




Love this table sooo much!
I remember seeing this!! how much I love this piece. I do really need to invest in a Kreg 🙂
Rustic and almost industrial too. I love it!
Love the table, especially the little cubby holes, so handy.
Love the mid century vibe.
It remind my of my school desk. I will make one for my kid. Thanks for sharing this tutorial.
Love, love, love this table! Awesome job!
Kate | TheOrganizedDream.com
I am so impressed by your vision! This table is beautiful. I have pinned it. Note to self: get bigger car….
🙂 gwingal
Wow! Love the table! Pinning and dreaming of making one for myself! Thanks so much for sharing your projects with us at Brag About It!
~Laurie
I love its rustic but natural look 🙂 Simplicity is always the best
Gorgeous. The article is quite detailed and specific, step by step guide to perform a panel joinery industry. Not too fussy nor need many things, I think this idea will be many people make. Thanks for sharing your article
I 100% love how this turned out!! Great job creating it. The Kreg Jig and rip cut is the best tools on the market as far as I am concerned! Keep on creating 🙂
Jess
LiveRandomlySimple
I love this so much Mindi!!! Thanks for sharing! Pinning!!
Love this ideal project. I think I will use a chalk pain layer for the table to make it colorful if I finish it. However, the wooden color is the table nature so just let it be like that shall be the best choice. It’s just my suggestion. Thanks for sharing.
Thanks for sharing this! All the best!