I’ll bet you were hoping this post would be my reveal! Believe me, I wish it was, but I have more building to share.
Since I posted the Trim, shelves, and rods, I have been back to some big building. If you remember in my Master closet makeover plans, I had a shoe shelf and a bench with some shelves above. This post is all about how I built them!
Let’s start with the shoe shelf.
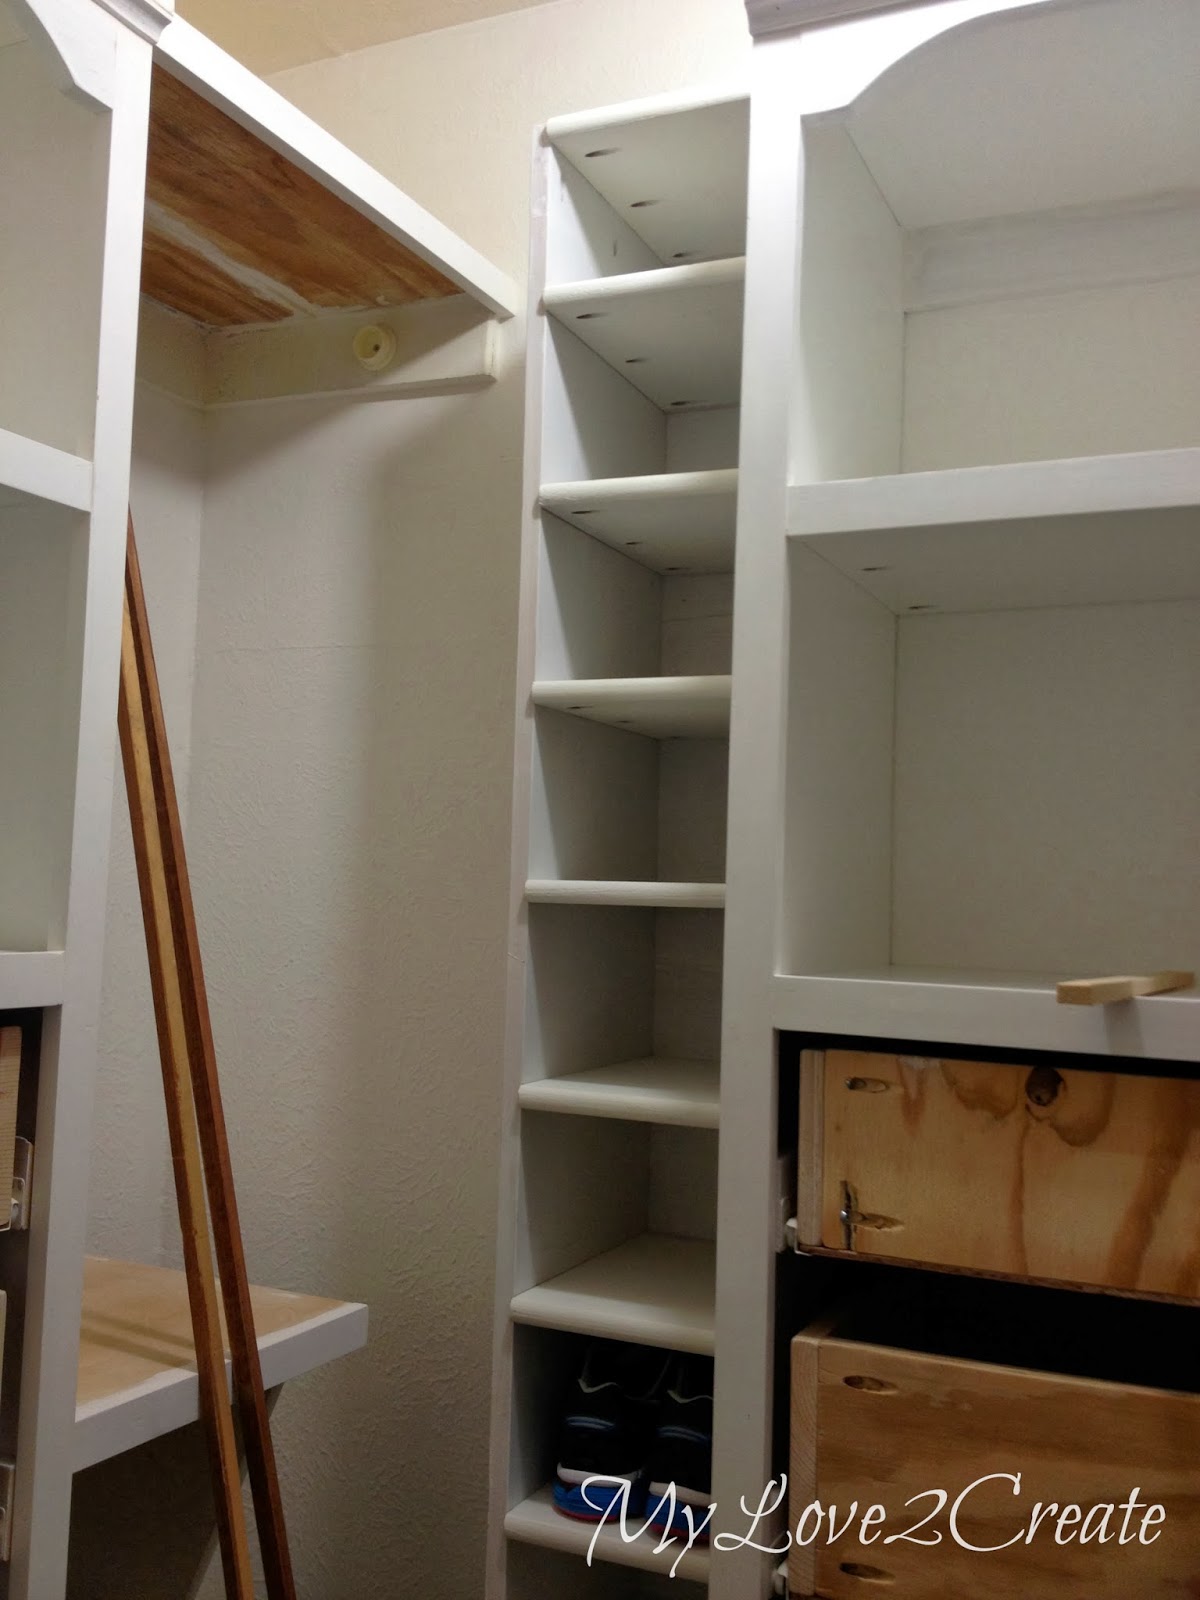
In my plans I had it on the other side of the tower and I decided to flip them around. You can see it looks like a tight fit to get my clothes, but it really isn’t. Trust me, I have tested it and it totally works.
In the above picture you see I have built the shoe shelf and installed it, the two boards you see to the side are the trim, I will not be covering that in this post.
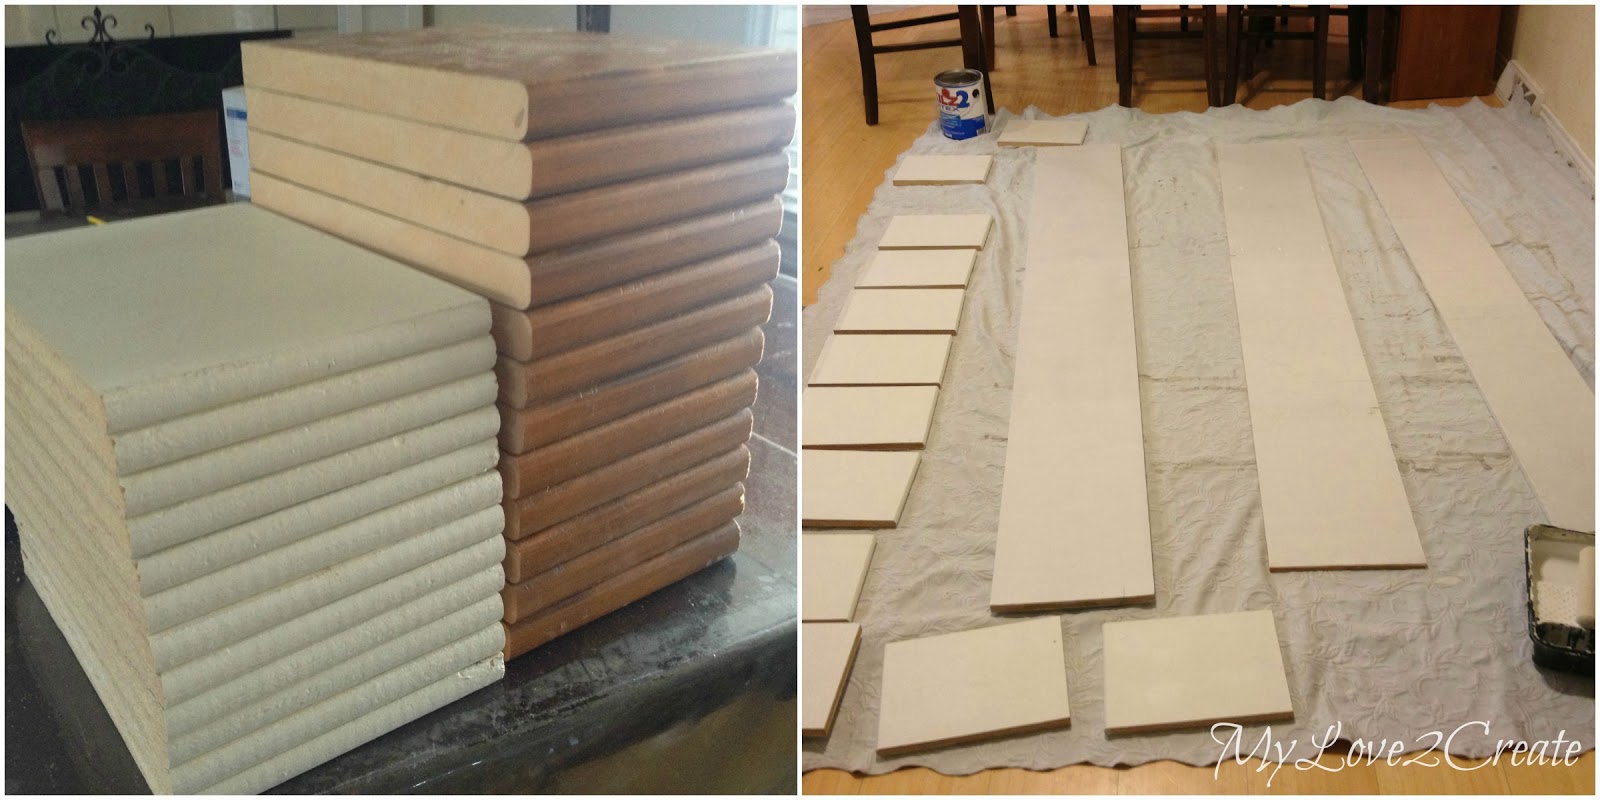
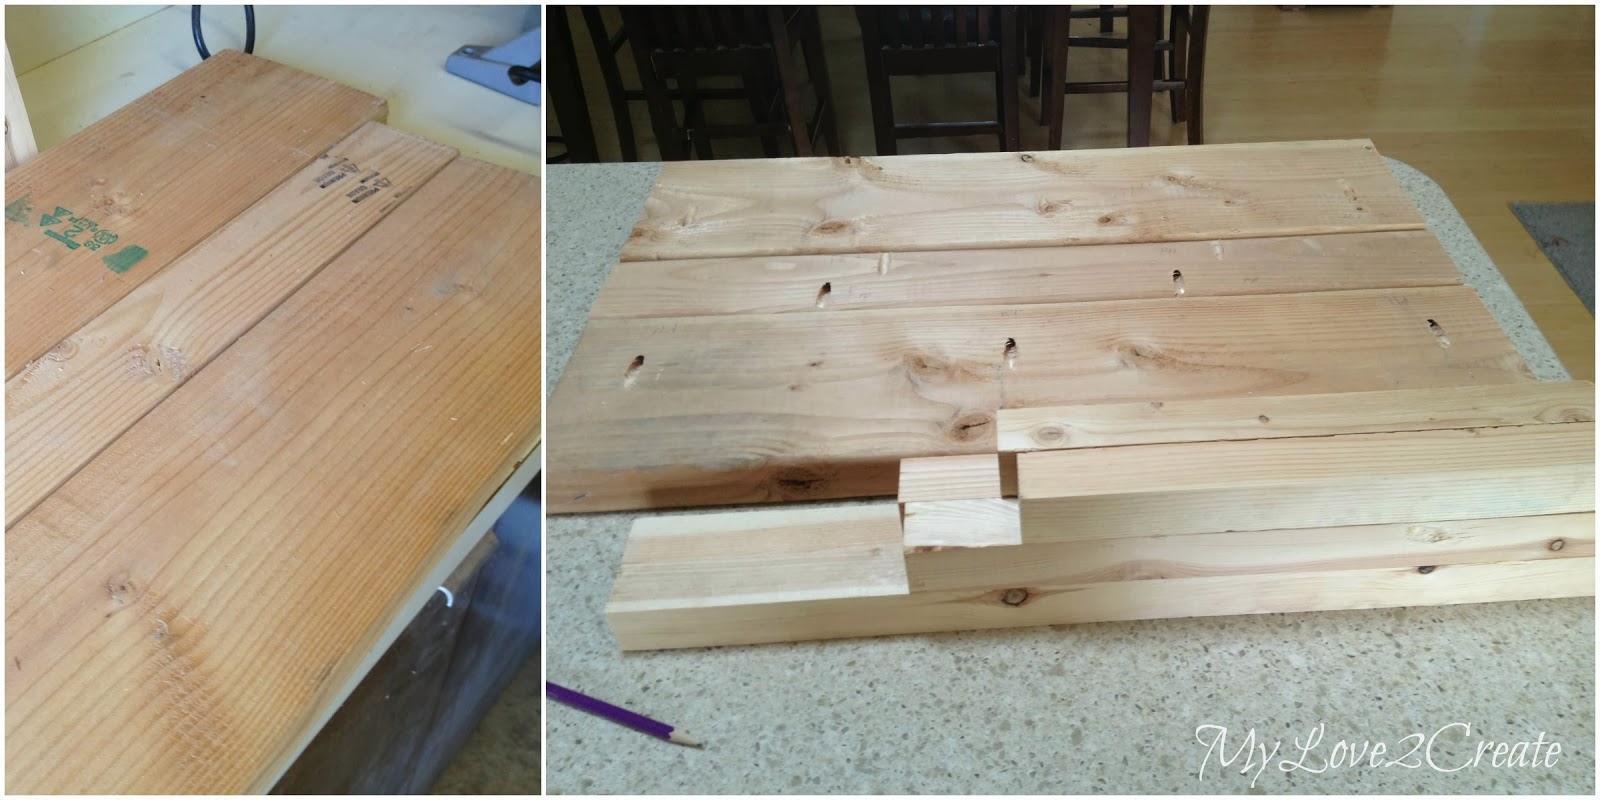
In the left photo above I have two stacks of boards. Ugh!! Yes, I cut the ones on the right first and realized they were just too thick! I ended up cutting the left over shelfs that I ripped out from my closet (on the left) and they were perfect, even with the rounded fronts, which would save me on trim! In the right photo you see all the boards for the shoe shelf primed for building.
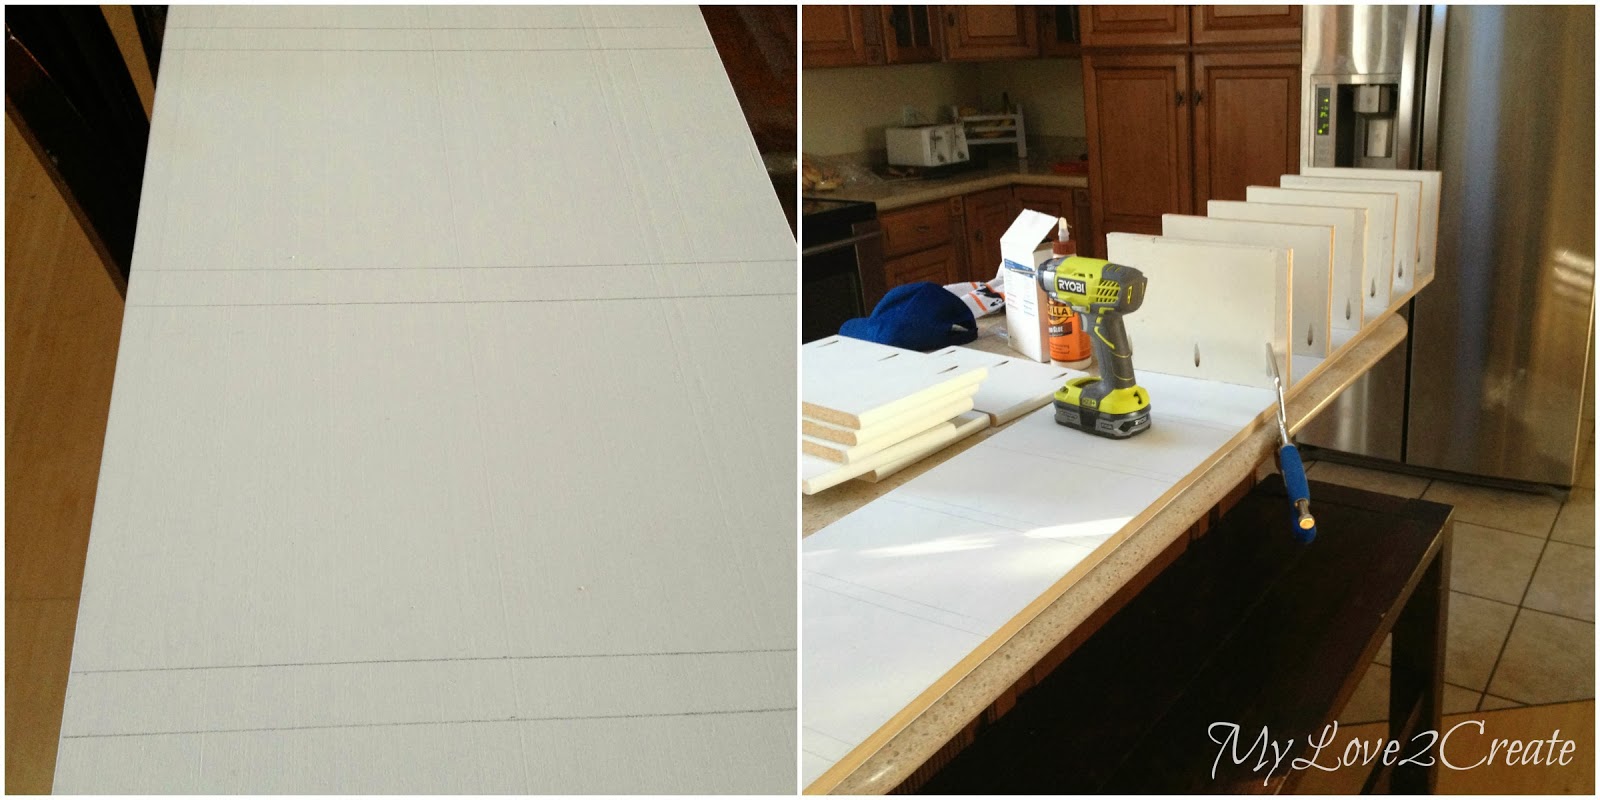
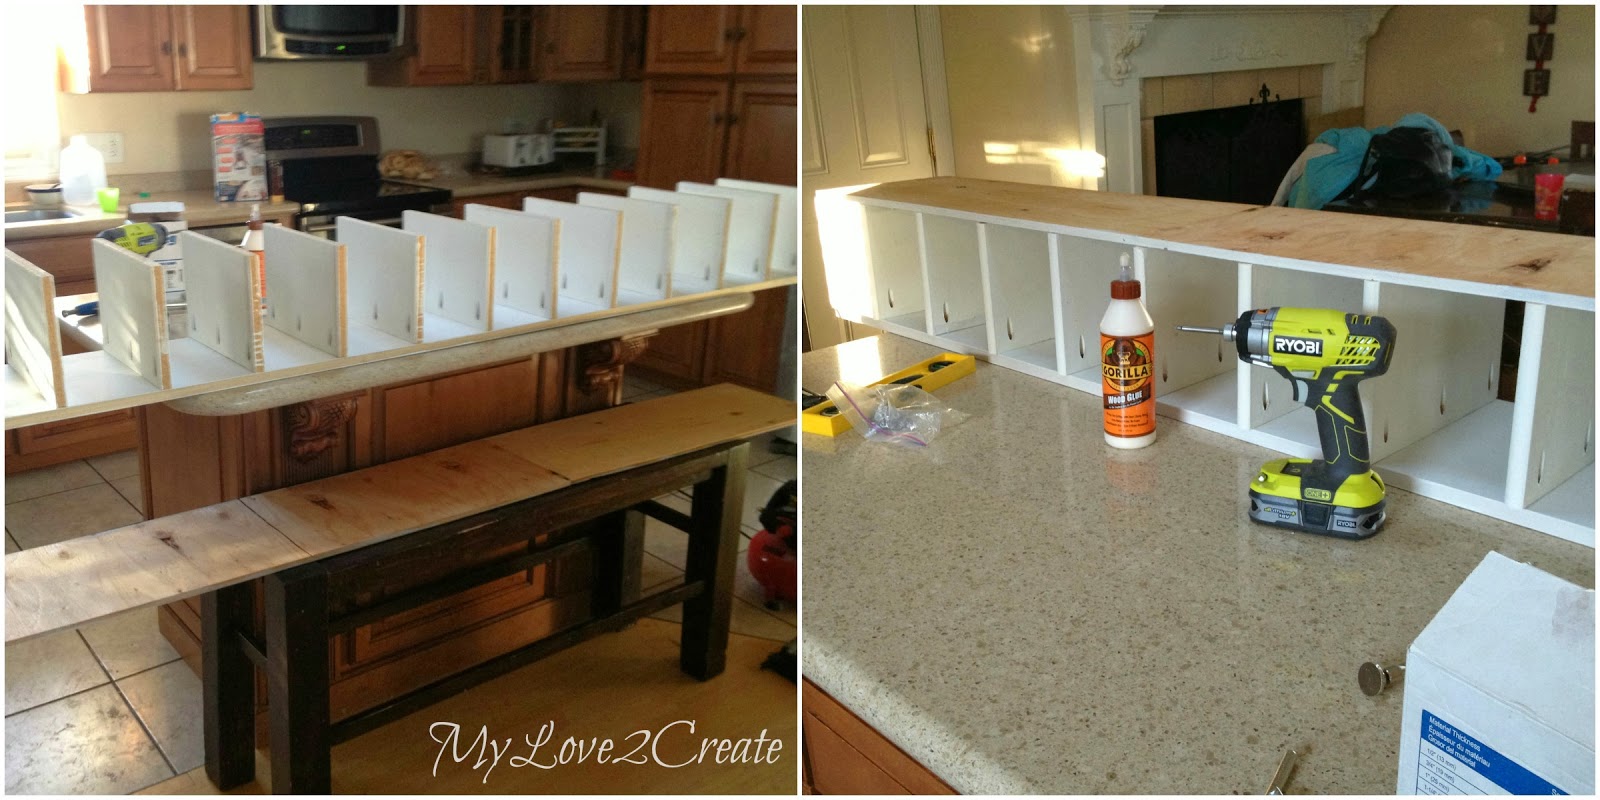
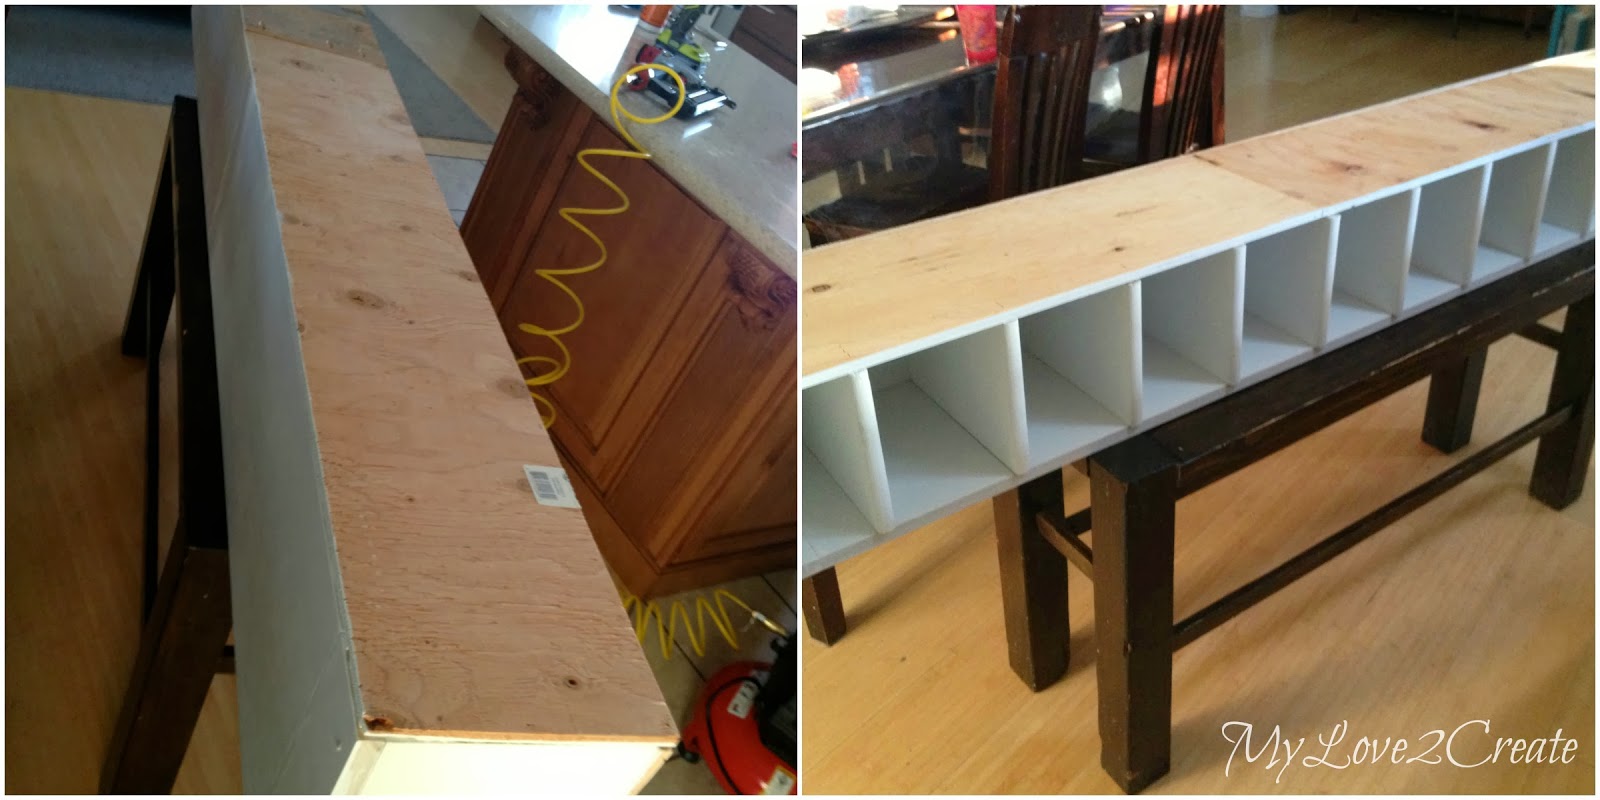
I started with my only 3/4 in thick board. I found this last year on our city’s spring clean up day, who would throw out such good wood? I marked up six inches for each cubby, and where each board would go. Then I attached them with glue and pocket holes.
Once they were all attached I used my pieced together side board. I had some 1/2 inch scrap plywood that I had from somewhere free, but they were not long enough so for the side and back pieces I attached two shorter boards with pocket holes to make one long board. I glued and nailed it on.
Then flipped it over and glued and nailed on the back piece! I had my 10 year old help me carry it into the closet so I could attach it to the base I built.
Here it is! So little! These were scrap pieces and I used the same height as my tower bases. I added a top piece and nailed it into the top of the moulding in the back, right photo. You can also see where I screwed the base into the moulding in the left photo. At this point I am shooting from the hip, no plans just making it up as I go along (it always seems to take longer this way…). When I added the shoe shelf to the base I simply screwed it right into the tower, from several of the cubbies, and I secured it to the base. It is not going anywhere!
On to the Bench…
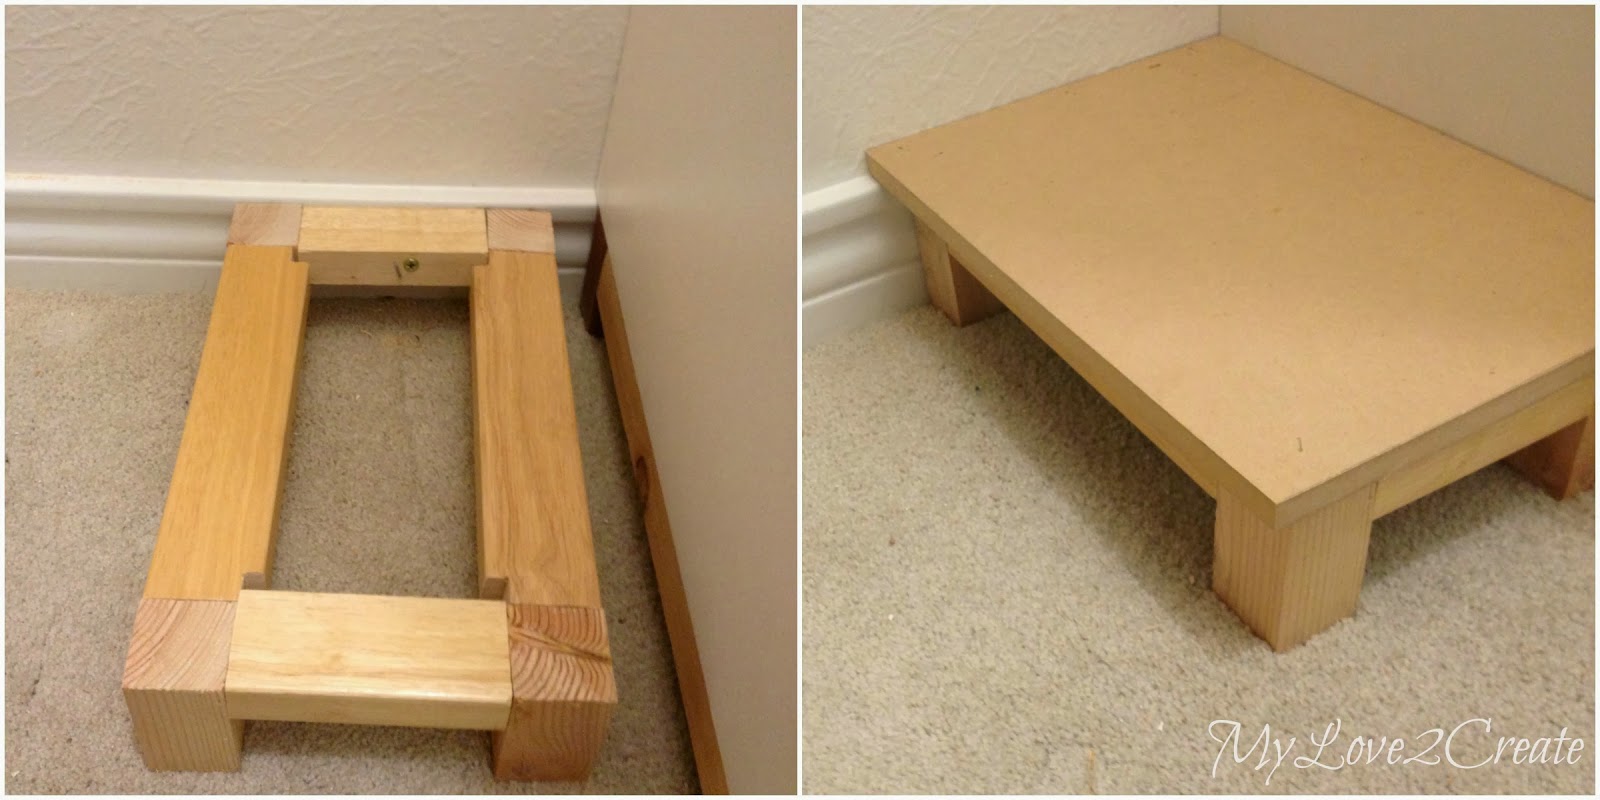
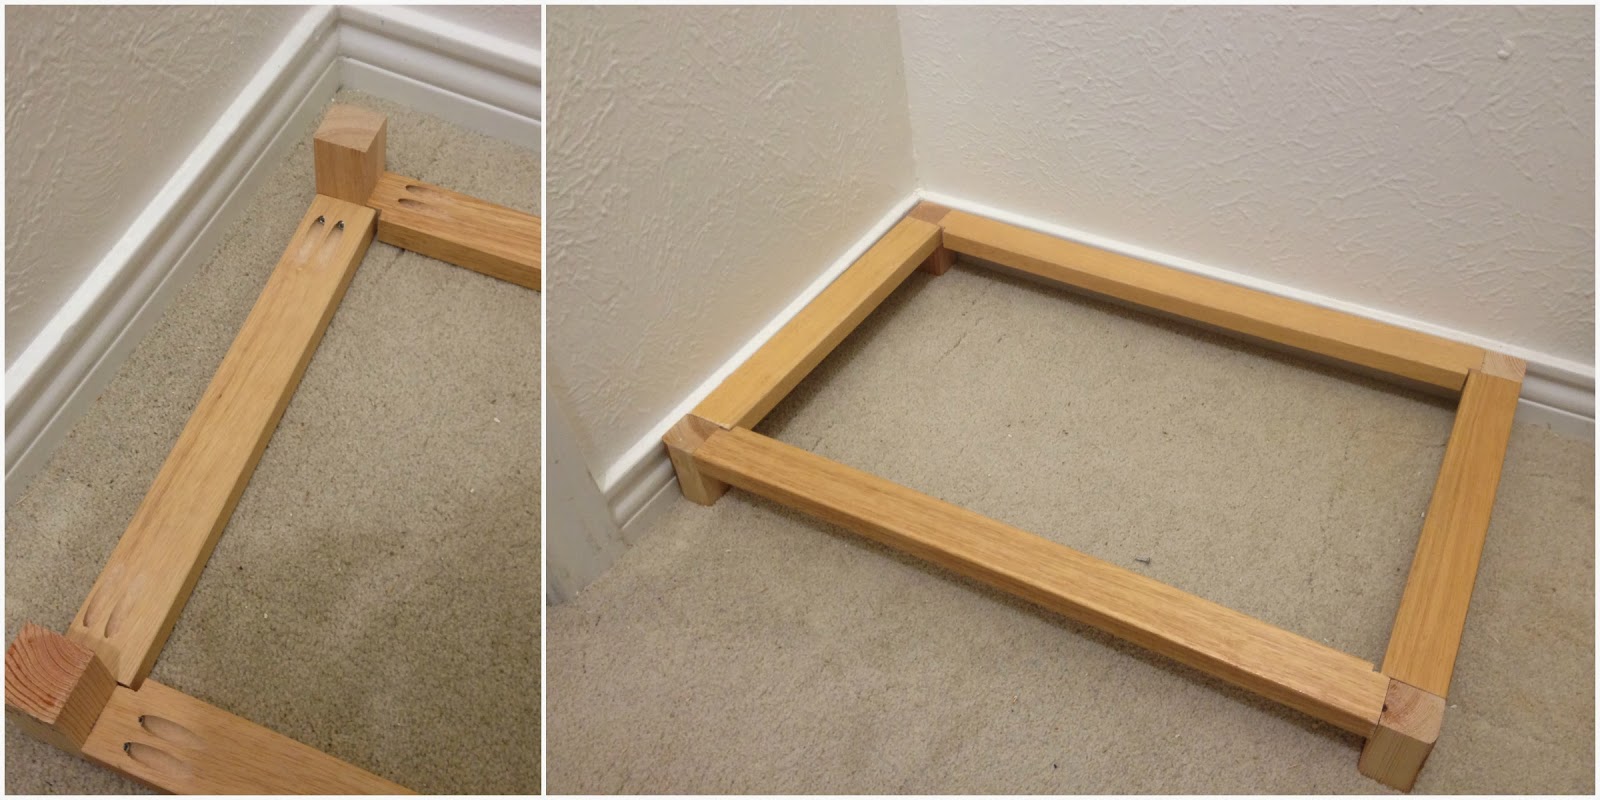
At first I was just going to build a simple bench without a base, but my husband said it would look better with a drawer instead of crates rolling out like I had planned. I decided he was right, so I built another base. These pieces of finished wood were so hard to drill into, they gave me serious fits, they were obviously from some piece of furniture that had been taken apart. They were also a little too wide so I had to cut notches with my jig saw.
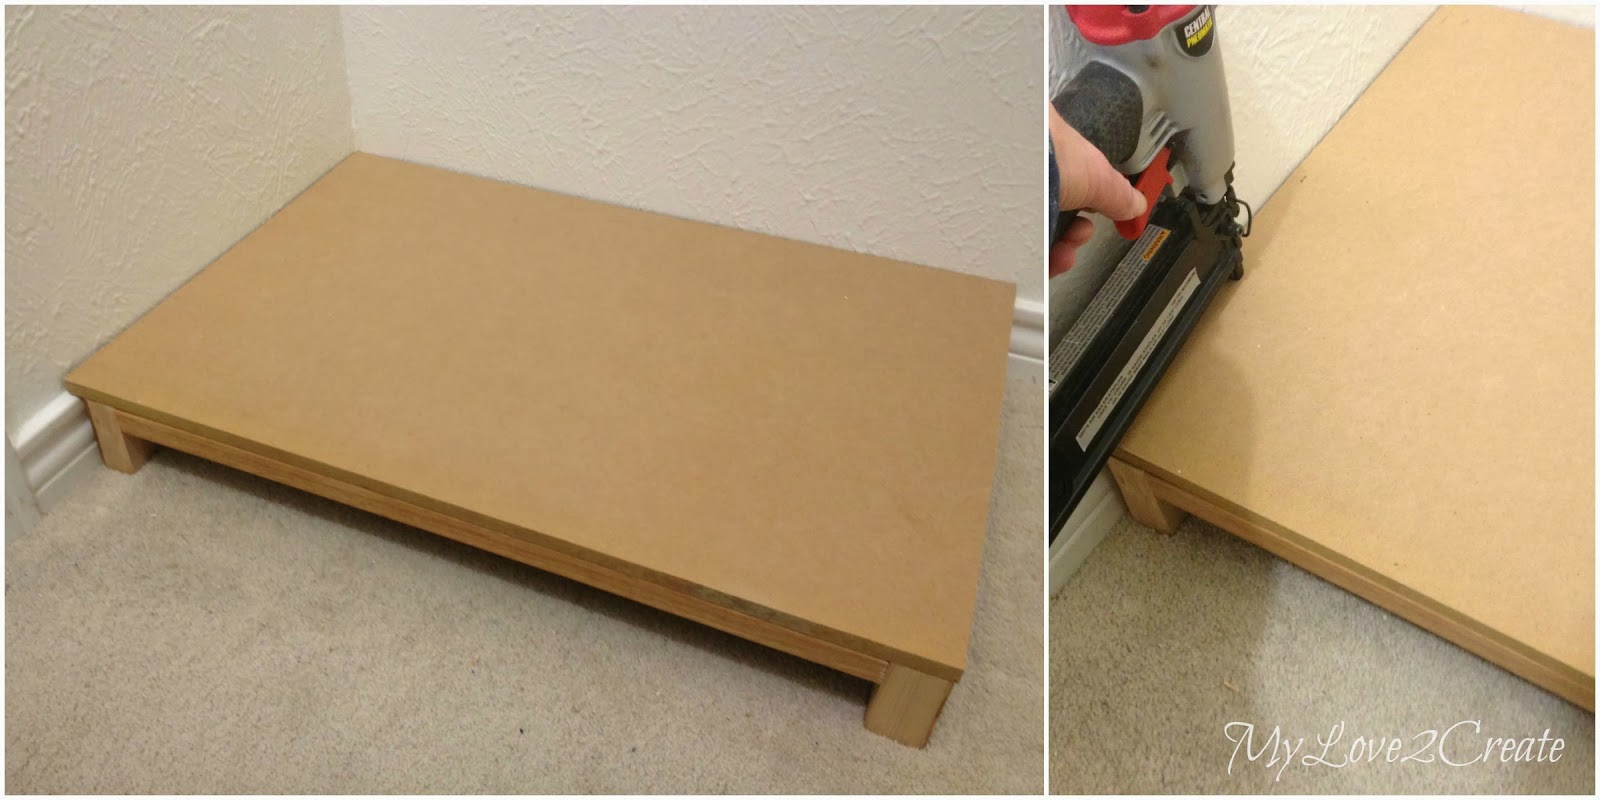
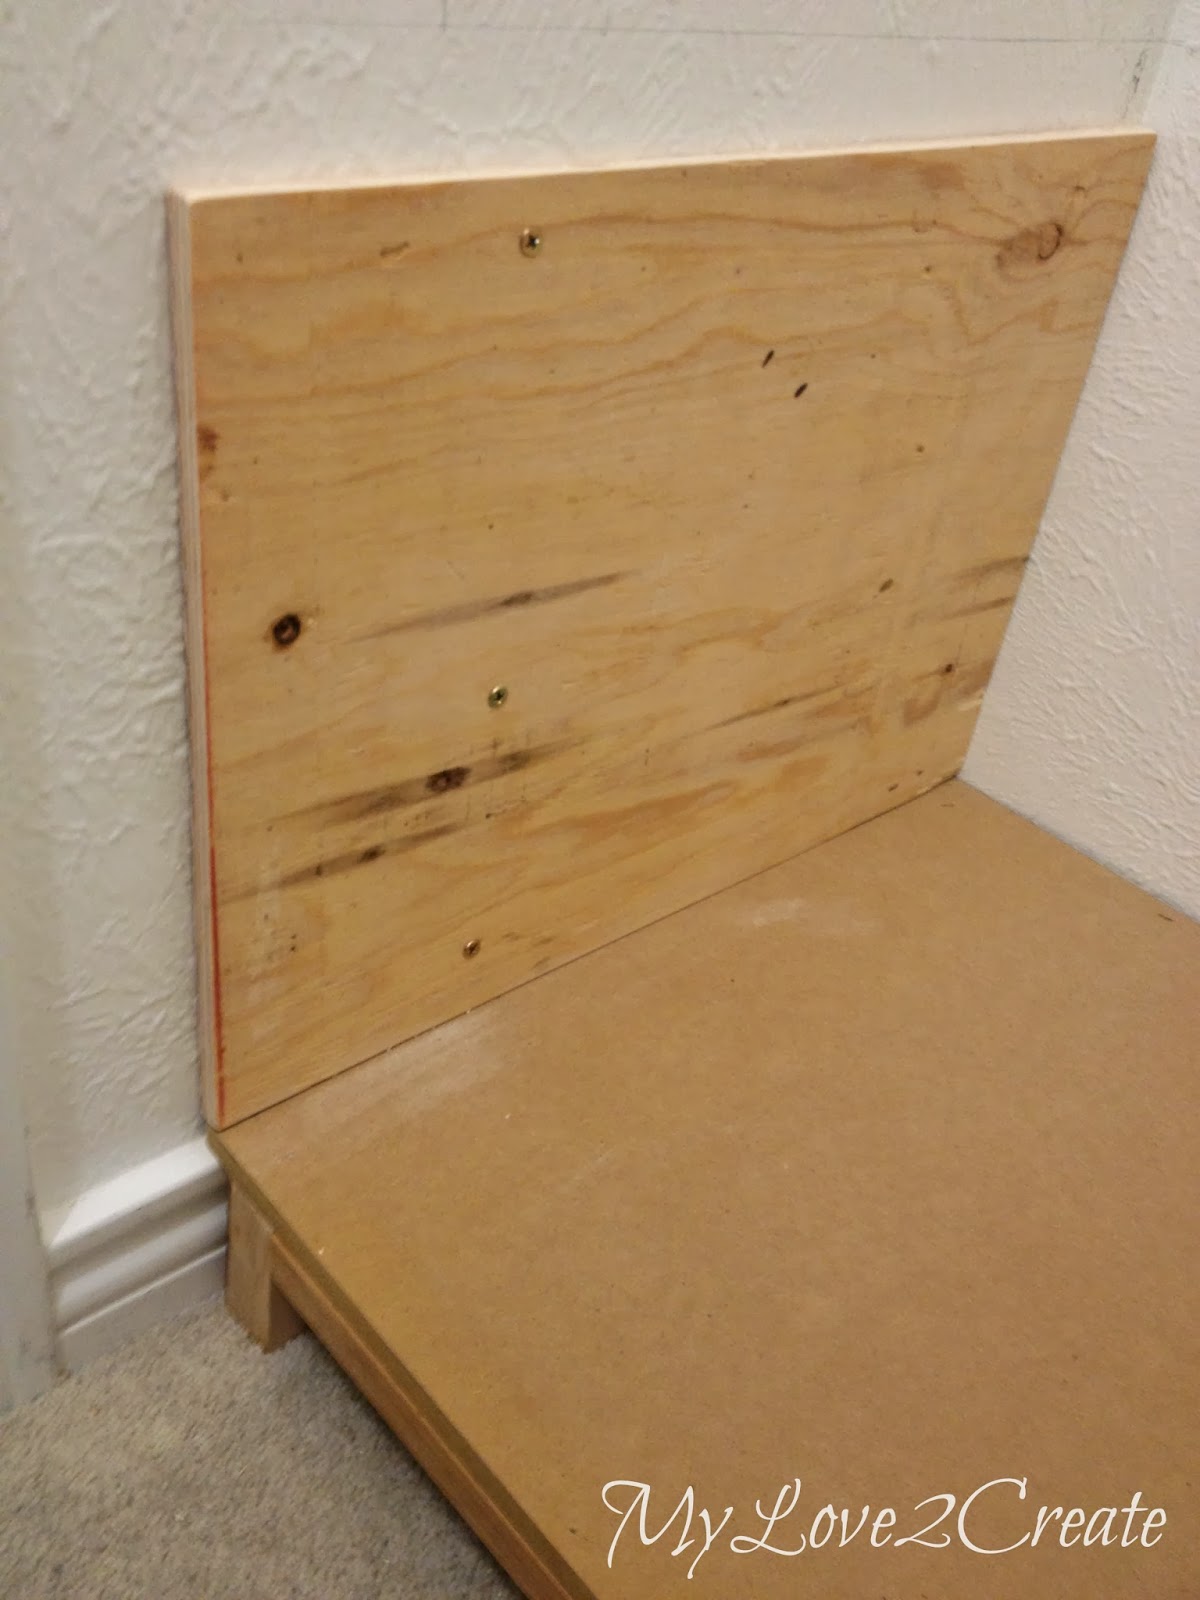
I had this piece of mdf, that I had picked up and it was almost the exact size, I only had to trim one side! I nailed it down to the moulding and base.
I used this piece for the wall support, screwing it into the studs. You can also see where I wrote the level line on the wall for my top.
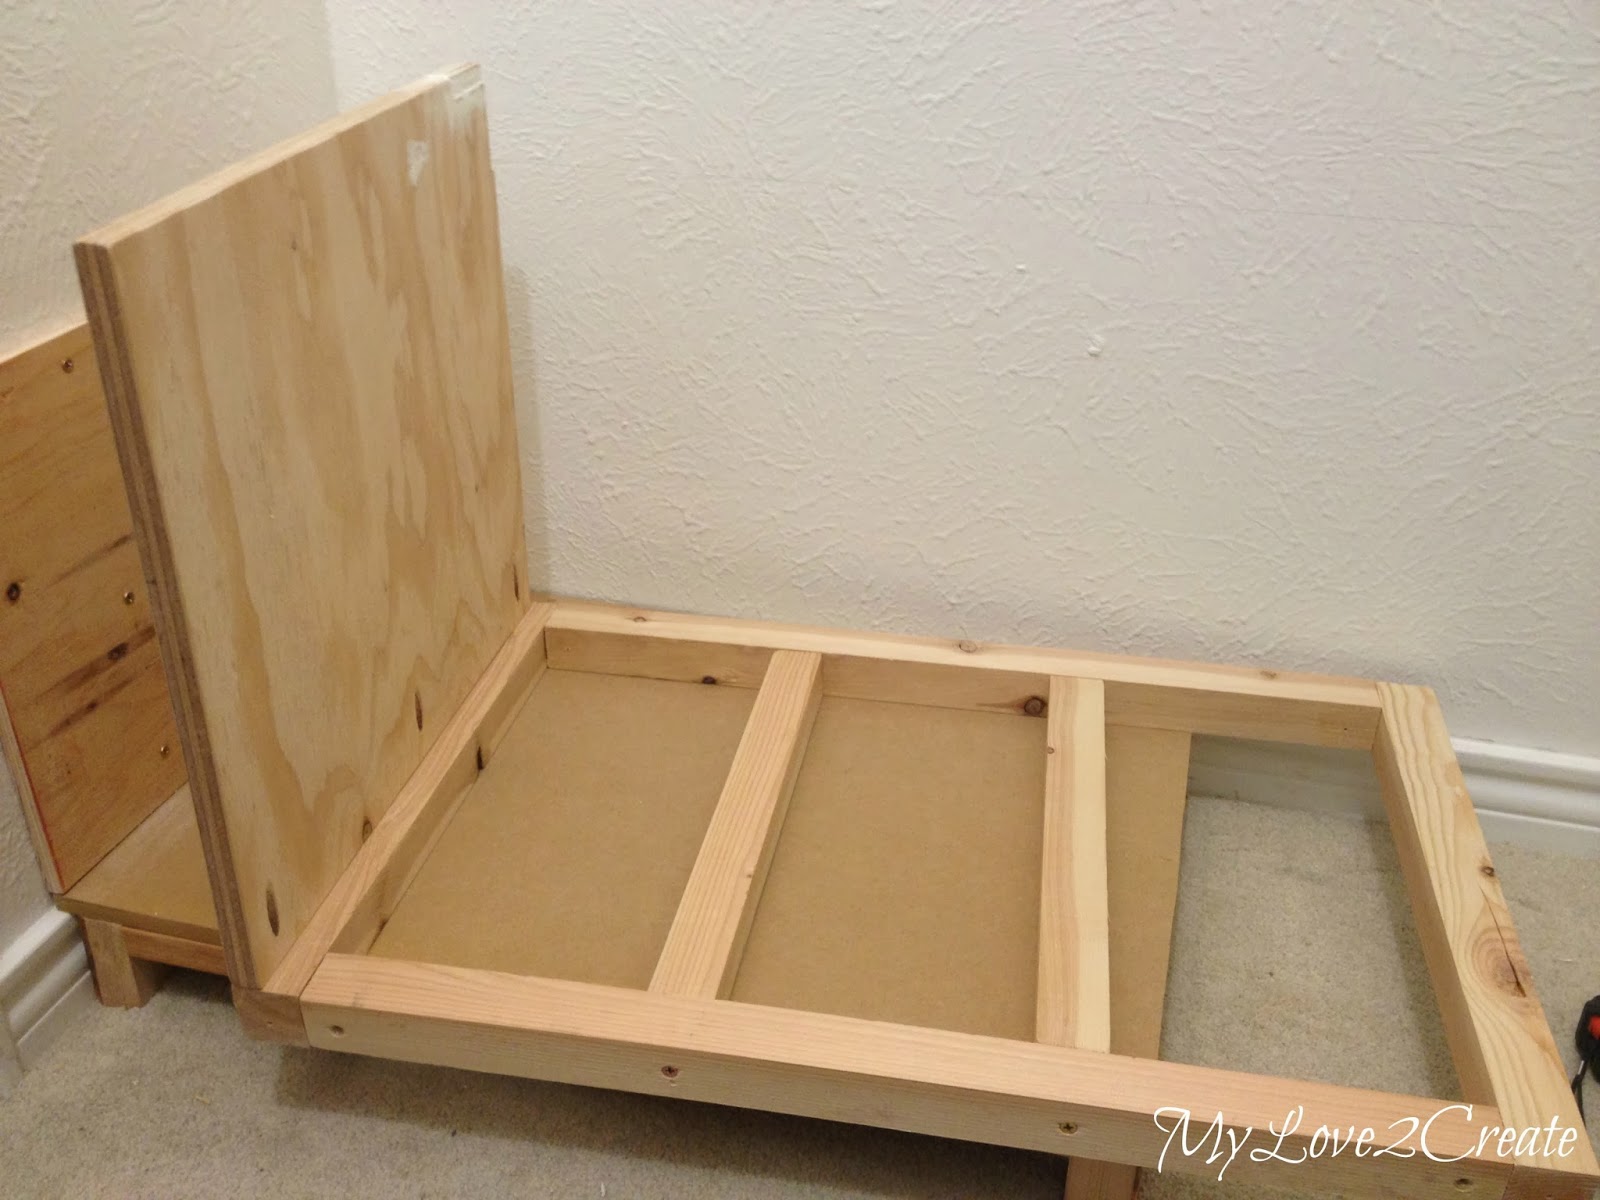
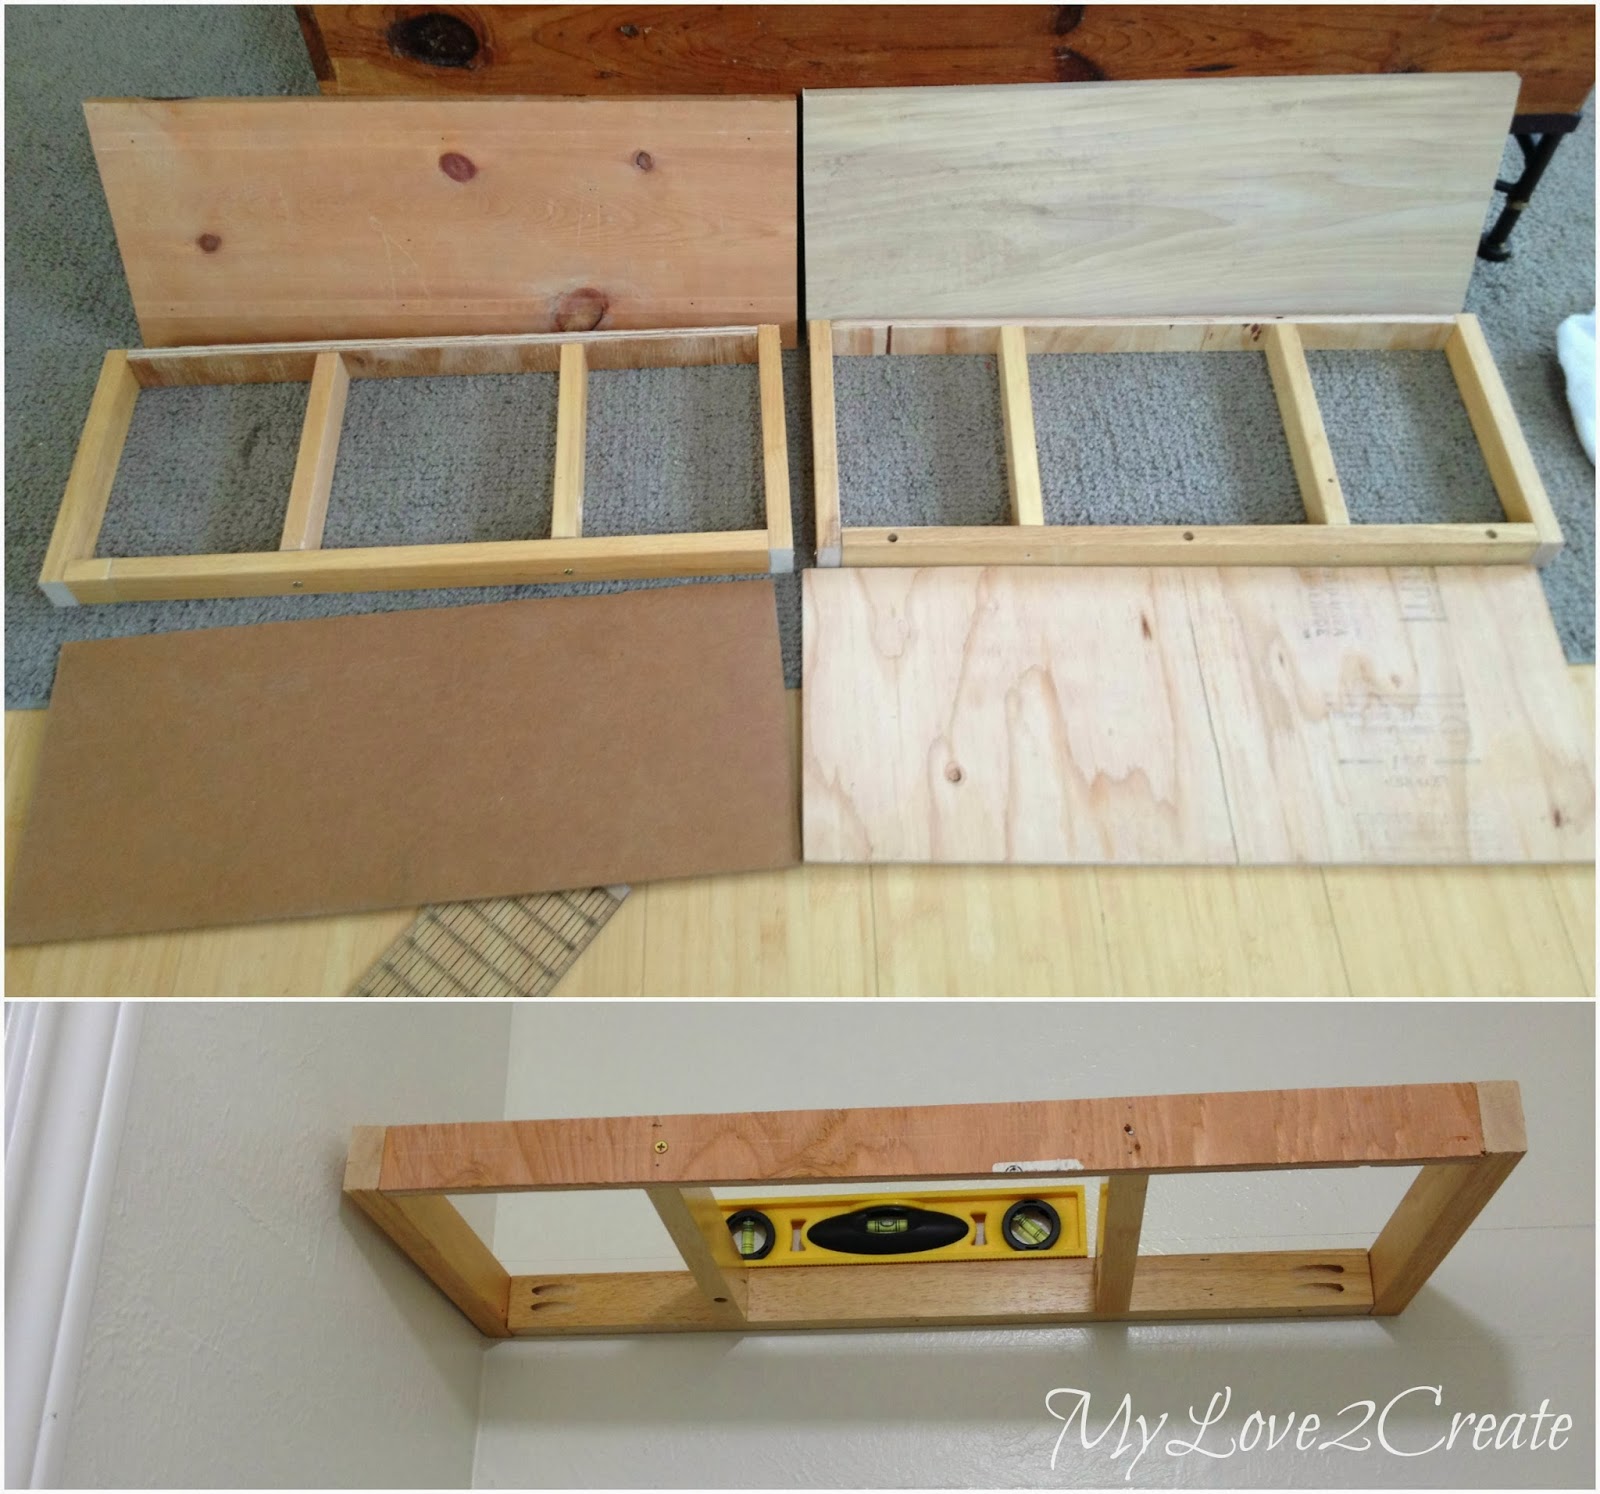
Then I added my bench top support and a side piece, here it is upside down, showing my pocket holes.
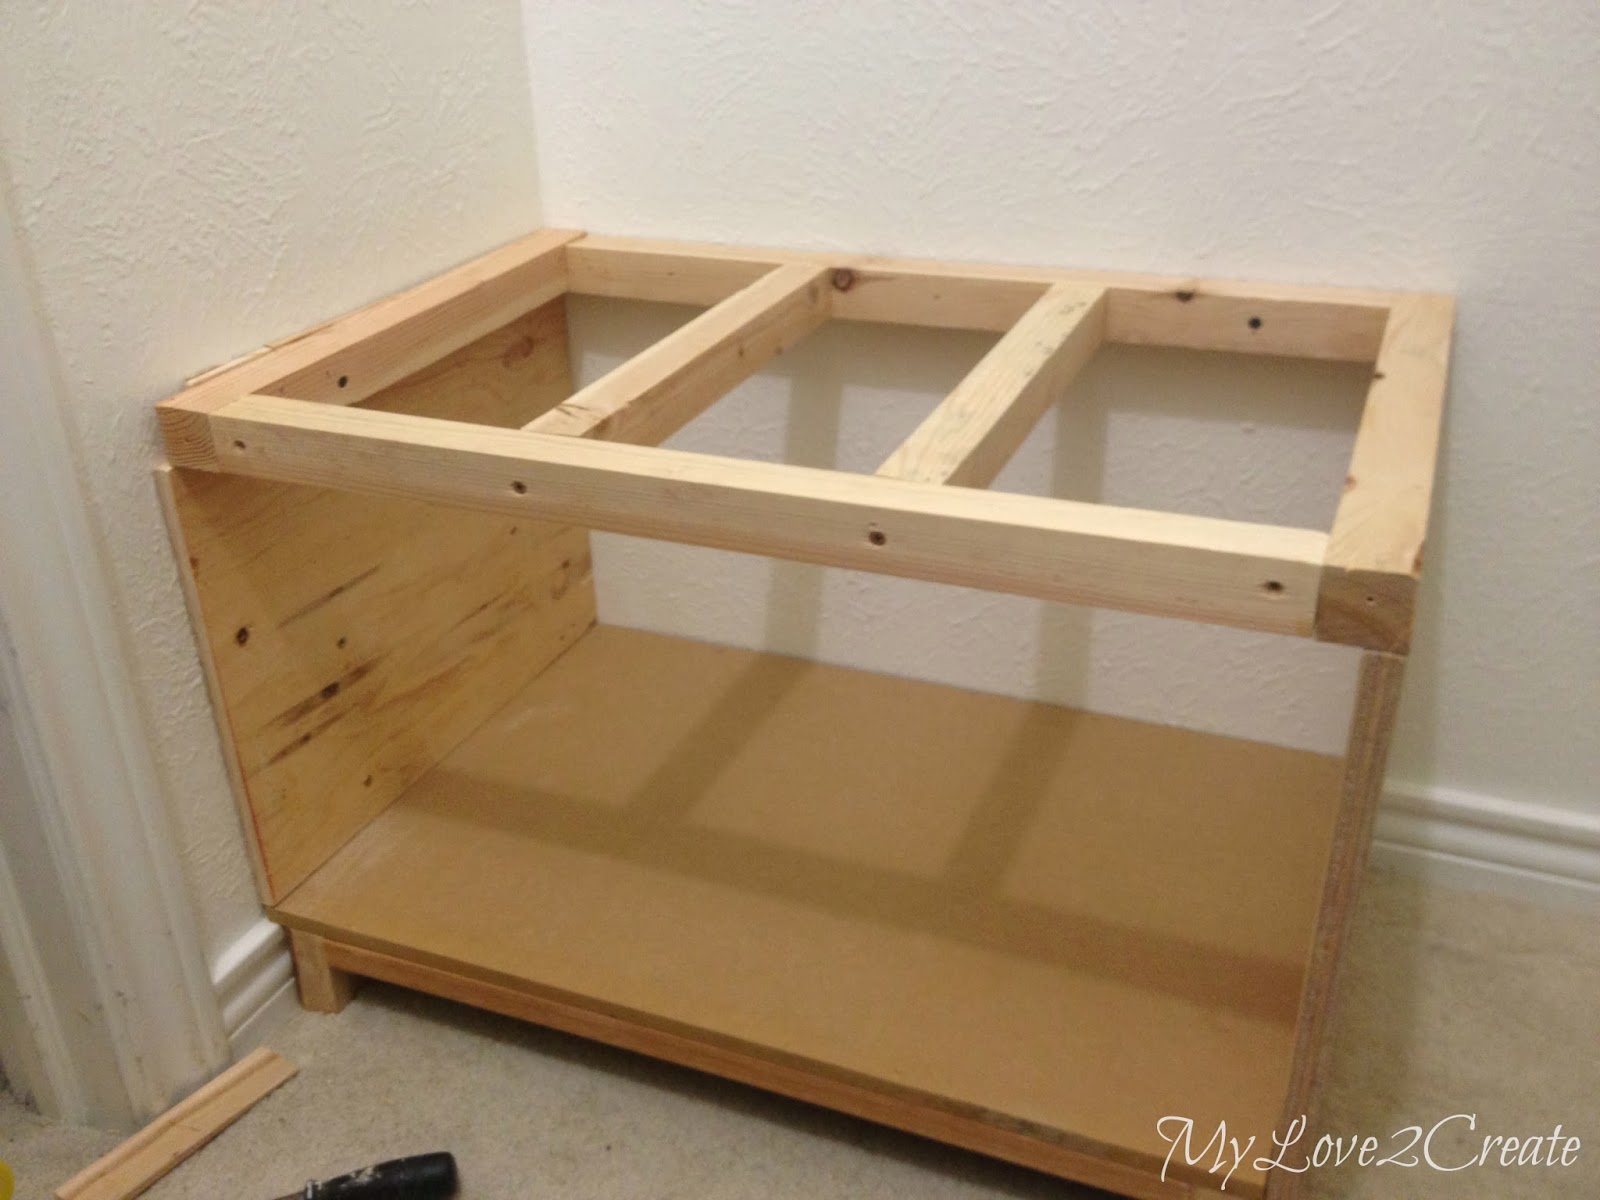
And here it is attached to the base, the right side goes all the way to the floor and I screwed it into the base from the sides. The top is screwed into the studs in the back and sides. If you look close you can see my side wall is VERY uneven, and I had to uses shims to fill in the gaps. So much for my straight top piece!
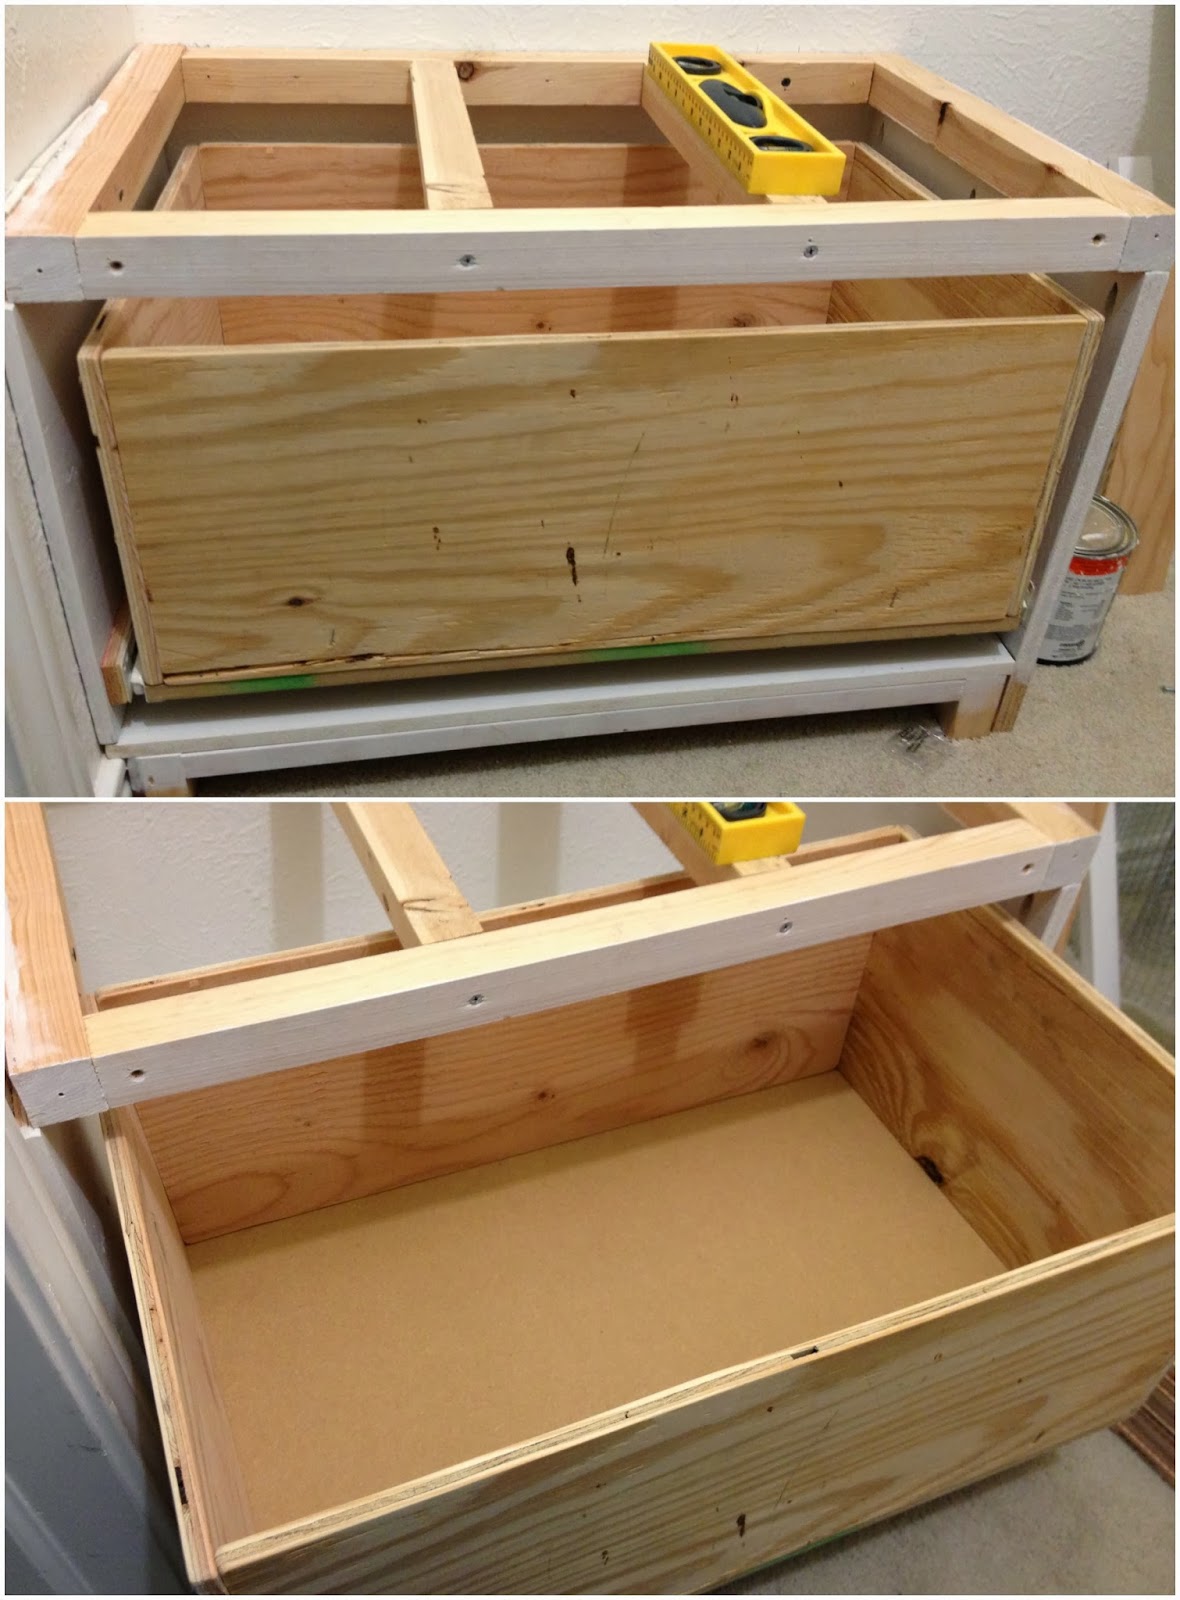
My next step was building a drawer, a very big drawer! I did have to go and buy 16 inch drawer slides for this, but I used my scrap wood for the drawer box, and bottom. You would think after installing 10
drawers this one would be a cinch, right? Nope, it gave me endless headaches, and I swear I re-did it 50 times and it still isn’t perfect! Oh well, it is good enough!
For my bench top I found some 2x’s and measured, cut, and used glue and pocket holes to join them together. The 1×2’s in the photo on the right were for the top support for the bench.
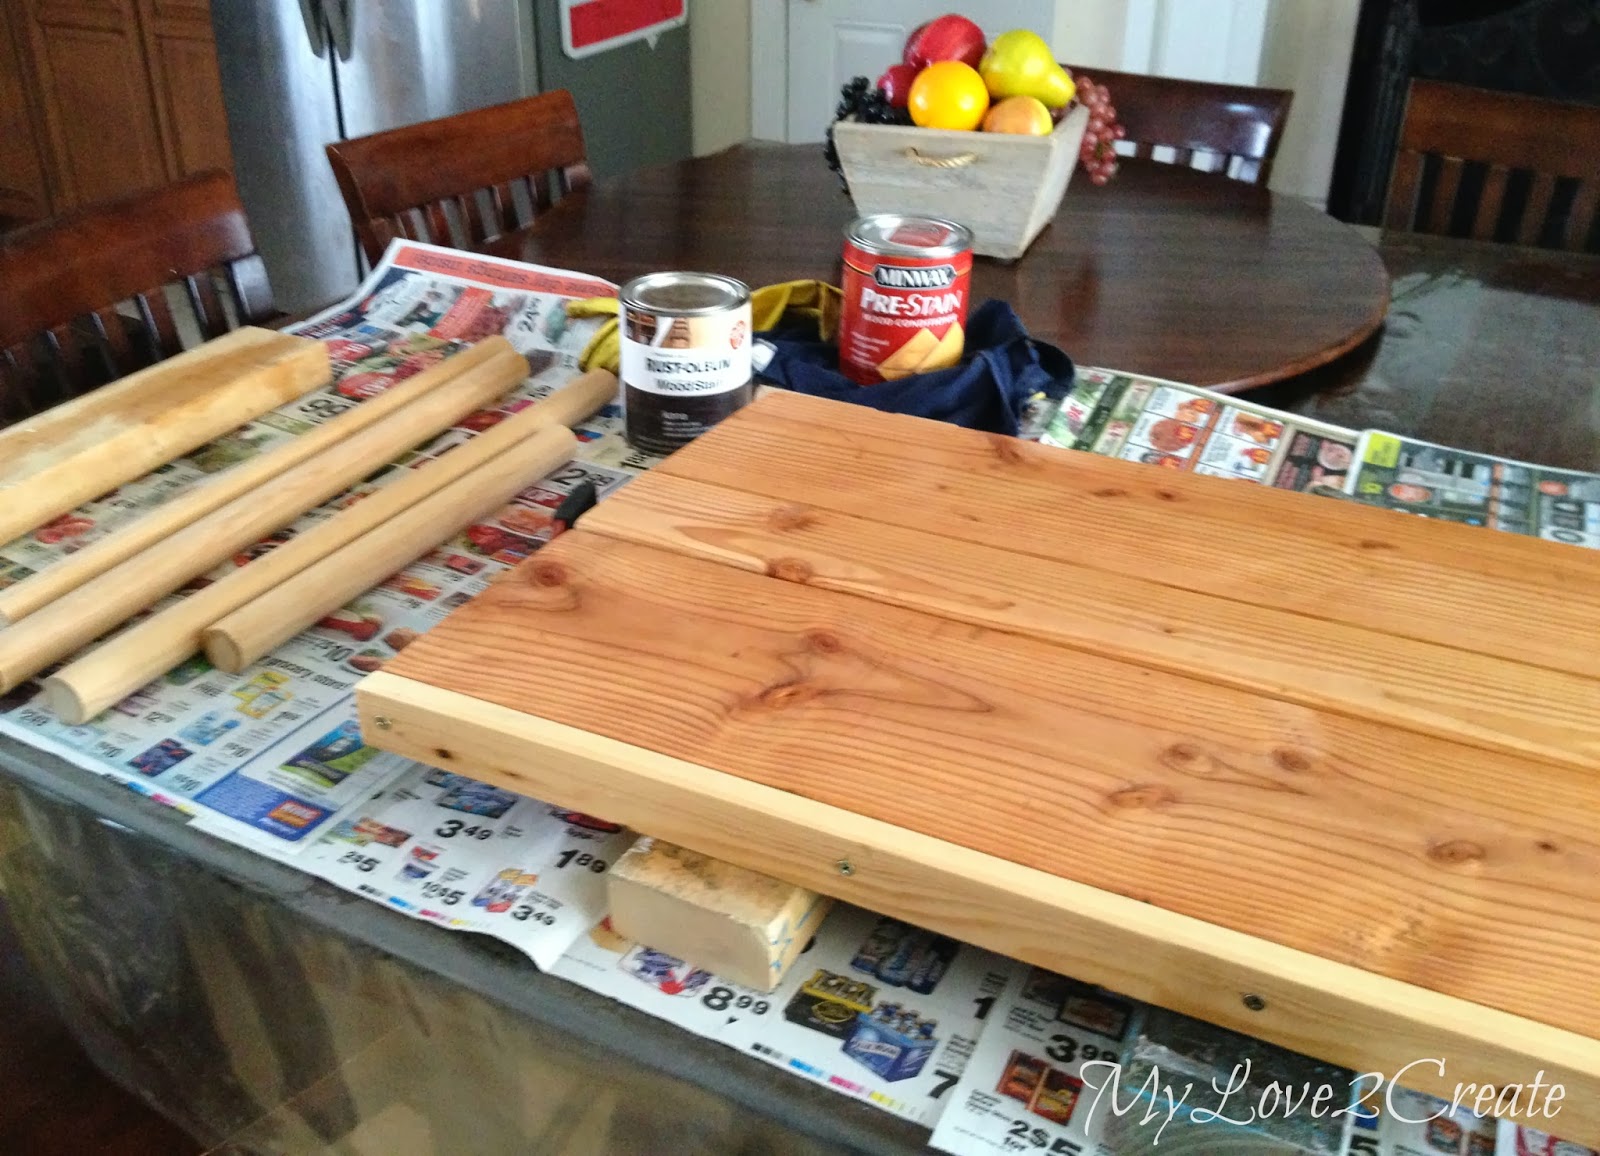
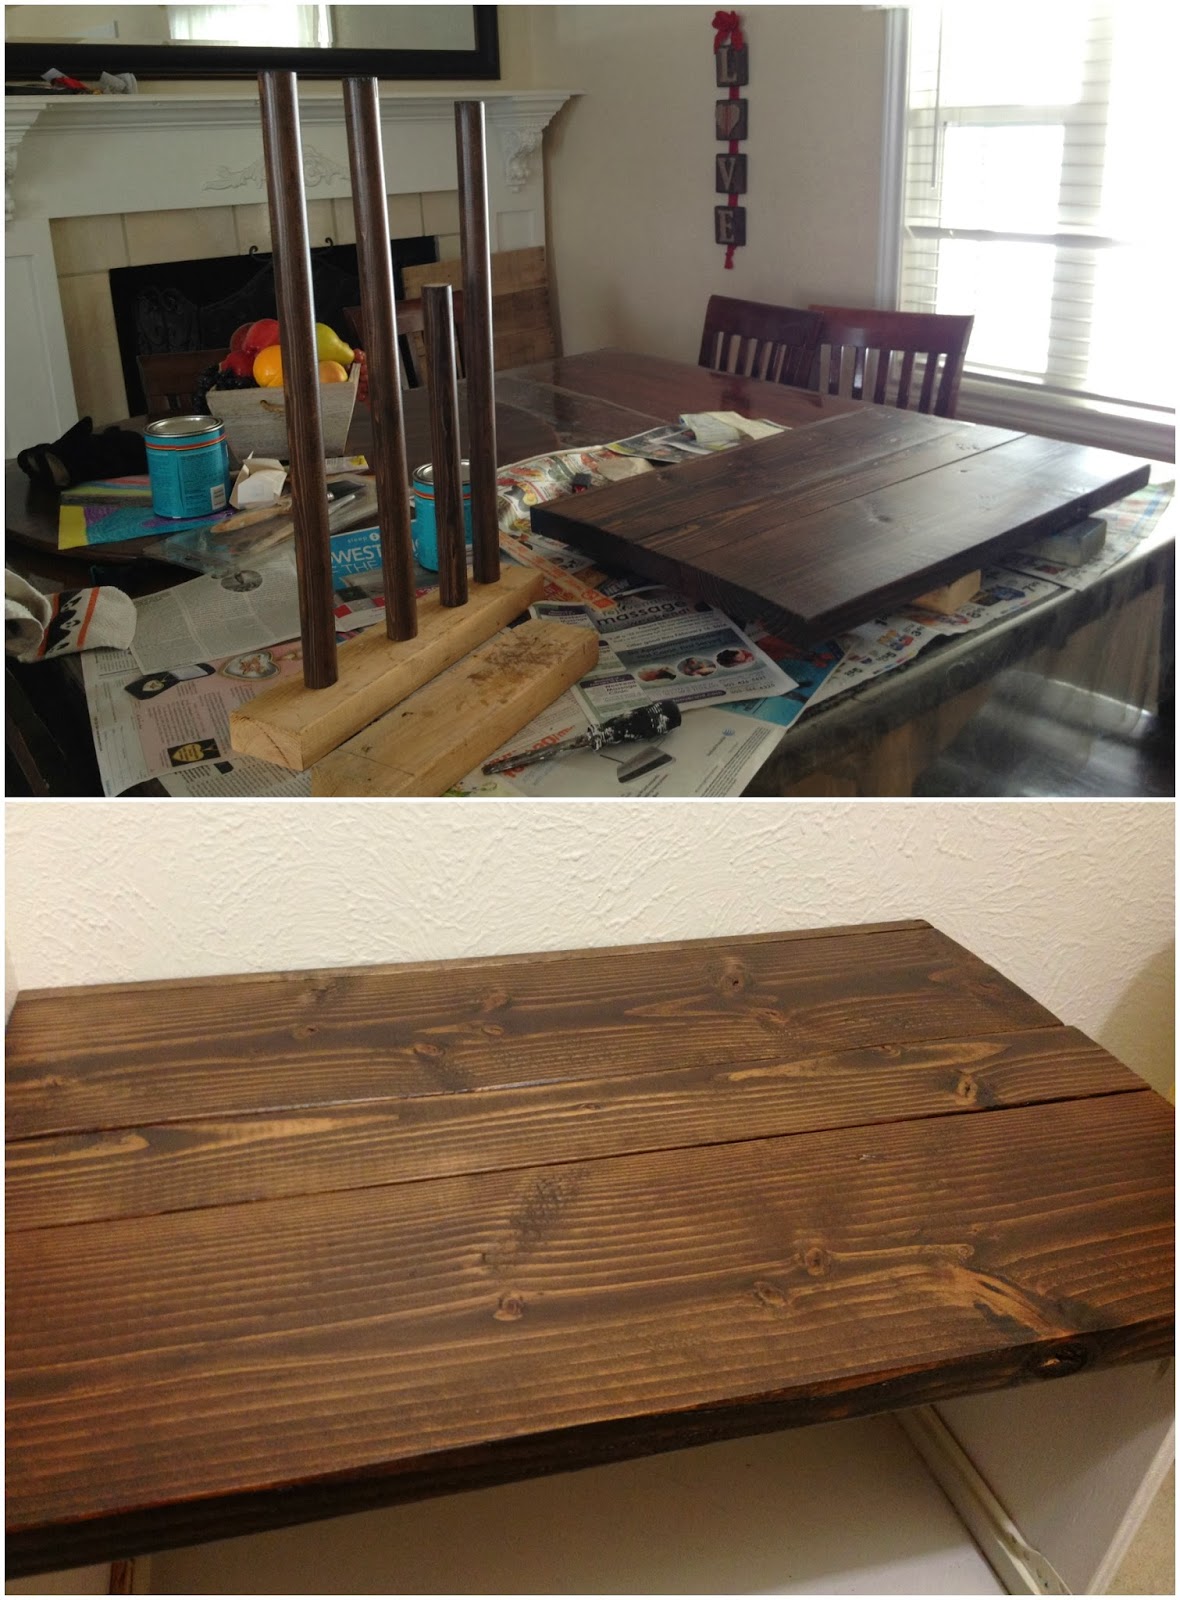
Most of the closet will be white but I wanted to stain the rods and bench top, so here they are with wood conditioner. You can also see that I added a 1×2 on the bench top, I did this because I forgot to factor in the trim for the front of the bench, and I need the bench top to be a little longer so it could hang over the trim a little.
I stained them with Rustoleum’s Kona, and I love it! I also added three coats of poly, sanding with 400 grit sandpaper after coats one and two, it is nice and smooth!
Above the bench, I decided to do floating shelves.
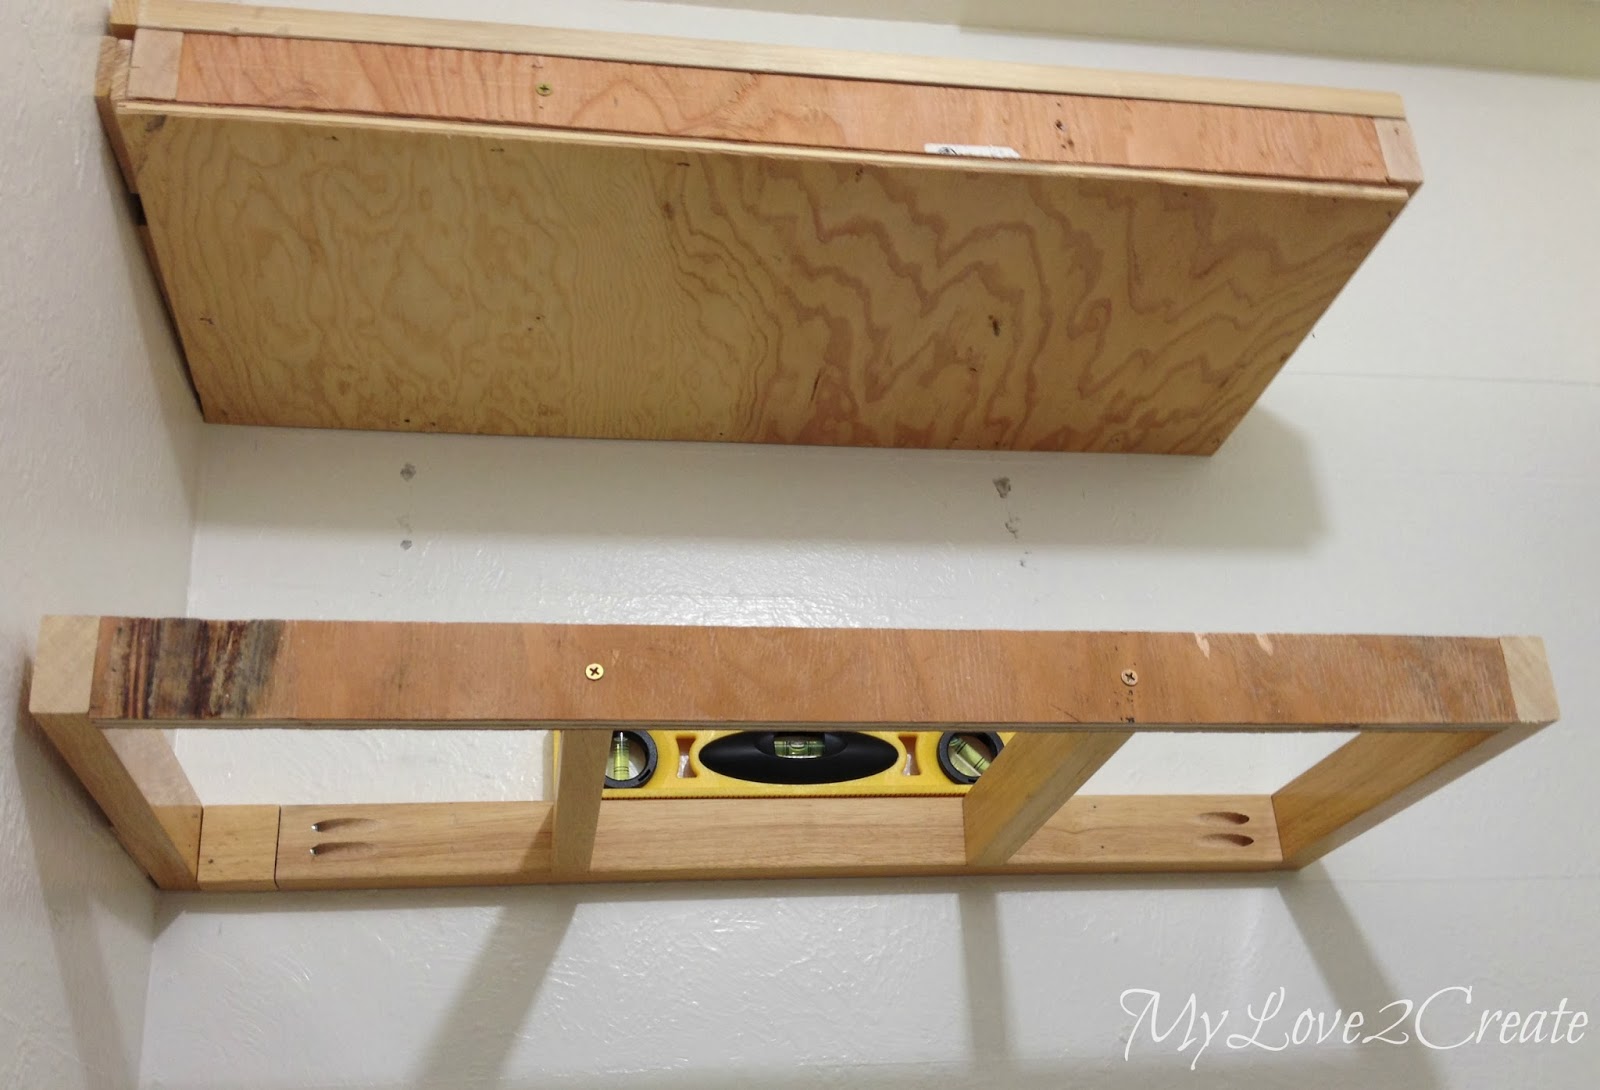
So, I built a frame and attached it to the wall, making sure it was level. I used two inch nails to secure it first and then added screws. I cut boards for the top and bottom of the frame. You can see how the side wall is not straight, same wall as the bench, it totally bows in, making my frame not flush with the wall.
You can see all the shims I had to add to make the frame flush with the wall, and now my bottom board does not cover the length. So fun!
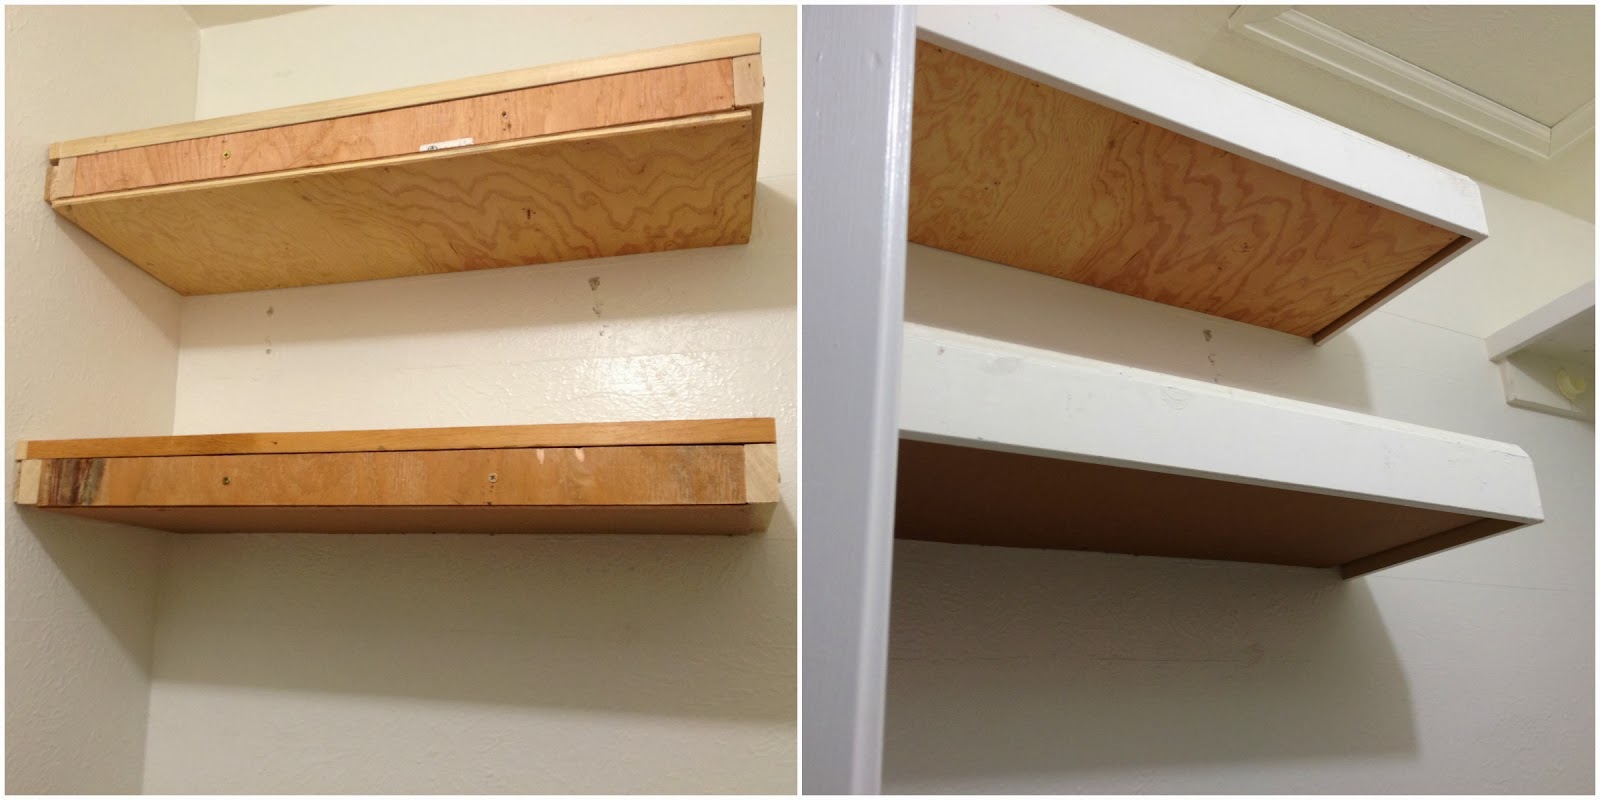
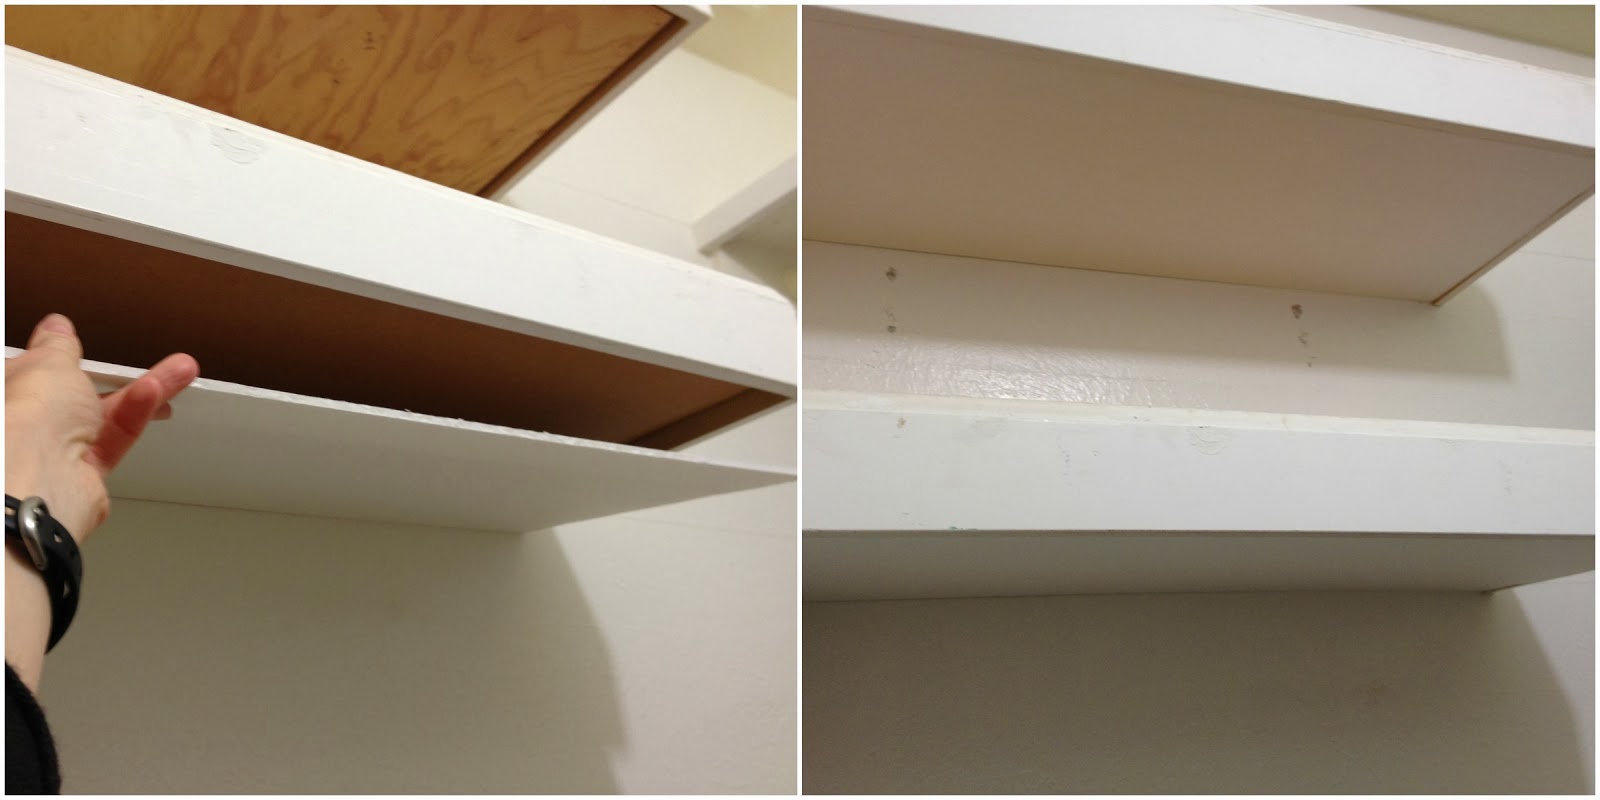
At this point I didn’t care and kept going. I used some baseboard trim to add a nice finish around the floating shelves, but the bottoms still looked so bad! I was not in the mood to cut more wood. So after stewing over how to fix it, I finally came up with a brilliant idea! You may think I am crazy, and you may be right, but…
I cut foam core, and make it crooked on one end, just like the wall, and hot glued it into place! Ta da!! Crazy, but I don’t care! They look nice and finished and with a little caulk, you won’t see the slightest gap! Insert happy dance!
This concludes my post for today. As of right now I am ready to sand, prime, paint, add drawer knobs, and hooks…that is it! I hope to get it done this week, we will see, I have lots of other obligations that need my attention. But I am so so close!! I really appreciate your sweet comments! Thanks so much for following along!
Hugs!
Mindi


Seriously incredible Mindi! You are making amazing progress- what a huge job! As always I am super impressed with your building skills. You are inspiring me to pick up a few more power tools myself:) Hope you are having a great week!!
Wow, Mindi, it is coming along beautifully. I am totally drooling over all the awesome storage you are going to have!
– Tasha {www.designertrapped.com}
I KNEW you were going to say foam core! 🙂 I think you're pretty much a genius, ya know….
I don't do drawers… well I have made some… but never have done slides. I even have some around here somewhere that I removed from some drawers. maybe someday. 🙂
I love how it's all coming together Mindi!
gail
You're working wonders! I cannot work that fast. I hate that almost always walls are not straight 🙁
Now I'm a bit envious of all that storage space 😉
You must be exhausted from drilling all those pocket holes! Oh man! I love the idea of covering the underside of the shelves with foam core. Genius! Pinning for sure. By the way, you need to go to SNAP with me!
great JOB! laura
OH!!! What I would do for a shoe shelf!! Seriously it is looking amazing friend! You are making amazing progress!!! You keep at it and when it is done you are going to love every bit of this closet and the fact that you did it is going to make it that much sweeter! You are awesome! I am beyond impressed! A happy weekend to you!!!! Nicole xoxo
Impressive! Lady, you and I need mega heaters in the garage because it is difficult to do any wood working when it is -21 outside. The rest of the house becomes our work area in the winter time. lol Mindi, it looks wonderful! I can not wait to see it all done. Great work on those shoe shelves. One day I will have a Kreg Jig and call it Precious. 😉
This is coming out great! i think you left a similar post for another shelving project that I love, this must be another closet.. Thanks for the share, it will be good ideas for my home that Im building Thanks for linking up
Looking great so far!
Can't wait for the reveal!
I am so jealous! This is gorgeous!
You are doing an awesome job Mindi! I don't think there is a straight wall in my house, so I would be having the same problems you are. Can't wait to see the finished closet. Thank you for sharing at What We Accomplished Wednesdays. Have a happy day!
~Deborah
My goodness Mindi, what a project you have going on here! So cool that you are going to get exactly the closet you want when you are finished. It is looking amazing! I'd love for you to come link up tomorrow morning (Tuesday) at The Makers! Hope to see you there!
Corey @ TinySidekick.com
I soooo need one of these!
Oh, wow, this is a labor of love but just think how awesome it's going to be when it's finished! Can't wait to see it!
WOW! That is some serious work!! Great job, I'm jealous!
Girl you are crazy! That is amazing work to throw on top of the duties of a mom of 6!!! It turned out amazing though! Great work!
Oh my goodness can I pay for you to come to my house! Seriously you are amazing! Thanks for sharing at the party! If nothing else I could use a shoe shelf! Love it! Thanks for sharing at the party Theresa @DearCreatives
One of the wonderful ideas I have ever seen so far. The master closet, a perfect project! I can do more with my open space as I have seen your magnificent idea!
Sebastian of
Factory Direct Gazebo
Featured and pinned.
Great tutorial! I bet you saved so much money making this instead of buying it pre-made. Good for you! Thanks so much for sharing this at Frugal Crafty Home Blog Hop.
Congrats! You are featured on this week's Do Tell Tuesday link party and have been pinned to our features board! Feel free to grab a button and link up this week too. 🙂 http://www.vintagezest.com/2014/02/do-tell-tuesday-11-with-features-co-host.html
Diane @ Vintage Zest
I love the foam board idea!! Wow…I am impressed with your work!
Shoe Shelf, bench and floating shelves, Master Closet Makeover. I'll bet you were hoping this post would be my reveal! Believe me, I wish it … ffloatingshelves.blogspot.com
floating shelves are inspired to utilize the space on the corner of the room
I Love the cubby shelves!
I know they are my fave!!