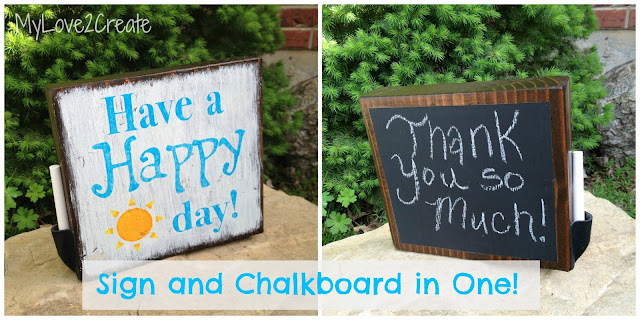
Sign and Chalkboard in One
For this fun project I found two pieces of 2×6’s left over from my Counter Height Bench I made for my kitchen island.
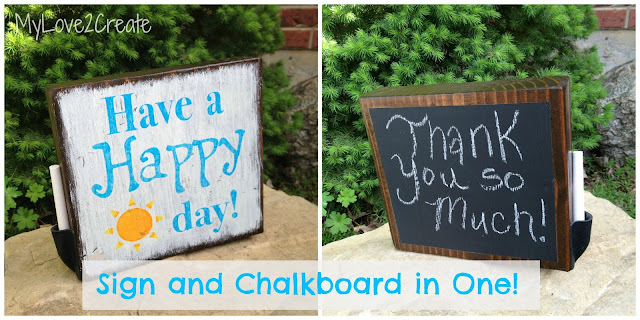
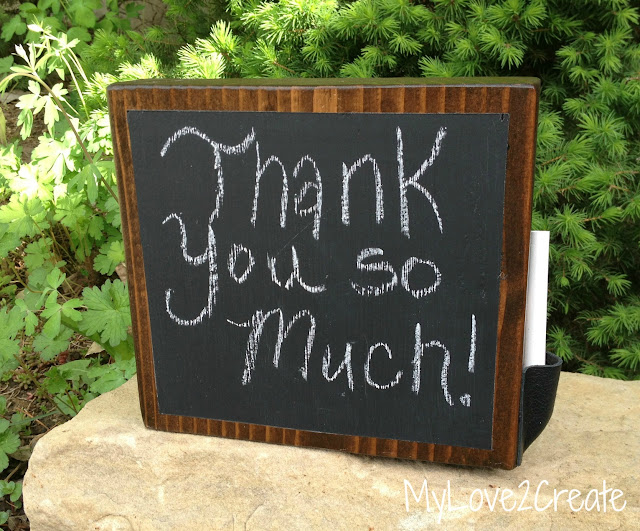
The picture above shows one piece of wood. I painted a sign on one side and a chalkboard on the other! I actually made two of these exactly the same, I gave one to our elementary school secretary. She is awesome and has helped me out so many times, so I thought she deserved something cute!
My thought was that she could use it at her desk and write notes to parents coming into the school on the chalkboard, and have a great reminder on the other side all to herself! She loved it and seemed surprised to get something at all!
As for the other one….well I am sure I will find someone to give it to…I have a few ideas.
Enough talk lets see how I made them!
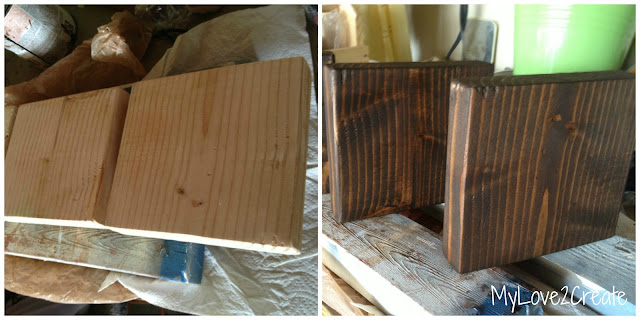
Here are my scrap pieces, I just sanded them down and stained them with dark walnut.
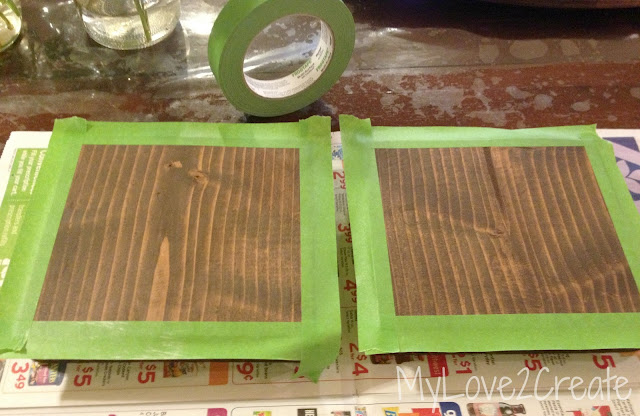
I taped off each piece leaving a small edge on all four sides. I didn’t measure, just eyeballed it.
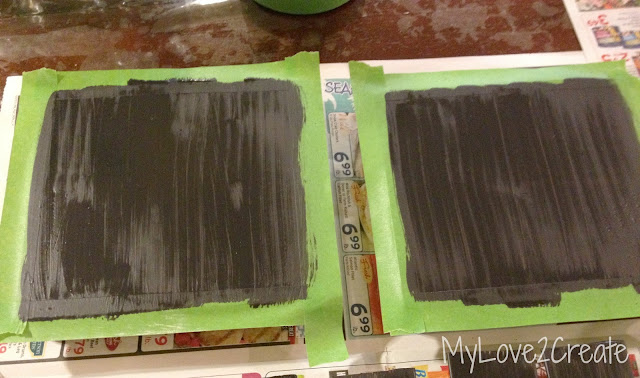
Then I painted three coats of chalkboard paint. I peeled off the tape when the last coat was still wet.
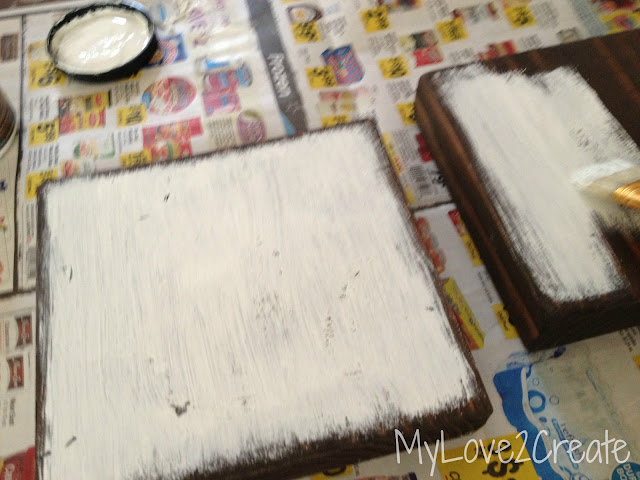
Sorry this is so blurry!! I was in a hurry. When the chalkboard paint had dried I flipped them over and used a chip brush to paint a thin layer of white paint. Notice I didn’t go right to the edges and didn’t try to get great coverage. I was going for the rustic look.
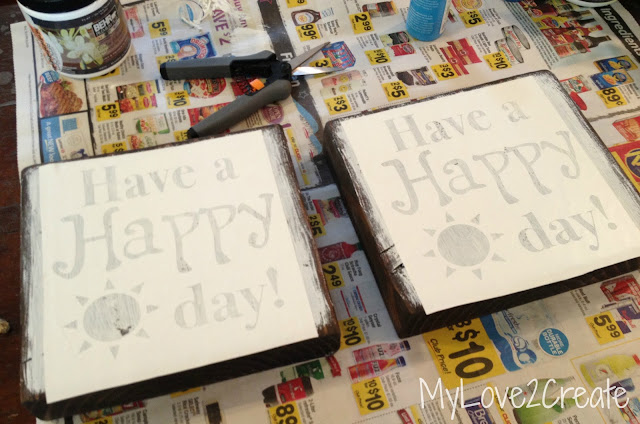
I decided on what I wanted to put on the sign side (that was the hardest part for me, since I am so indecisive!!) Once I picked a saying I designed it on Sure Cuts A Lot and cut it on my Cricut. Since it was a stencil I just used contact paper. Then I laid it on each block.
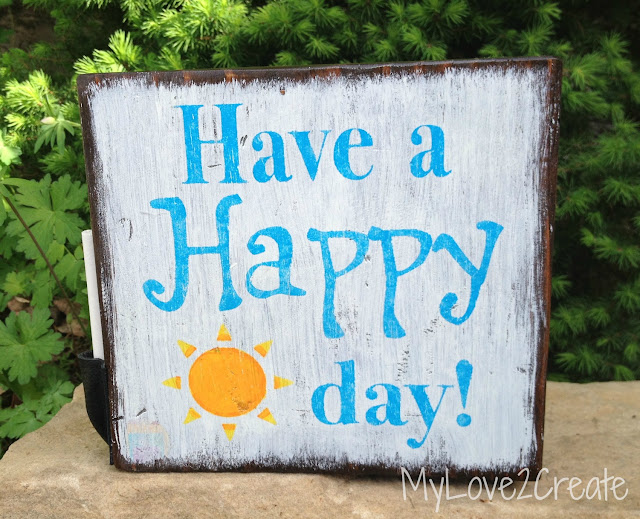
I used one of my favorite colors to do the letters and then used some yellow and orange to do the sun. The rays kinda look like candy corns don’t they…..Oh well! I don’t claim to be an artist! Again, while the paint was wet I pulled off the stencil and ta da! Cute! I did sand it quickly when the paint dried.
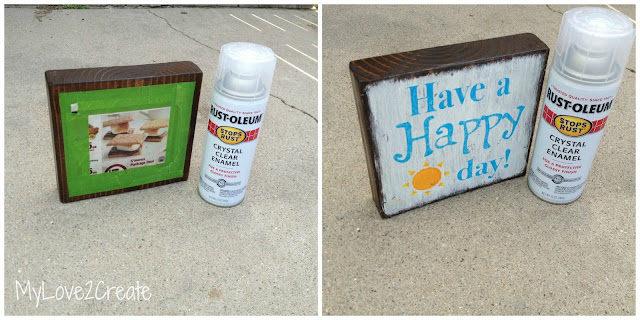
I taped off the chalkboard and sealed both sides! All done!! Oh wait, not yet…
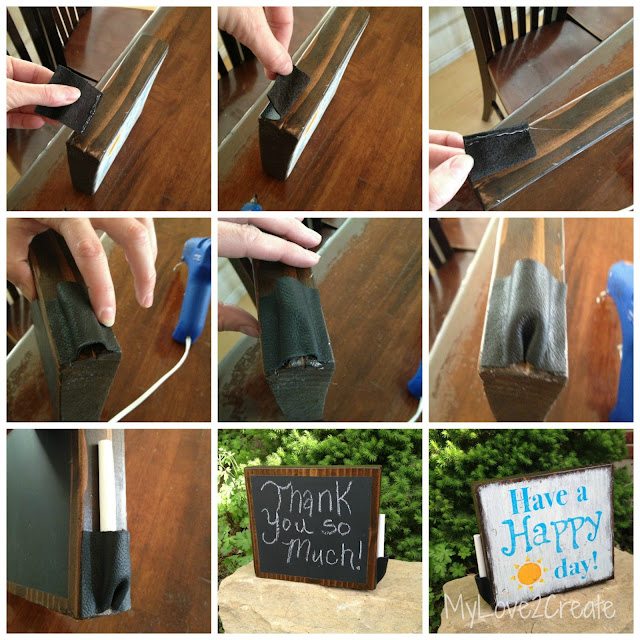
What about that cute chalk holder? Well here is a picture of each step in order left to right, top to bottom…
I used a small piece of black leather a little wider than the board, and simply hot glued it on! Perfect place for the chalk!
This could be a great gift for a teacher or for anyone really! Since the board is thick it just stands up on it’s own. I even thought about drilling holes in the top for pens and pencils, but the truth is I was out of time, but that would be useful too!
Thanks for stopping by!
Hugs,
Mindi
I will be linking to these parties.

I love that you can personalise these, would be a great gift.Rx
http://sandersonsmithstory.blogspot.co.uk/
Hi Mindi – this is so cute and such a good idea! I totally love the sentiment, too! Thanks for sharing, am pinning and have a wonderful week!
You know…these would be soooo cool at a bakery or neat little shop! Seriously! I think that you have something here!!! Love it friend!!!!
Such thoughtful gift, so cute! the leather pocket to hold the chalk is the perfect extra little touch!
Too cute! Love your creative ideas! 🙂
Ahhh, I love me some chalkboard paint! This is so cute. Thanks for sharing and for linking up to Frugalicious Friday!
This reminds of summer and the beach. So perfect!!! Looks great! I am inspired to make one for our beach condo. I hope you will share this on my blog this week. The challenge is "Life at the Beach" challenge. Anything beach/summer inspired or nautical.
Come on over! Link up begins Wednesday night!!!
http://www.thecsiproject.com
Sandy toes and salty kisses XOXO
Dee, The CSI Girl
Love it! Thanks for sharing @ DearCreatives.com link party! Theresa xo
of course I LOVE it! sweet sign, and the chalk holder is brilliant! 😉
catching you!
gail