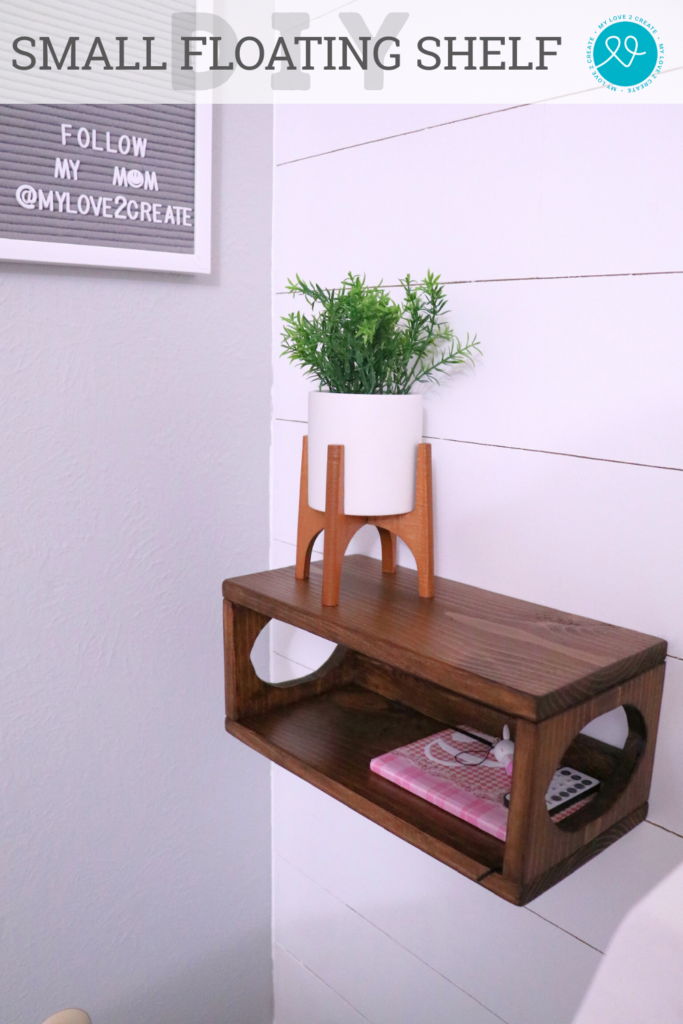
Small Floating Shelf
Hello, hello! Today I am finally sharing this adorable small floating shelf!! I love cute and useful projects and this one delivers on both accounts!
I created this shelf as part of my daughter’s Tween Girls Bedroom Reveal and it is about time I got this post up! Good grief…it’s not like my life is busy or anything…ahem, understatement of the century. 😉 That is what happens when your world falls apart…you pick up the pieces where and when you can. This is just a piece I am picking up now…still some to come.
Better late than never I say, so let’s get started! I am sharing a picture tutorial on this and I have thought about creating some building plans, so let me know if you are interested in the comments below and I can get right on it!
How to build a Small Floating Shelf
This post contains affiliate links, read more
Supplies:
- Miter saw or Circular saw
- Jig saw
- Drill and Driver
- Hand sander
- Wood Glue
- Nail Gun
- Finish Nails 1 1/4”
- Clamp
- Pencil
- Circular object to draw arch (like a bowl or cup)
Materials:
- 1x8x8 board or scrap pieces
- 1x2x8 board or scrap pieces
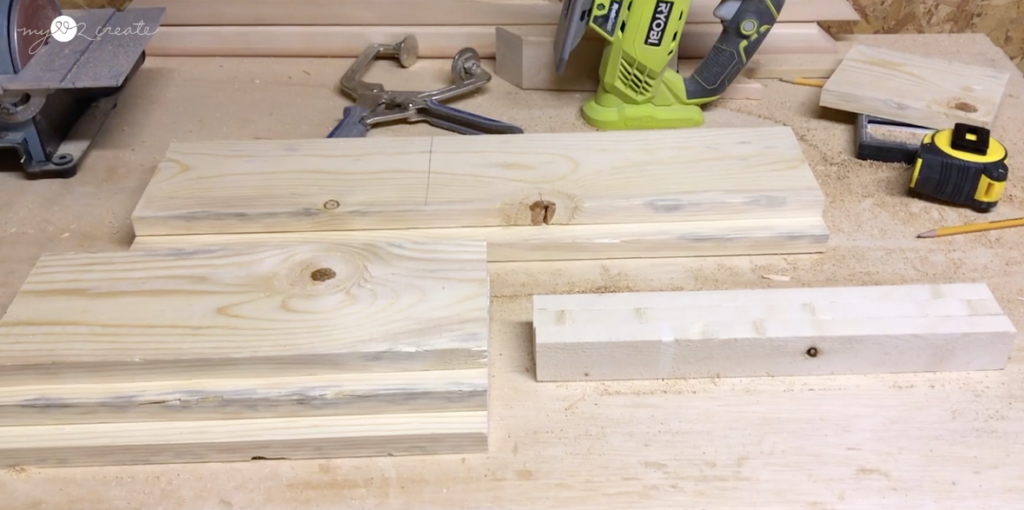
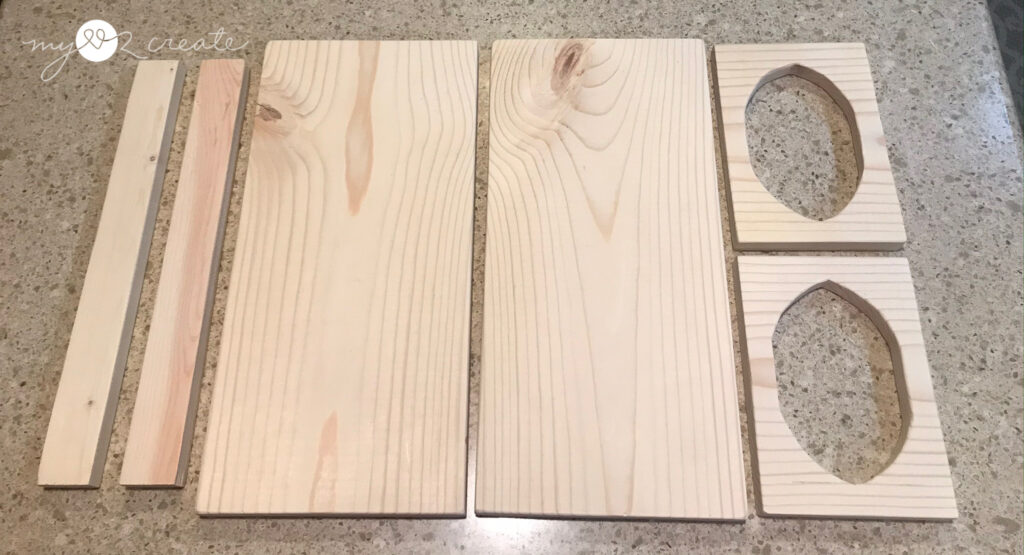
Step 1: Cut your pieces to size
For this small floating shelf I was inspired by my Floating Night Stands, that made for my bedroom. I knew my daughter would want something by her DIY Daybed so I decided this floating shelf concept was the way to go. I had some scrap 1×8 board left over from another project and some 1×2’s and so I set to work.
First things first, decide how long and how tall you want your shelf to be. It will be 7.5 inches deep if you use 1×8 boards. If you want it less deep do a smaller board like a 1×6 board which would make it 5.5 inches deep, you have options when you DIY…SO cool!
Cut your top and bottom board to the length you want it. Then cut your side pieces to to the height you want, note it will be 3/4” extra on the top and bottom with those pieces once you build.
Step 2: Design your side pieces.
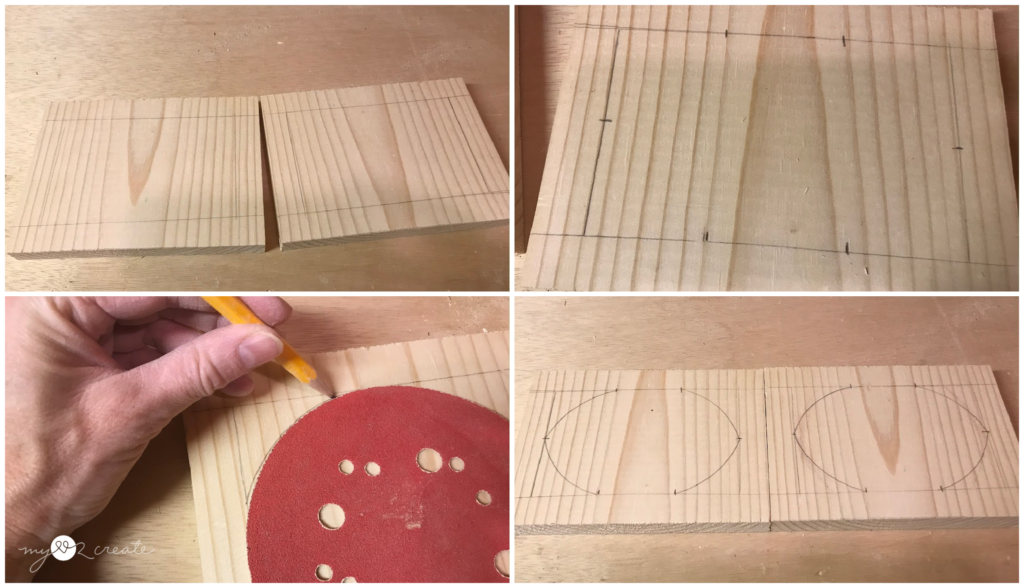
This can be an optional step. I believe adding a cut out design on the sides gives the shelf more character rather than just a box on the wall. To make my design I started with using a scrap board that is 3/4” thick and marked all four sides of the side boards, I will create my design in this space (top left). Then I measured the center of the sides about an 1 1/2” in on each side of the top and bottom (top right). Then using the closest circular object I could find, my orbital sand paper, I connected the measurements making an arch on all four sides (bottom left). And I now have my side ready to cut (bottom right)!
Step 3: Cut out your side designs and your support pieces.
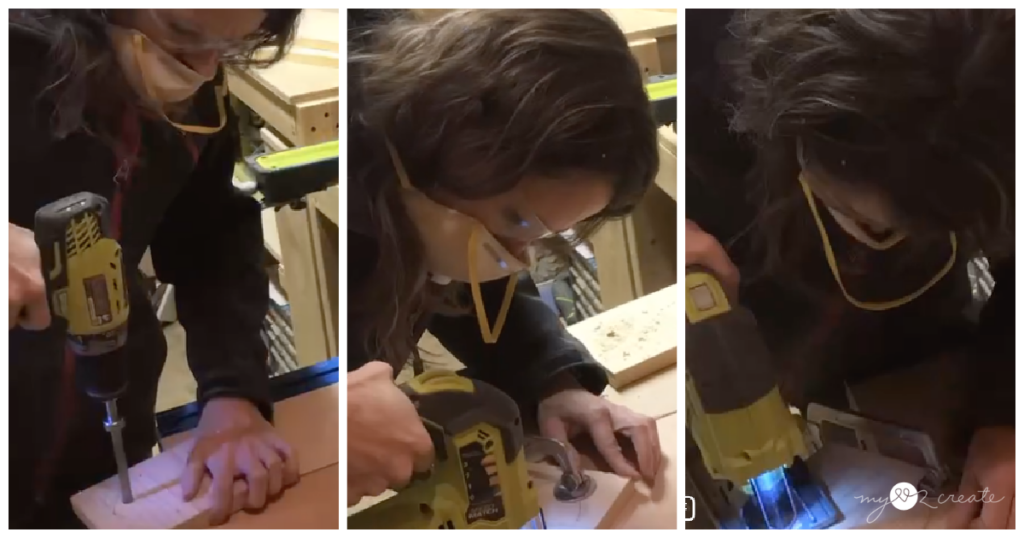
Drill a hole inside of the design you want to cut out. Then using a jig saw, starting in the hole you just drilled, cut out your design.
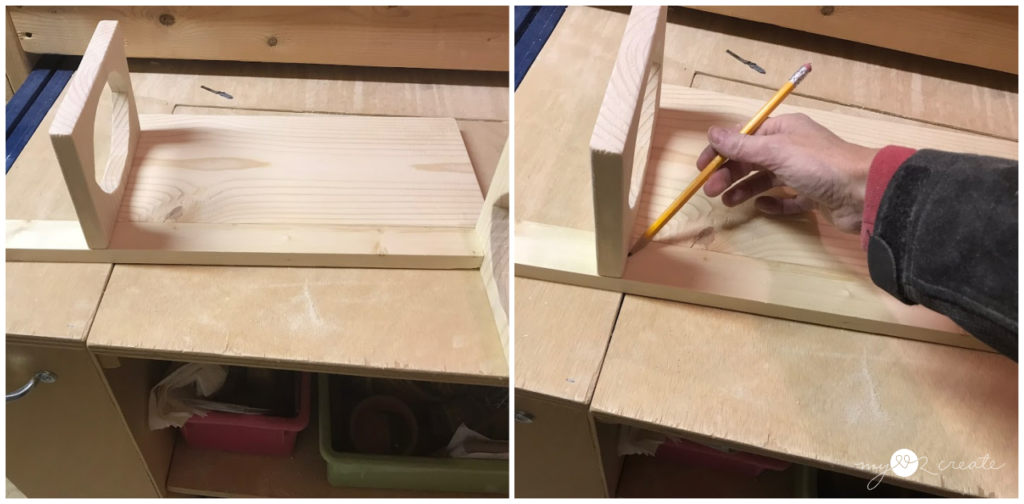
For my support pieces on the back of the shelf I added 1×2 boards top and bottom, these are also the boards you will drill through to secure your shelf into studs in the wall. Instead of measuring, I used my bottom and side pieces to mark where to cut for these boards.
Step 4: Build your shelf.
Once you have all your pieces cut and sanded smooth, you are ready to build. This is my favorite part!
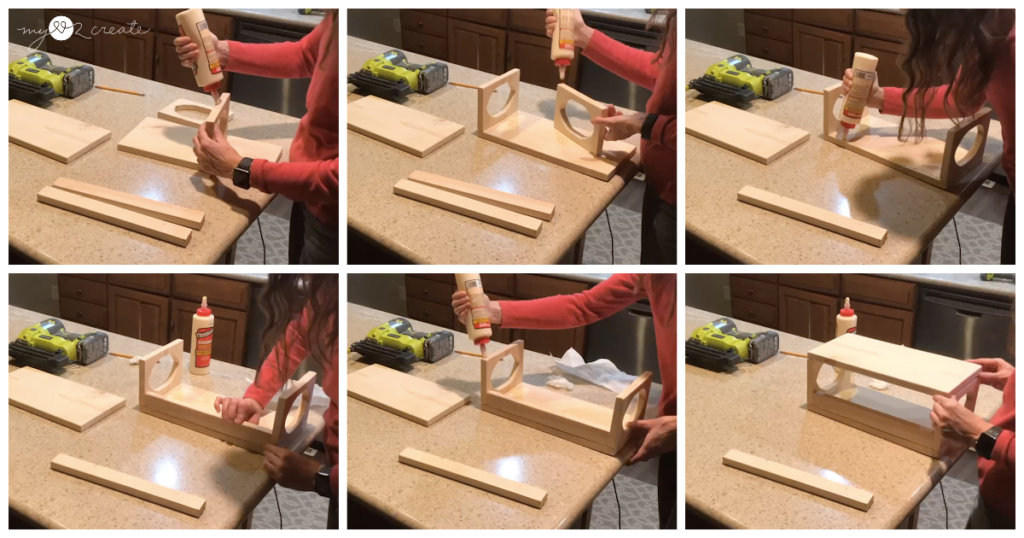
This is such a simple build, I just used wood glue and my Ryobi Nail gun to nail the pieces together with 1 1/4” finish nails. Start by gluing the sides and back support to the bottom board. Then add glue to the top of the side pieces.
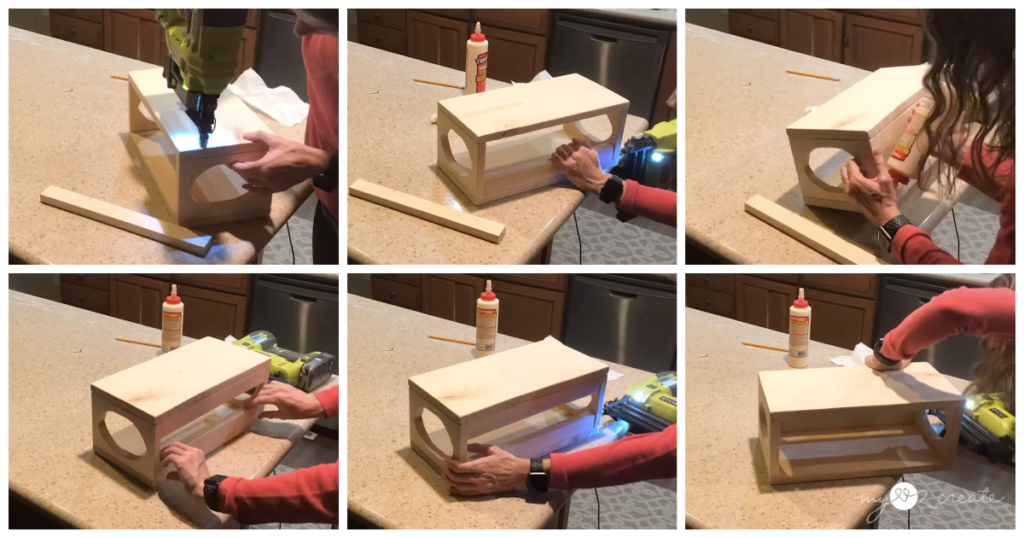
Put the top board on the sides and nail it in place. Carefully flip it over and nail the bottom piece into the sides and bottom support board. Then add glue and nail in the top support board. Make sure to nail from the sides into the ends of the support boards as well. Once you have everything secured with nails you are done building!!
Step 5: Finish as desired.
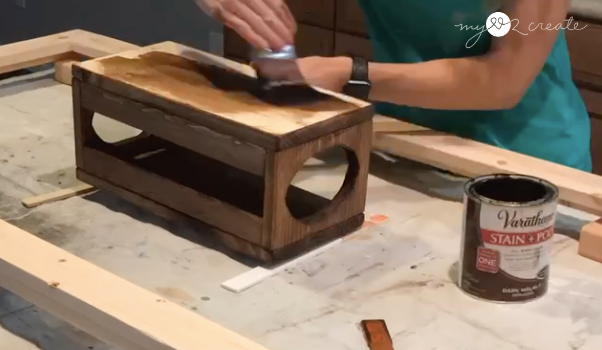
I choose to use Varathane Dark Walnut stain and poly for this small floating shelf, it kills two birds with one stone. I have found that for small projects this is a great way to finish, plus I love the color. 😉
Step 6: Hang and enjoy!
Locate the studs in the wall. Pre-drill into your support boards where you will screw through them into the stud/or wall anchor. You will need at least two screws into studs or anchors into the wall, one on each side of the shelf.
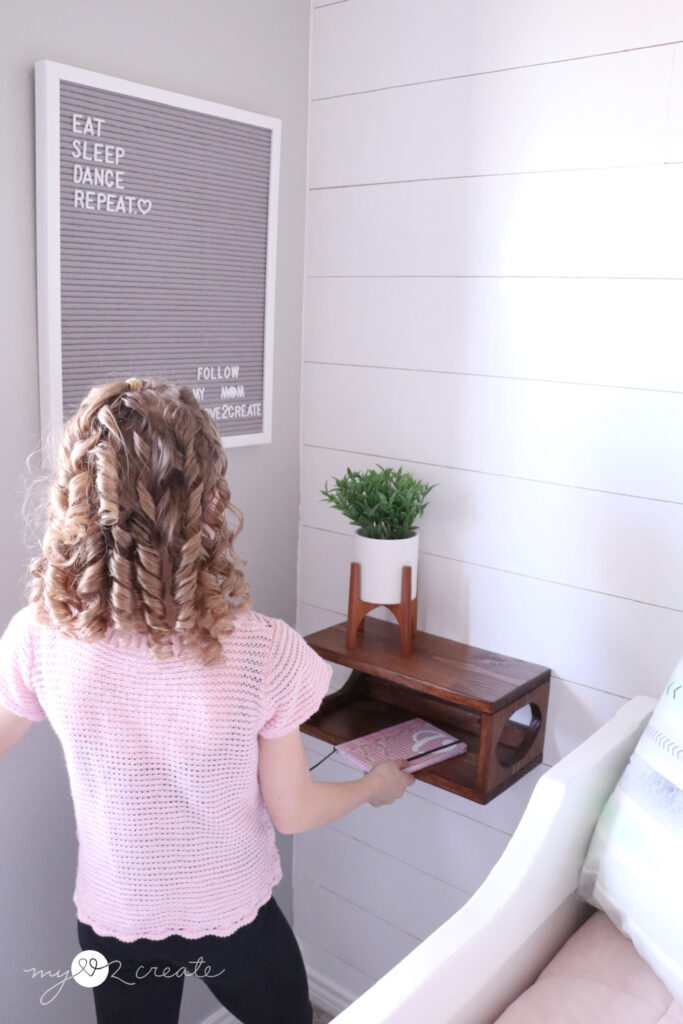
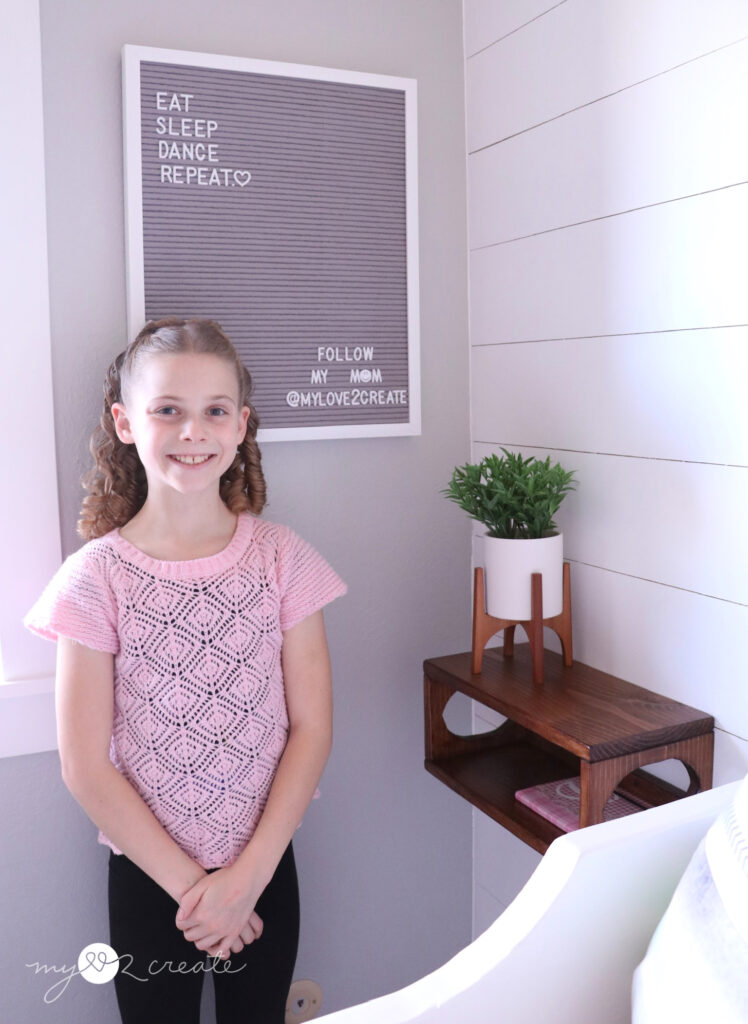
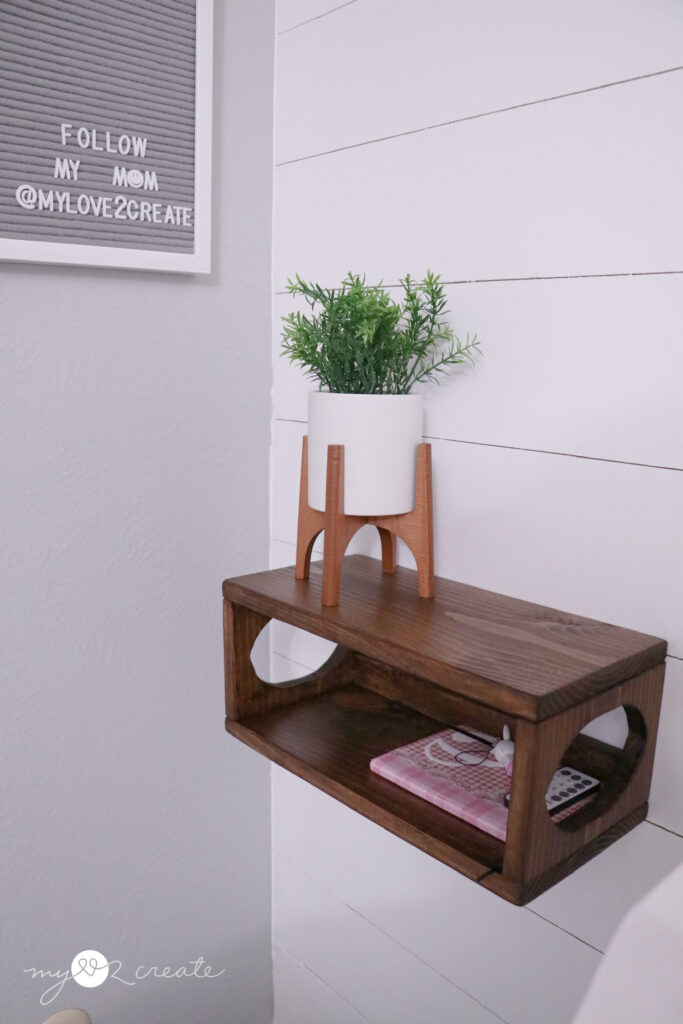
My daughter loves having this shelf for easy access to her book and journal, plus once she was old enough to have a phone, it makes a great place to set it while it charges. She loves having it close to her DIY Daybed.
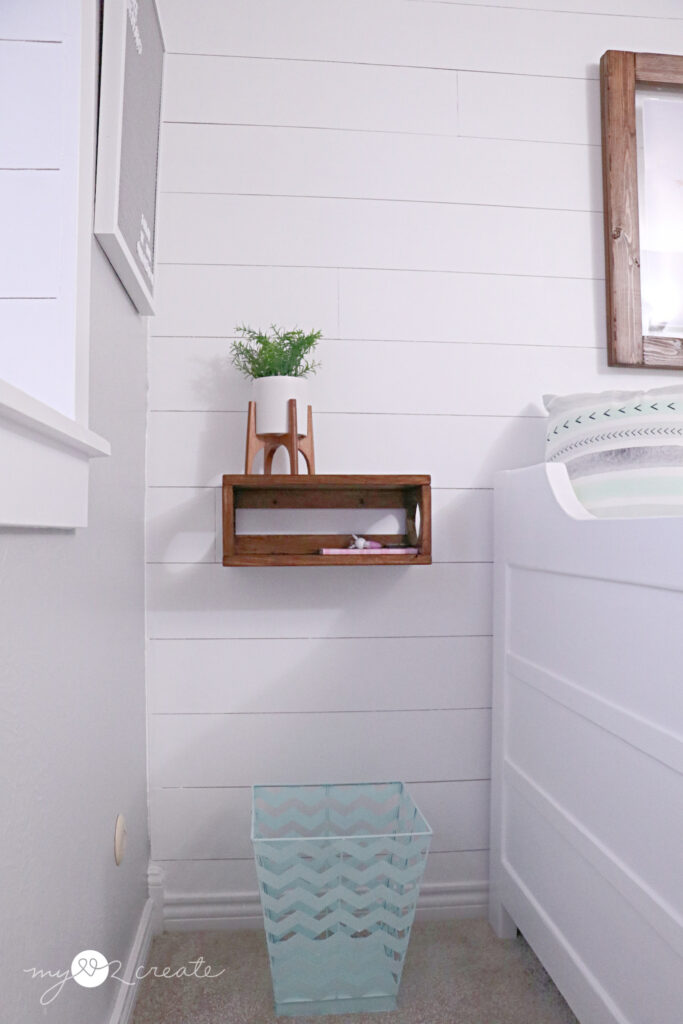
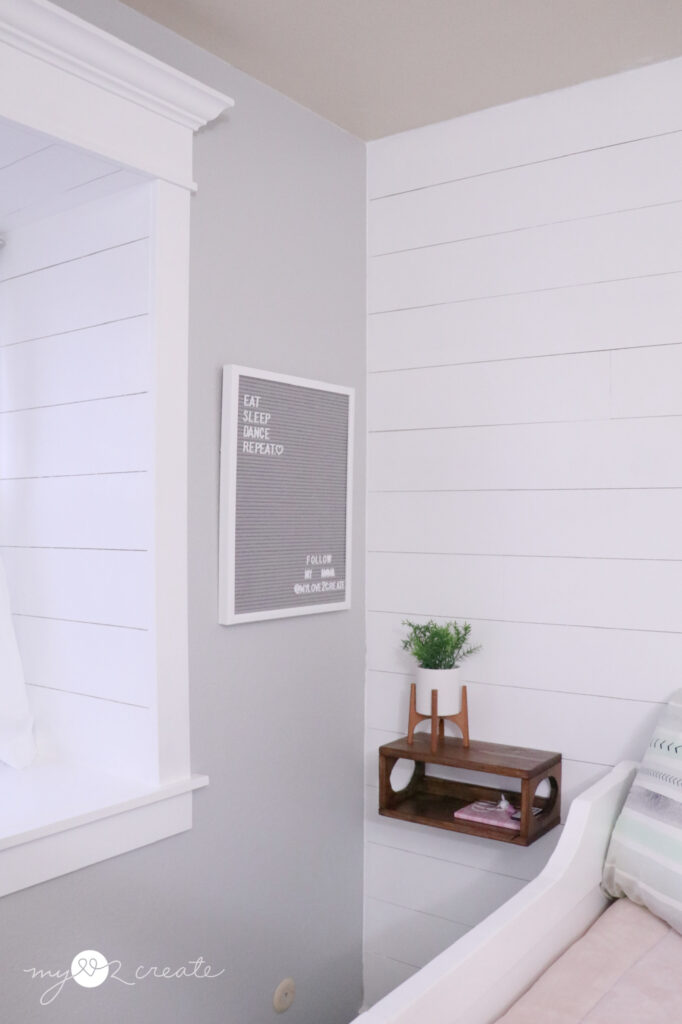
A simple yet useful design!
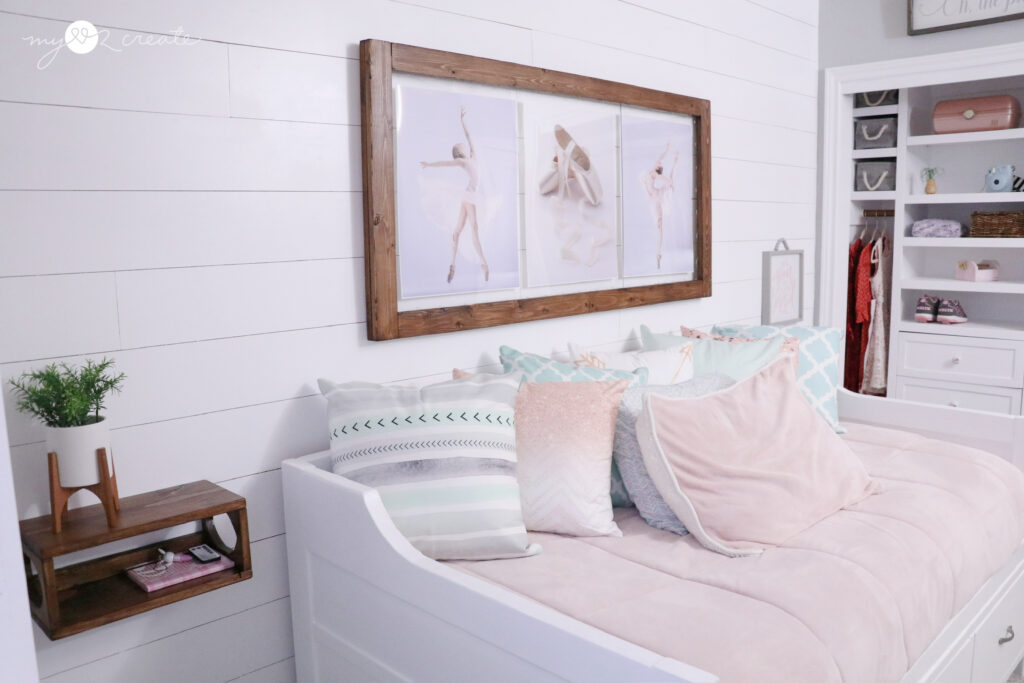
Anyone can build this and customize it to your own personal needs and style! Maybe you noticed the DIY Wood and Acrylic Floating Picture Frame? This is another fun project, and I stained it the same color to match the shelf, we needed some wood tones in this room to balance out the white of the plan wall (plank wall tutorial here)…I LOVE the contrast.
And that’s a wrap folks!! I hope you enjoyed this project and feel inspired to build your own floating shelf!
I would love to hear your thoughts, comment below where you would use this shelf in your home?
And for fun, did you spy my daughter’s subliminal message on the bottom right corner of her letter board? So cute, she put that on there without any coaching from me…she is pretty sweet!