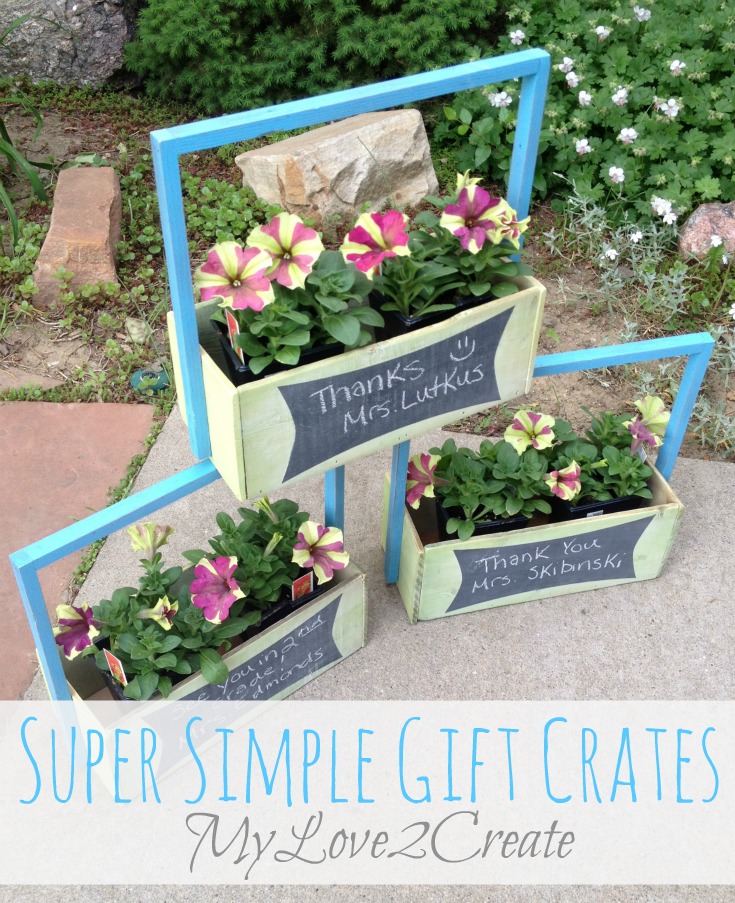
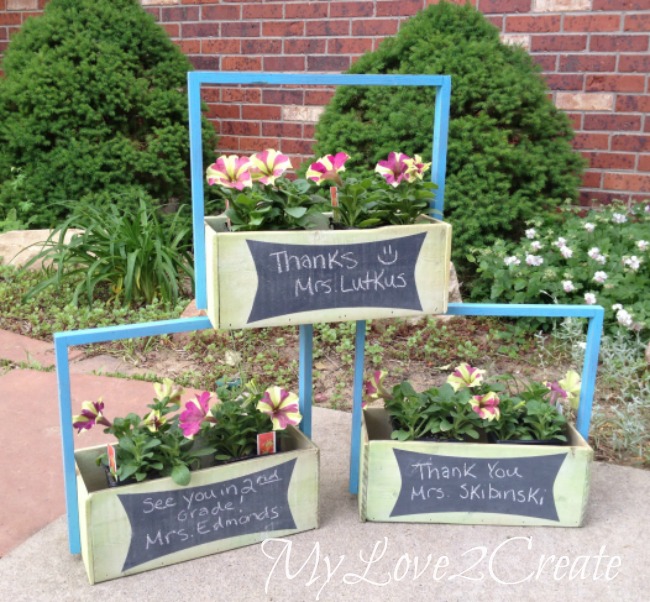
Super Simple Gift Crates
We were camping at a family reunion all last week and then we were really enjoying Father’s day when I got some kind of stomach bug…ugh, I hardly ever get sick. Now I know why, it stinks…
Anyway, I am on the rise so… I thought I will share these fun crates with you! Most of you know I am a lover of crates and one of the reasons is because they make a fun and useful gift. You may remember my Reclaiming blinds to use on Teacher Gifts that I made last year. I wanted to try something different this year.

I had this old wooden door mat for a long time, that I had picked up for free. I knew the wood would come in handy someday….and it was perfect for the handles for these crates. I simply pried them off with a crow bar, the nails popped out easily.
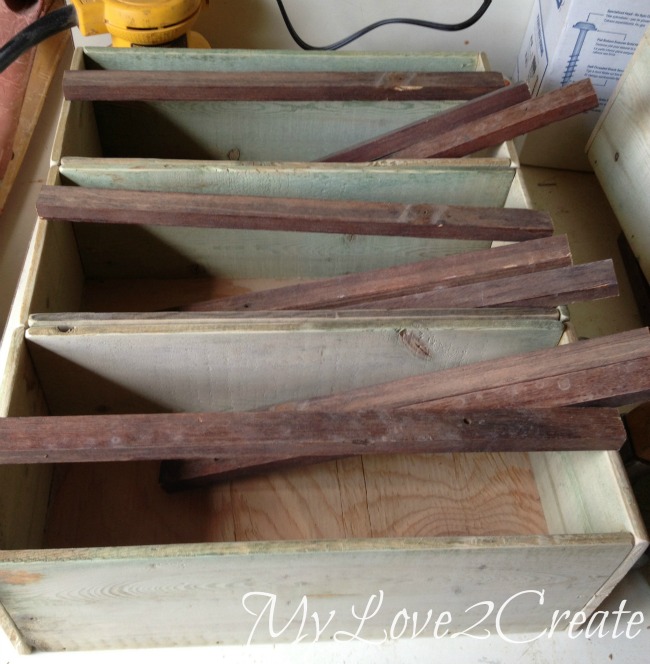
I made three crates/boxes out of some awesome free wood I had gotten from and old nursery in Boulder. It had a faded green color and was a great thickness for crate making, I am sure you will see more from this wood in the future, I grabbed a TON! I also have all the wood for my handles cut and ready. For the bottoms I used scrap plywood.
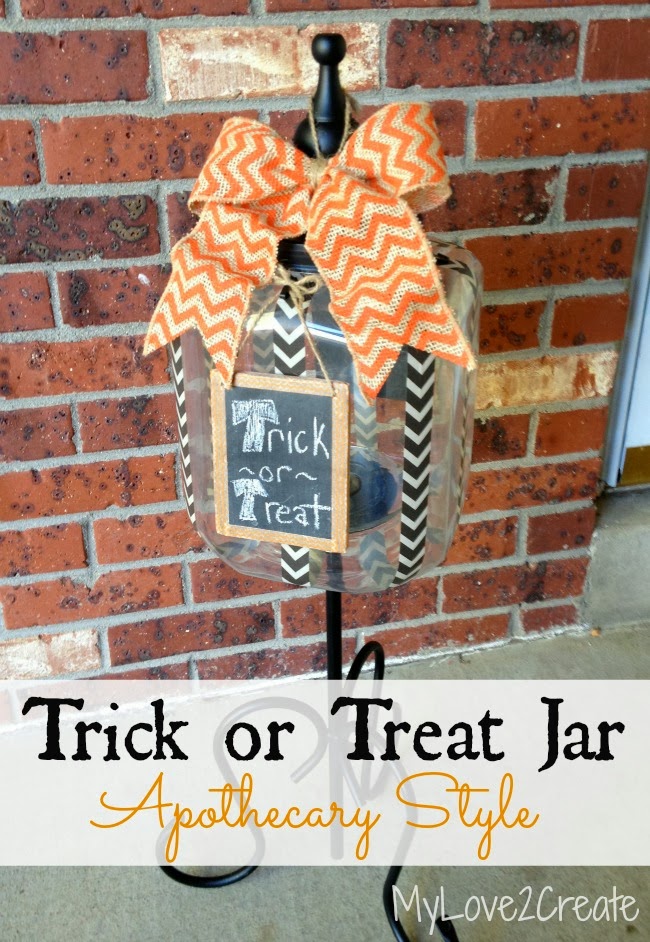
If you need a quick tutorial for how I made the crate/box you can follow my DIY Chalk Box Tutorial it is really simple and the only difference is that I used glue and my nail gun (instead of clamps), but either way works!
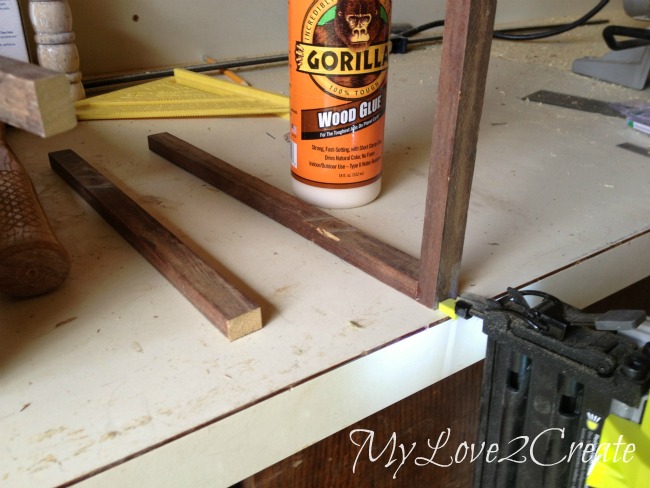
Using my awesome gorilla wood glue and Ryobi nail gun I glued and nailed my handle pieces together. I used about three nails in each end.
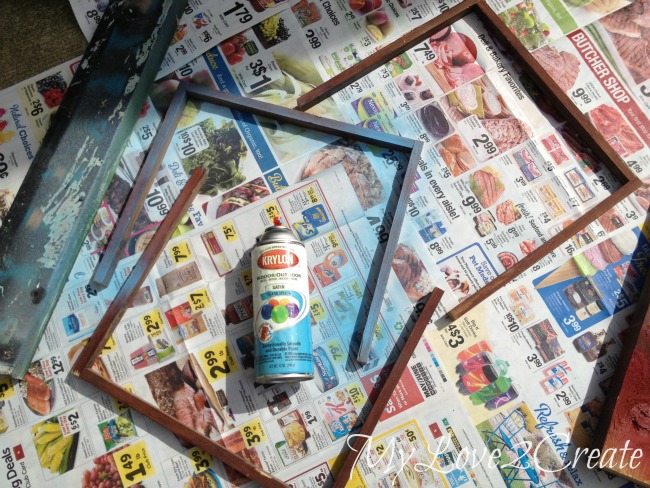
Then using some left over spray paint I gave the handles a quick coat of Krylon’s Island splash.

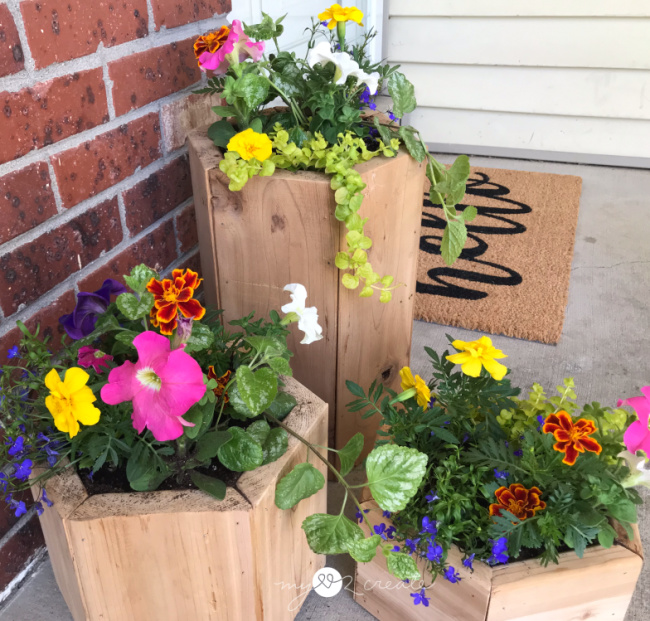
I also used some left over Satin Green Apple from Rust-oleum to lightly coat the outsides of the crate. I did this so you could still see the wood grain, it was a very quick light coat, I wanted it to look a little faded and rustic.
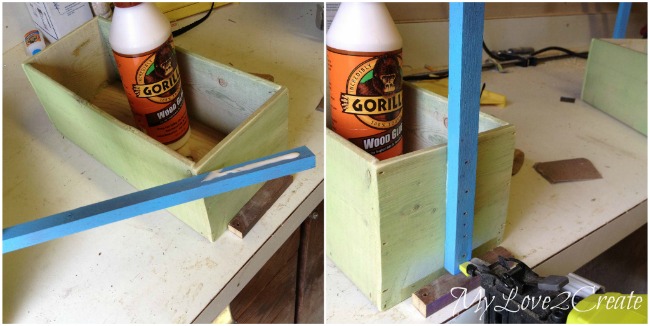
Then I glued and nailed on the handles. I used a scrap piece of wood to set the handle on so they were in the same place on both sides.
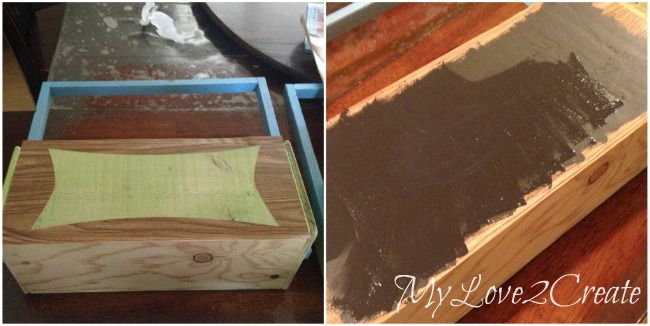
Since I am a sucker for chalkboard labels I had to add one to each crate! I cut out a label on my cricut (if you don’t have a cutting machine just use painter’s tape!) with contact paper and painted three coats of chalkboard paint. I always remove my stencil as soon as I finish painting the last coat, while the paint is wet.
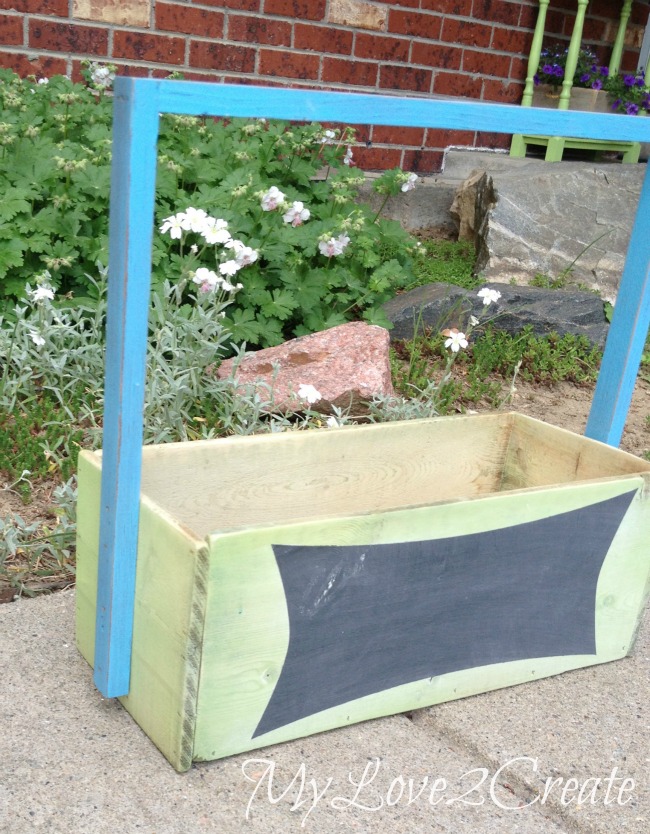
I primed the chalkboard surface by rubbing it with chalk and then erasing it. And I was done! I also distressed the handles a little on the edges.
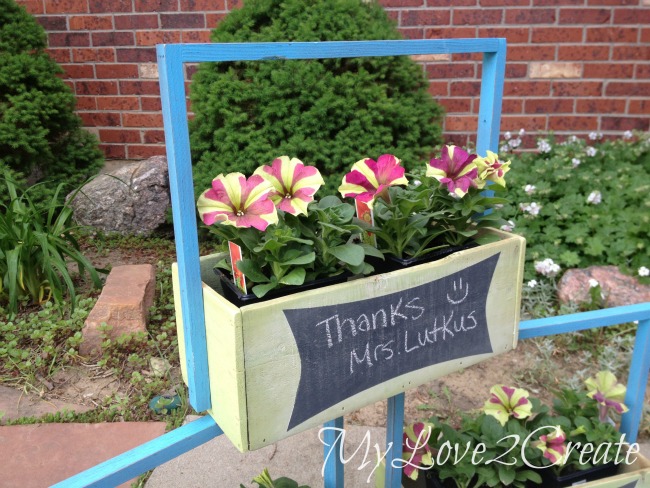
The flowers are great because the teachers can plant them and enjoy them all summer. The crate will be perfect for the classroom or at home in any room!
A simple but meaningful gift that brings a smile…hopefully! 🙂
The best part about these crates is that you can make them for any occasion, birthdays, showers, weddings…you name it! Who doesn’t love cute storage?!
For more gift crate ideas visit My Projects.
Hugs,
Mindi


I love your crates! You know I do! 🙂
you know what I love most about these? that you made that chalkboard such a fun shape! I think it really makes the project awesome!
gail
I am glad you are feeling better friend! There is nothing worse than coming down with a stomach bug! And let me just say that these crates are perfect!!! The colors you used and the style are awesome! I can so see these transitioning into crates for the garden or for the classroom!!!! Wonderful job as usually pal! I hope that you all had a great camping trip…I'm sure the kids had a blast! Happy week to you! Nicole xoxo
I've said it before and I'll say it again, you are the crate QUEEN! You are so clever! I totally wish you were my visiting teacher.
Glad to know you're feeling better now, stomach bugs are a pain! I love the crates, the long handles and chalkboard designs are cute!
Hi I found your beautiful gift crafts at a linky party. Wanted to let you know I'll be following you from now on and can't wait to see what else you create!
Sarah @ http://www.prettysimpleideas.com
These are awesome!! So great! What creativity and beauty you create. Can't wait to see what else you make!!
This is such a cute idea!
http://asouthernhallelujah.blogspot.com/
Mindi, I always love your cute storage crates. 🙂 I bet the teachers loved these. On a side note, you should do a post and let us see your stockpile of wood. Lady, I am curious as to just how much of a stash you have! lol 😉
So glad you are feeling better. Have a wonderful weekend! 😀
Great idea! I pinned to my gift ideas board!
Your crates are wonderful! I'll bet the teachers loved getting them. Nice way to use that old mat. 🙂
Blessings,
Kim @ Curtain Queen Creates
Your crates are awesome! I love how you totally built them from scraps and pieces you already had around. Thanks for sharing your creativity!
Love these!! A really great idea!!
Hugs,
Debbie
Great project! I love re-purposing old things and making them into new things! Great Job!
I love your crates! They are so cute! Pinning!
Pinning this. Your friends are lucky to get such great gifts!
These are adorable! I love the chalkboard on the fronts. Thanks for sharing at The Makers!
Love these! Definitely pinning for later.
We'd love to have you link up for Adventures in Pinterest this month!
http://www.chaosandlove.com/diy-tent-for-kids-pinterest/
Such a great idea!Pinned!
Thanks so much for stopping by last weeks Creative Spark Link Party! I loved this project so much I just had to feature it this week! I hope you will stop by and link up again! http://bit.ly/1mesFbT
Absolutely amazing patio garden! All of your plants and flowers are so lush and healthy looking. I sure wish I had your touch. I always enjoy photos of your adorable pupsters. I love how Charlie is sitting on the back of a chair. So cute!
Enamour Garden Fences for Perfect Home
Featuring Friday at Bacon Time!
Glad you're feeling better Mindi. These crates are so pretty! I love the colors you chose, and how you always manage to create beautiful and useful things from your scrap pile!
Val @ artsybuildinglady.blogspot.ca
Thank you for sharing this post at City of Creative Dream's City of Links on Friday! I appreciate you taking the time to party with me. Hope to see you again this week 🙂
So super creative and cute. Awesome upcycle.
Sarah @ Backwoods Babies
Hi Mindi! I'm visiting from Selene's blog. What a great idea for a teacher's gift! I love the rustic look too. Those crates could have many uses around the home or in the classroom. Great idea!