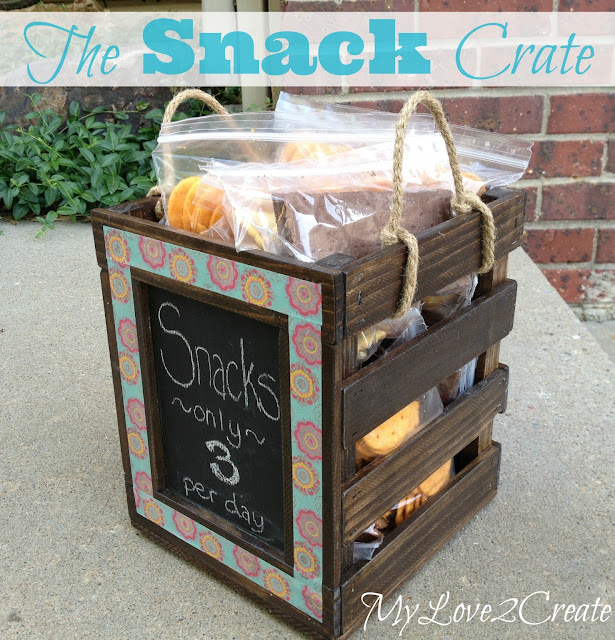
The Snack Crate….and my broken hand
There are mixed emotions as I type, er, pluck out this post. I am super excited to be sharing my snack crate!!
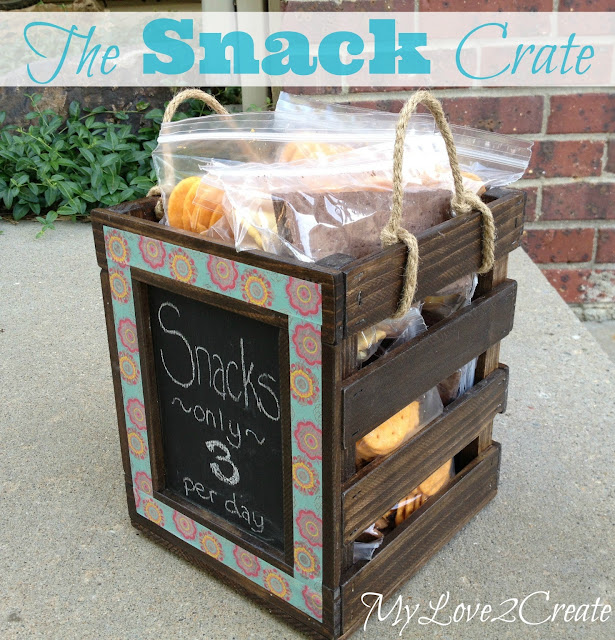
But, I am sad to report I do have a broken hand. Totally stupid, I hit it on the floor really hard last Friday night. I finally went into the doctor Monday and it is fractured. Luckily it is pretty small, but I am in a splint for at least 4 weeks (eek!) and it is my right hand. I am right handed.
So, besides all my fun projects and furniture makeovers I had planned the rest of the summer…that won’t be getting done, I also won’t be blogging much. I am lucky to get any thing done at this point. It’s a good thing I have so many great helpers around here!!
Anyway…back to the crate. I actually made this before Mother’s day. I originally used it for a vase holder and fresh flowers with “Happy Mother’s Day” written on the chalk board. It was super cute (sorry no picture!) but what I really wanted it for was a snack crate.
You see…with six kids (5 of which are bottomless pit boys) I was going crazy with them CONSTANTLY getting into the cupboard! Aaaaaand with complaints like, “I am starving can I have some thing to eat?” Sure you think normal kid stuff, but 20 minutes after dinner???!!! I mean we are still cleaning up!
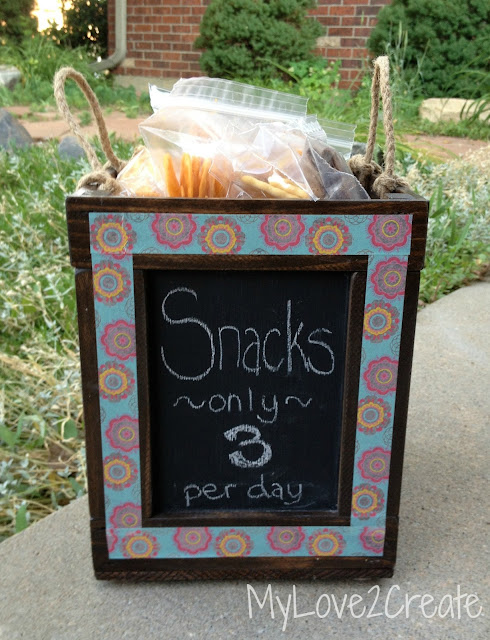
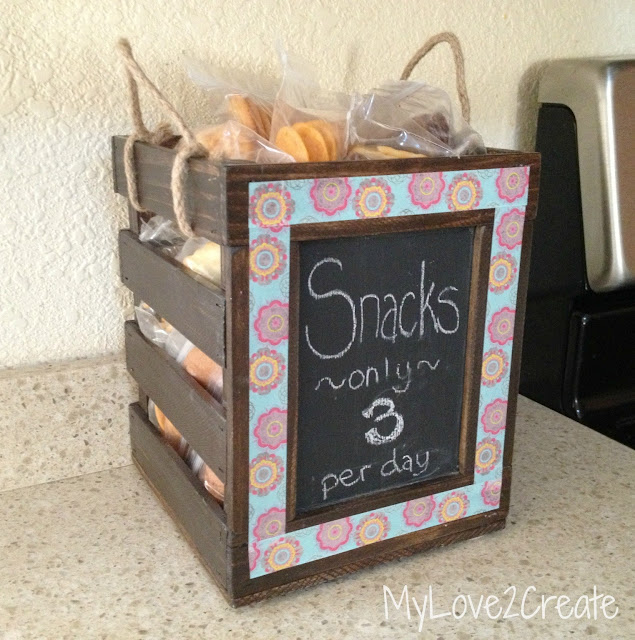
In an effort to gain some control and sanity, I decided we needed a system. My kids now know that they get three square meals a day, and three snacks from the snack crate. This is my plan to help them learn to fill up at meal time, and for those moments where they are going to DIE they can dip into the snack crate.
Please note that we also have snacks in the fridge, fruits/veggies and dairy snacks. They still need to limit it at three a day! Mean mom? Maybe, but otherwise they would only snack all day and not eat a good meal, get it?
Let’s see how I put it together.
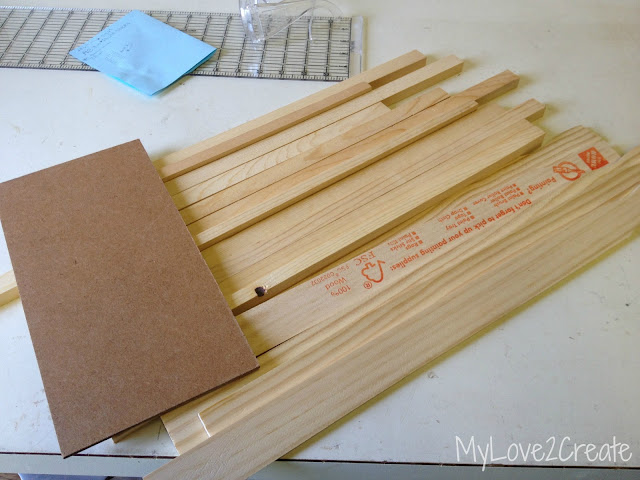
I started with some five gallon paint sticks and some scraps.
At this point I just guessed a size and started cutting.
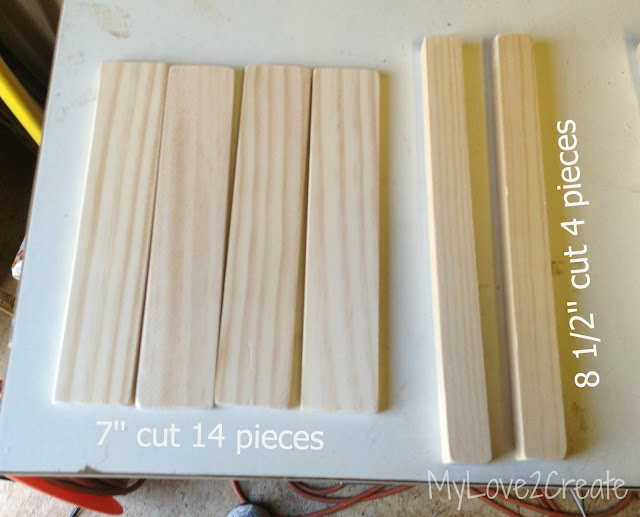
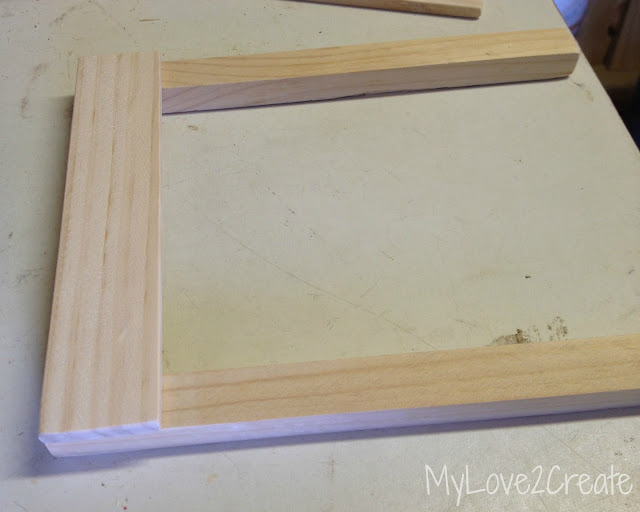
For my support boards (which are 1/2” by 3/4”) I cut them 8 1/2” long. I cut 4 boards at this length. Then I cut the paint sticks at 7” long. I needed 14 at this length.
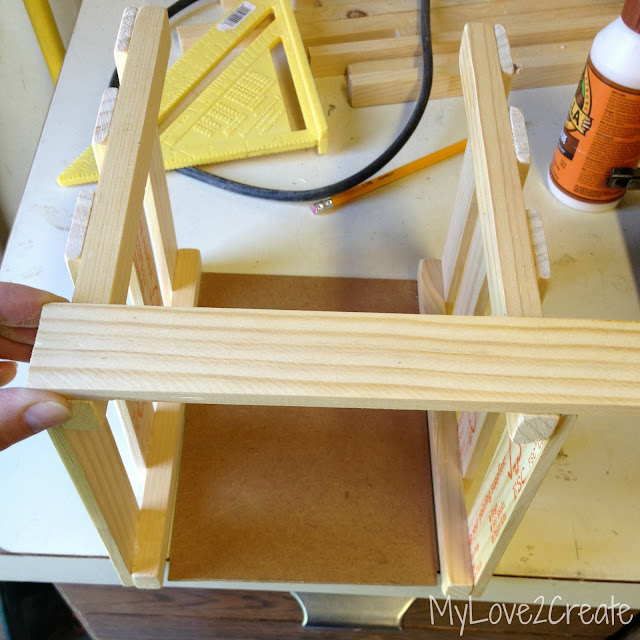
I just lined up the first paint stick onto two support boards, making it flush on the top and sides.
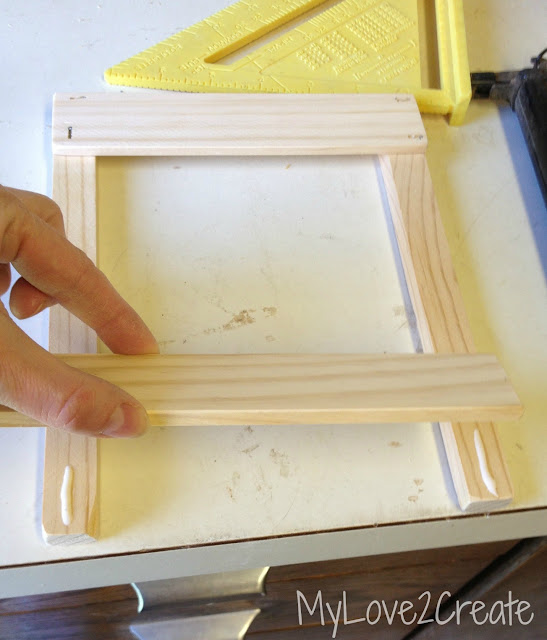
Next I added the bottom piece. I glued and nailed them together. My nail gun didn’t like the 5/8 inch nails, so a lot went in funny…I just kept at it.
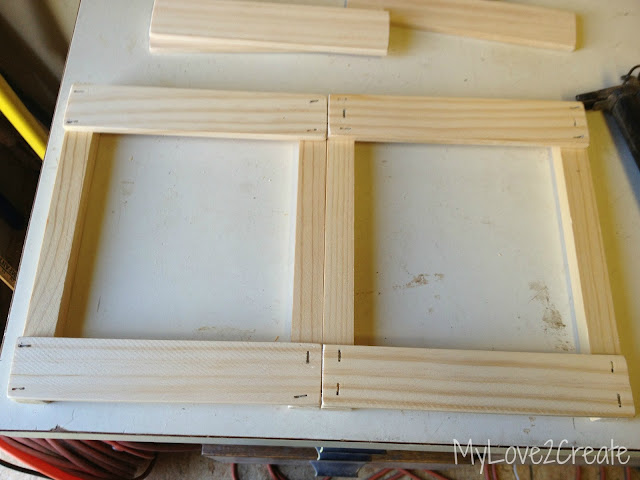
Once I had both side pieces to this point, I put them next to each other…
And added the middle pieces. This way they were just the same.
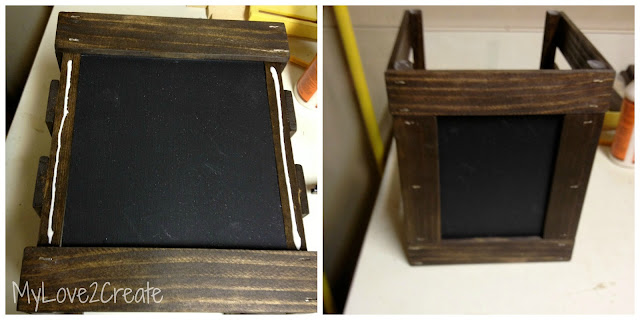
Next I needed to figure out my chalkboard side. I placed the chipboard (which ended up being approx. 5 1/2” wide and approx. 8” tall) in between the two side pieces. I determined that 7” would work for the top and bottom trim to the chalkboard. Which was good because it would make it square, I was just winging it on this…
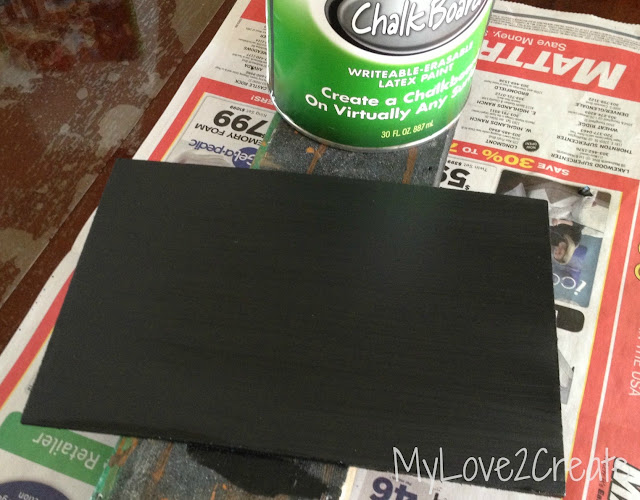
I painted the chipboard with three coats of chalkboard paint and let it dry. I decided to stain all my pieces as well. I had already cut and sanded them, and I knew it would be easier to do now rather than when it was built.
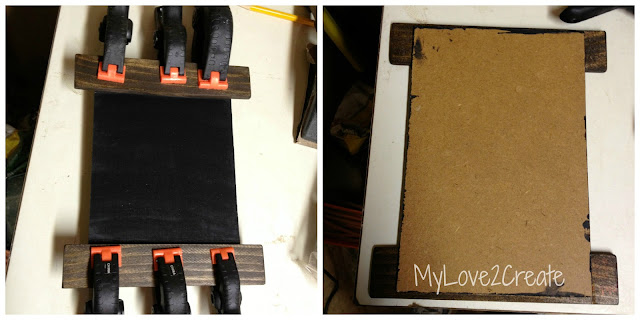
I glued and clamped the top and bottom trim to the chalkboard. (please note that I had measured it with the side pieces to made sure it was the same height, sorry I don’t have a picture of that)
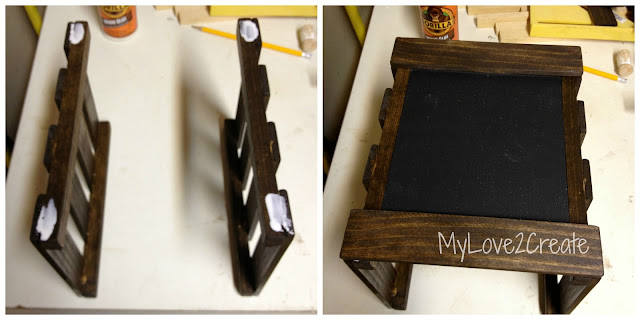
I put glue on the two sides and nailed on the chalkboard. (See how they are the same height? The paint sticks all match up.)
Now to add the side trim (or paint sticks) to the chalkboard. I measured the distance between and cut the wood, mine was approx. 5 6/8” tall. I always trust the actual measurement on the project.
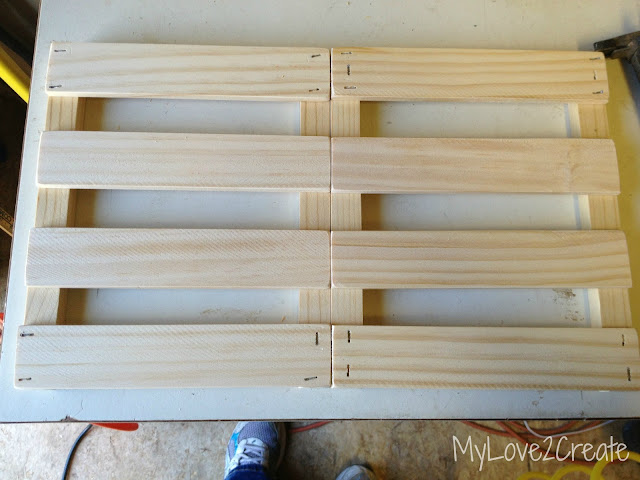
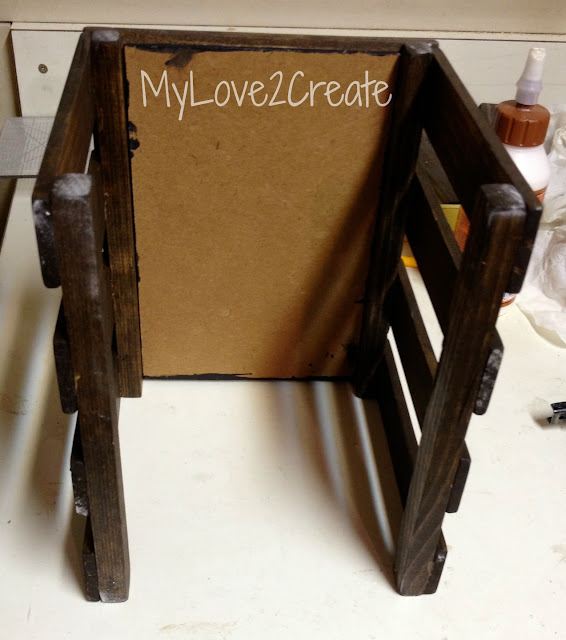
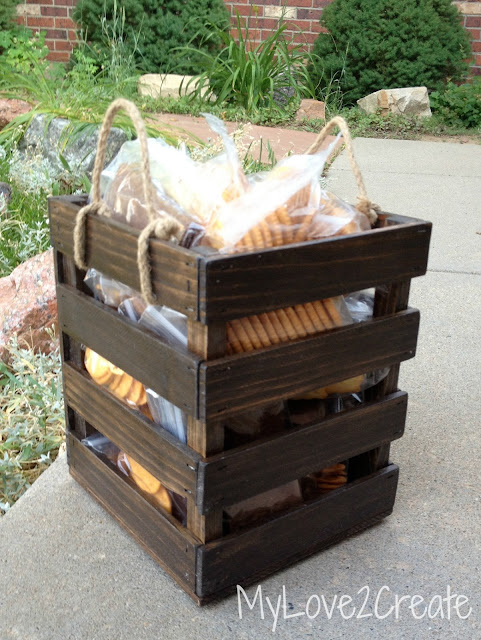
Once I finished that, all I needed to do was add the last four paint sticks to make the back.
To make a bottom, I traced on a scrap of 1/4” ply wood, cut it, stained it, then glued and nailed it on.
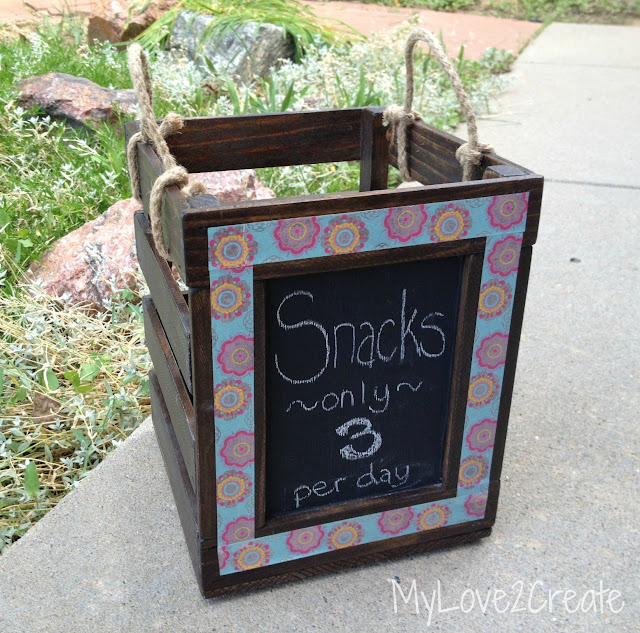
This is where I picked up the project today to finish it. I grabbed two pieces of rope with a knot tied on each end (I just grabbed these out of the drawer like this, luckily they worked). I simply tied them to the top paint stick, instant handles!! Mine slide but they could be secured with a dab of hot glue, I just want the option of being able to remove them.
Part of the reason I haven’t finished it until now is because I thought it a little plain. I had a really cute idea to dress it up, but that required using a jig saw…that wasn’t happening with one weak hand.
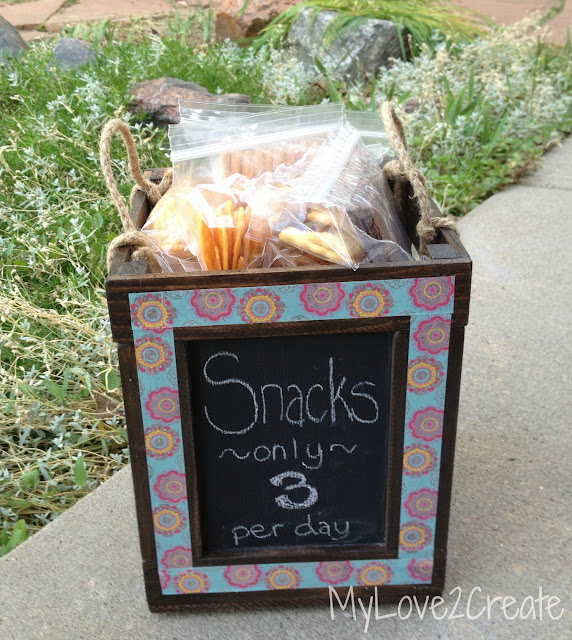
Out came the washi tape!!! It is the perfect temporary dress it up solution! I found out how hard it is to cut straight left handed, and my writing was even worse. I ended up writing this very awkwardly (and painfully) with the bit of thumb and pointer finger on my right hand that is sticking out of my splint.
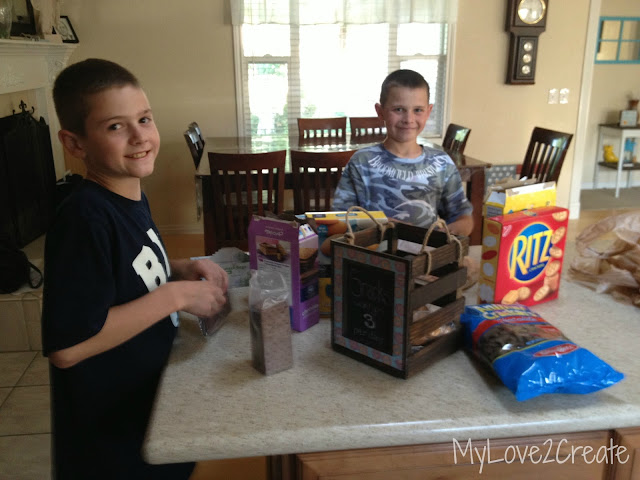
I enlisted some very handsome helpers to fill snack bags full of snacks.
I am so excited, and so are the kids!
It is perfect too, because they can see exactly what is in the crate.
And here it sits, on the counter, ready to be raided.
Here’s to happy kids, and a happy Mom! Fingers crossed!
So what would YOU use this crate for?
Hugs!
Mindi
I will be linking to these parties.




What a cute idea. I can totally see this being very helpful with 5 boys that have bottomless pits. lol I may have to incorporate something like this. It will make it easy to grab snacks for k when we are running errands all day. So, what do you do if one of the kids eats the favorite snack all the time and does not leave it for someone else? lol Yeah, I was that kid. I was also the kid who ate all the marshmallows in Lucky Charms and told my sister that cereal company forgot to put some in the box. Ha! 😉
Mindi, I hope your hand heals well and the pain starts to go away.
*hugs*
Excellent idea! I've been using a basket for our snack holder, but I may just have to give this one a try.
Hope you heal quickly (so you can get back to crafting, ahem)
Sorry about your hand. I know how you feel because I broke my right arm a few years ago and couldn't type or do much for a while. Your crate is a great idea. I would use it as a picnic tote for non-perishables.
Hi Mindi – I love this idea and it looks like something even a DIY Clutz like myself can recreate. Thanks for sharing!
And BTW… after having lymph nodes removed I have restrictions on my right arm (right handed) and it's amazing how quickly my left hand and arm picked up the slack. I can even paint with my left hand AND cut great edges to the ceiling with my left hand. Blessings to you as you heal.
Hugs, Holly @ Coconutheadsurvivalguide
You are one talented person!! I love what you did with the wood.I hope to get into the wood stuff in the Fall. Wow. I love the smell of fresh cut wood. Anyway, I'm SO SORRY you broke your hand and with everything you have to do with the kids. OMG!! You know what? I have seen that people aren't blogging or on the internet as much since everyone wants to be outside so this is probably the best time to take a blogging break. Your friend, Linda
This is a great idea!! I have 3 "chronic snacker" boys too so I feel your pain. I love the idea of this is what you can pick and you get a set amount. I'm going to have to try it!! Thanks for sharing! And I hope your hand heals quickly!! I just found you from the Shabby nest hop- now following on Twitter!
Krista@ Far From Normal
I love your snack crate! Great idea with six kids! Sorry to hear about your hand, that is a bummer! Pinning from Diana's party. Feel better soon!
I am in love with your snack crate!! sorry about your hand…that is totally not cool
Super cute idea!! I love it. So sorry about your hand though! 🙁 I would love to have you share this at our Simply Create Link Party….but maybe when your hand gets better. Thanks again for sharing your great idea!
Melissa
redflycreations.com
This is such a great idea! I love it! Your tutorial is excellent. We would love to have you link this or any of your posts to our Saturday Show Us How You Rock Link Party. It starts Fridays at 6pm, hope we see you there! Hope your hand heals quickly 🙂
Tracy
http://www.madefrompinterest.net
Oh Mindi, I'm so sorry about your hand, it must be hard to do things just with the left! I love the snack crate and the idea of the having the snacks ready for those little monsters 🙂
That is an awesome idea…I have a snack drawer since I have limited counter space. It would be useful for so many other things as well 🙂 I hope your hand heals quickly, I know how horrible that is! Have a great weekend 🙂
Sorry to hear about your hand. Amazing how landing the wrong way can be such a pain… and the right hand no less. But it looks like you've got some great helpers to get you through.
I've got a mini love affair going on with wood boxes right now so I'm completely diggin your snack crate.
Thanks for the insperation
Thank you so much for sharing your craft idea with Saturday Spotlight. What a great idea. I'm sorry to hear about your hand, I hope it heals quickly.
Have a great weekend and hope to see you again soon!
April
Angels Homestead
This is so cool and way to awesome! Really!!! What a great way to teach your older kiddos to help out and to keep everyone from just raiding the pantry!!! What a great idea!!! And the chalk paint is the perfect touch!!! But I am so sorry to hear about your hand! You have such a great attitude!! I will be thinking about you and hoping for that splint to come off sooner! I have no idea how you are doing it with 6 kids! You amaze me!!!
WHat a great idea! Sorry about your hand. If you get a chance, please link up to my linky party: http://suburbsmama.blogspot.com/2013/07/sunday-linky-16.html
Ouch! Sorry to hear about your hand!
The snack crate is a great idea! I think we need one in this house too!
This is a great idea… and this basic crate design could be used for so many things! I must pin:) Thanks for sharing it – I found you through Suburbs Mama today.
I am thoroughly impressed. You made a crate/basket that stores like Pottery Barn and West Elm would charge at least $50 for.
Sorry to hear about your hand – 4 weeks is a LONG time to have your dominant hand out of commission!
Great idea! I need to do something like this for ME since my kids are all grown and gone. Problem is…I don't know what to put in there AND I have no will power.
That is such a great idea and SO cute! Awesome!
Great idea! Saw this on Moonlight & Mason jars. I love the idea of them helping themselves. I feel like I am constantly stopping what I am doing to get out snacks!
Nicole
Mindi I love this project! I am so sorry about your hand, I hope it heals really fast. Thank you for sharing your wonderful Snack Crate with us at Inspiration Monday 🙂
xo, Tanya
http://twelveoeight.blogspot.com/2013/07/inspiration-monday-party-were-inspired.html
Wow, great idea!! 🙂 I love it.
-Kayla @ Orchard Girls
I love love love this! My boys are the same way – hungry 20 minutes (or less) after eating a meal – drives this mama nuts!
Mindi,
What a cute project! This would work so great on our many car trips!
Stopping by from the Simply Create Link Party and now following you on Pinterest.
– Ang
http://www.jugglingactmama.com
Ohhhh…great idea! I should have implemented this idea at the beginning of the summer! My kids are living off of snacks!
http://www.makingitfeellikehome.blogspot.com
You're so clever! VERY cute. And I love that your kids helped to fill it.
I love your newest crate Mindi! sooo cute. After seeing the boys filing them up, they are larger than they look in the pictures. GREAT job. My favorite part? the handles! LOVE how you have them attached. I want to make some crates. 🙂
ouch! your poor hand, poor you! I'm so incredibly sorry this happened to you. I can't imagine how you must feel….not being able to create!
I always worry about these things. (of course I'm a LOT older than you, and more feeble) hahaha
how on earth did you "hit" your hand on the floor?
ohhh ps catching you!
What a great idea! A system like this is so smart…and way to make it totally cute too! Thank you for sharing at Give Me The Goods!
Amber@ Dimples & Pig Tales
Super cute! Great idea! Thanks for sharing at my Pin Me Linky Party!
awesome! You're a handy lady. 🙂
Hey Mindi! Great job at usual! I saw you got a couple features this week on this one. Congrats! Good luck with the hand!
Oh no, sorry to hear about your hand! & get over here so late. Love the project. Snacks never stay full at my house. I think my crate would be empty all the time! lol