Using different stains to make a statement!
This summer we were so blessed to have my parents visit! It is always a treat to have them here and even more fun when we do a project!
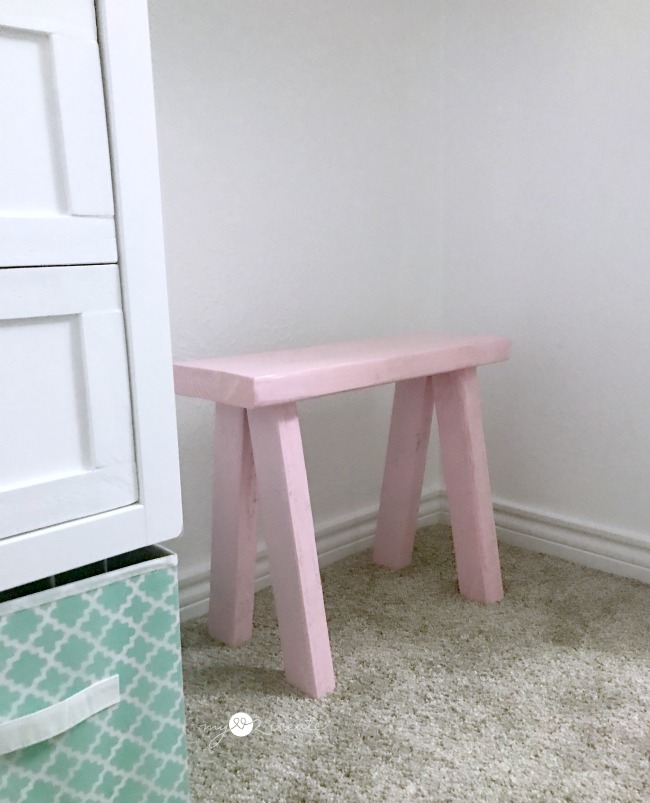
My parents are teachers and my Mom was decorating her room with an Americana theme. She had the perfect spot for a small bench and I had just the bench for her! I was thinking of painting it, but she wanted it stained. So, as I went to bed that night….I couldn’t sleep….until it hit me,
So that is what we did, we used my different stains to make the fun Americana statement she wanted, without painting the bench! It was a win win situation. The coolest part is you could do any design you want with the stains, the possibilities are endless!
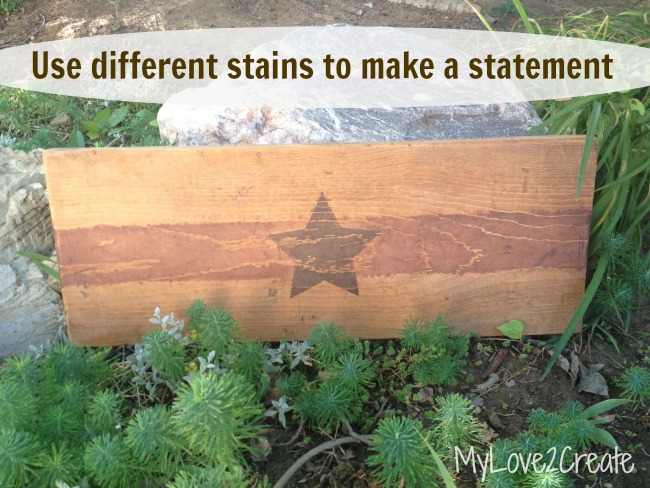
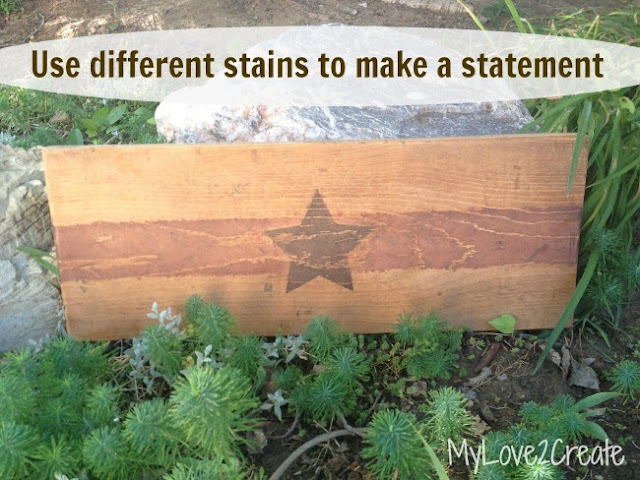
As you can see the above photo is not of a bench, it is actually the board I used to test my idea.
Let’s see how we did it shall we?
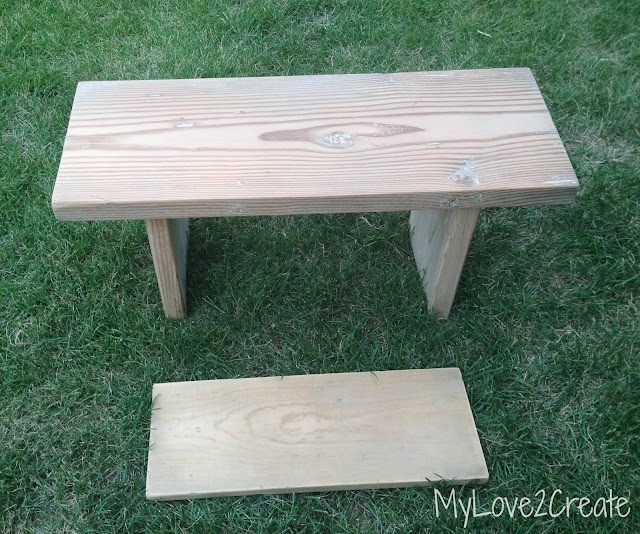
First we grabbed a scrap board and my Easiest DIY Bench Ever, and sanded them down.
Next we started with our first color of stain, NATURAL. We used Minwax, because that is what I had. Remember I like to do free projects….and this was FREE!!!
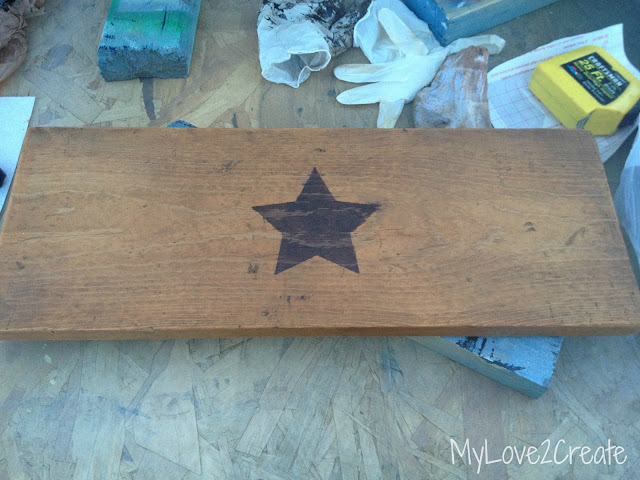
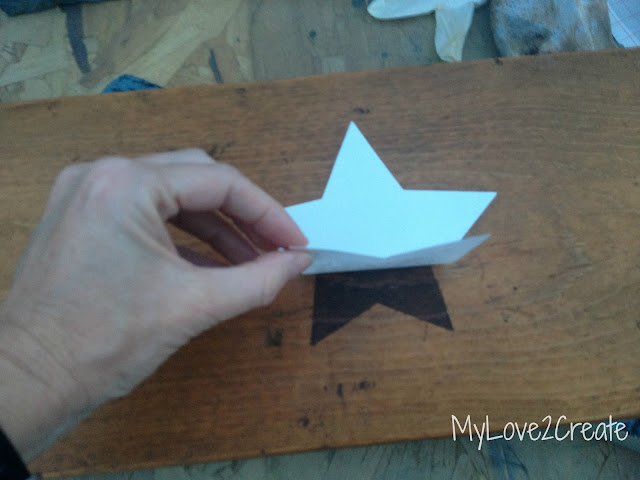
I cut out a star on my cricut with contact paper, and used it as a stencil. I centered it on the board and rubbed all the edges really well (sorry no picture, I got excited and forgot!) I wiped on some Rustoleum Dark Walnut stain and pulled off the stencil right away. Perfect star!
Now this is an awesome picture….I should enter the “I took a one handed photo at dusk with a cast on award” I would have totally won! Ha! (if you are new here, I broke my right hand, yes I am right handed, this summer. I am cast free now, but obviously not when I did this project =)
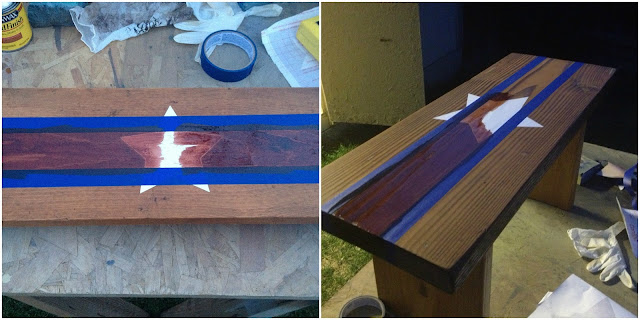
Anyway….The above photo is showing you how I cut out a star slightly bigger than the size of my stained star, and put it on top, so we could do this…
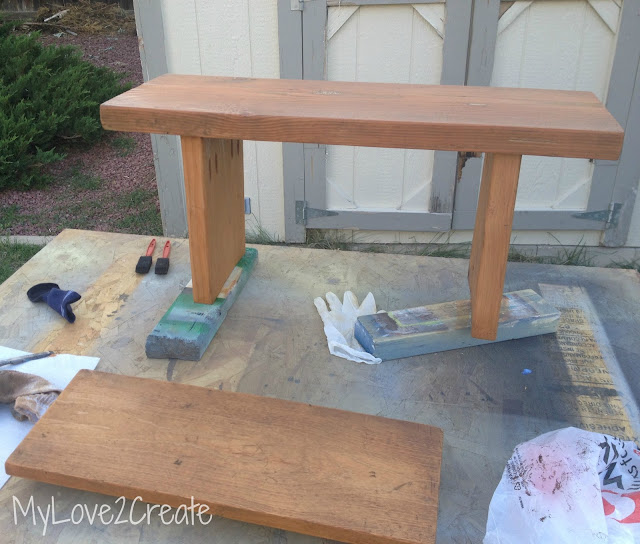
Use painters tape to tape off the lines to make a stripe. For our third color of stain we used Minwax Red Oak. You can see the test board on the left and the bench on the right. Notice the difference in daylight, or lack of, I should say? I stained the test board and my mom stained the bench. I wanted to test it first, and by the time she got to the bench it was getting late!
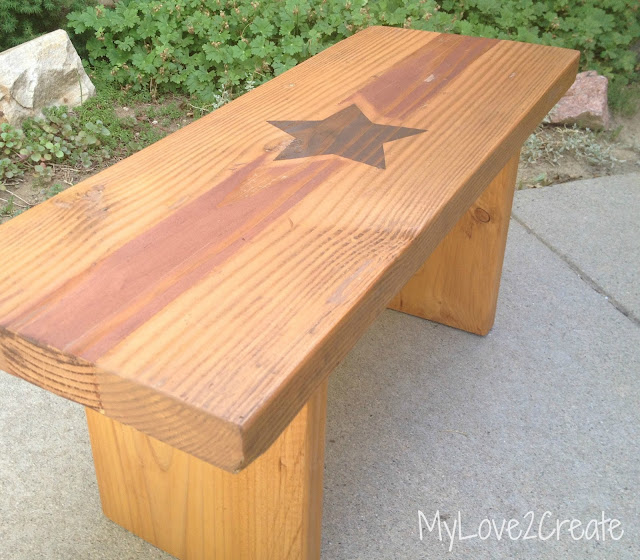
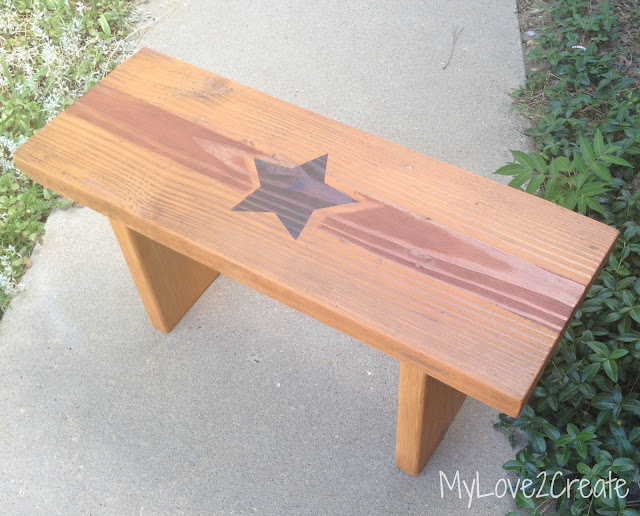
And here is the bench! Isn’t it cute? I can’t wait to see it in her classroom next time we visit.
My Mom is pretty crafty and she did a great job on her bench. I love it!
Wondering about the test board? I gave it to my Dad for his classroom. I after I did the star, I was in a hurry and didn’t press down to seal the bigger star and the tape as well as I should have and the stain bled a little. So make sure to press really well, and it should work perfect like the bench above!
To fix my error, I just sanded it down and gave it that rustic look! It still think it turned out cute, even if I got lazy! The wood grain peeking through the stain makes me happy!
I am so glad you stopped by! I hope you come again soon!
Mindi
I will be linking to these parties.


Love it!New Follower here, hoping you'll follow back 🙂
http://thecraftiestallie.blogspot.com/
That's such an ingenious idea! I agree with your mom. I like to see the wood grain.
A really cute project, Mindi! I love that the stain makes it look like you used three boards and of course, the wood showing through it, beautiful!
This looks great! Don't forget to link up to The DIYers! http://homecomingmn.blogspot.com/2013/09/the-diyers-28.html
I really like how this turned out. What a great job.
your stained project turned out great. Love the different tones
Thanks for the wonderful tutorial, Mindi! Awesome! Makes me want to get out the stain and do a project of my own!
Love it! That's a great idea…I may have to put the hubs to work on a staining project 😉
this looks awesome Mindi. Totally love it!
This is a great idea! I've never thought of using two different stains like this! Genius!
Hey you!!! That is so stunning!! I mean it is just brilliant!!! The different shades really give the piece an amazing look!!! I am so glad that you were able to spend time with your parents! How wonderful is that!!! Have a happy Wednesday!!!
Hi Mindi! Possibilities are endless with this fun way of staining! It certainly gives the pieces a whole new texture and brings the best details of the wood grain! Thank You for sharing your clever idea at Fluster Buster Party! Join us again next week, Lizy party co-host
this turned out great- I LOVE IT 🙂
I love how your bench came out! I will have to try making one for my home's new perennial garden!
I love the look of different stains, Mindi! The bench looks great.
xoxo
Denyse
I love how your bench turned out. So glad I got to see this at Throwback Thursday!
I like the subtle differences in colors. Very nice!
Wow! That looks great… and one handed at that! Thanks for sharing! Stop by my Friday's Five Features and link up this post (and others)! diy-vintage-chic.blogspot.com/2013/09/fridays-five-features-no-8.html
VERY cool!! I plan on trying 3 stains now! Thank you for sharing your idea & instructions.
We featured you this week on The Patriotic Pam blog. Come check it out. We look forward to seeing what new things you will link up this week.
Pam @ The Patriotic Pam
http://www.thepatrioticpam.com