Wooden Reindeer Puzzle
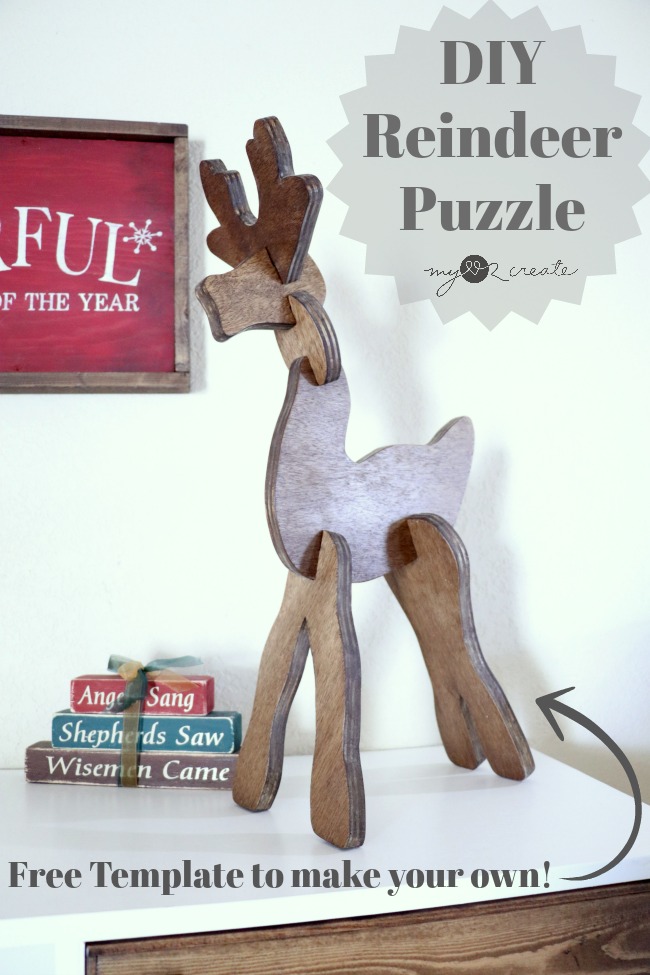
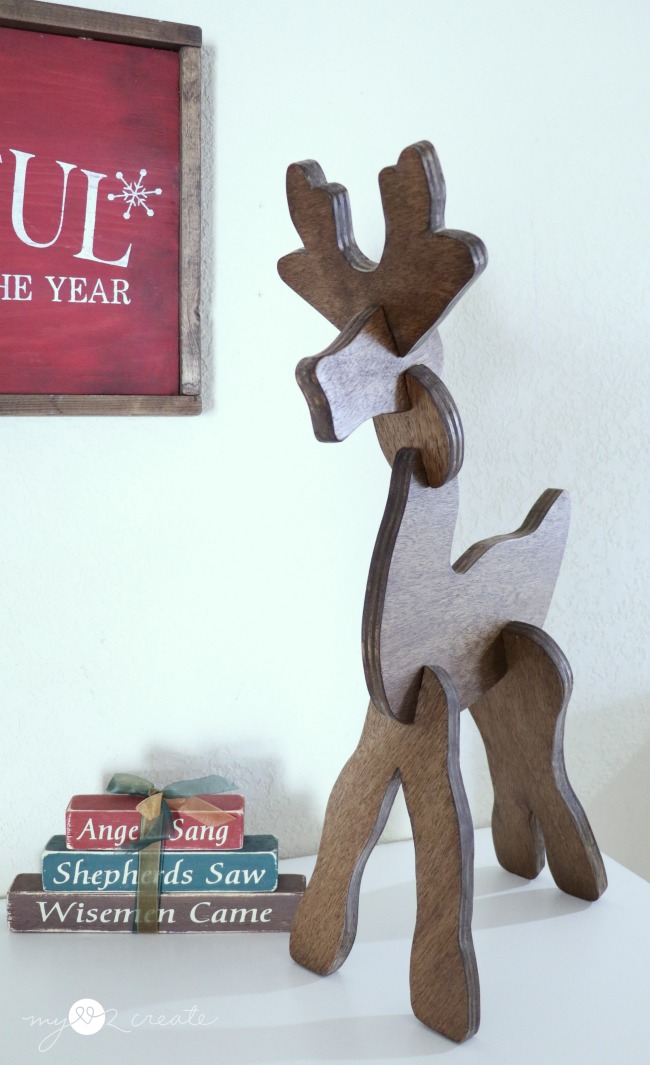
You guys are going to love this family favorite…a DIY Wooded Reindeer Puzzle!
Not only is it perfect for your holiday decor, but it is also fun for the kids or grandkids!
And I am going to show you how! But first…
Did you see my post last week on 12 Days of a DIY Christmas? Well, today is my day #8! If you haven’t been following along you NEED too, all the projects are super fun!
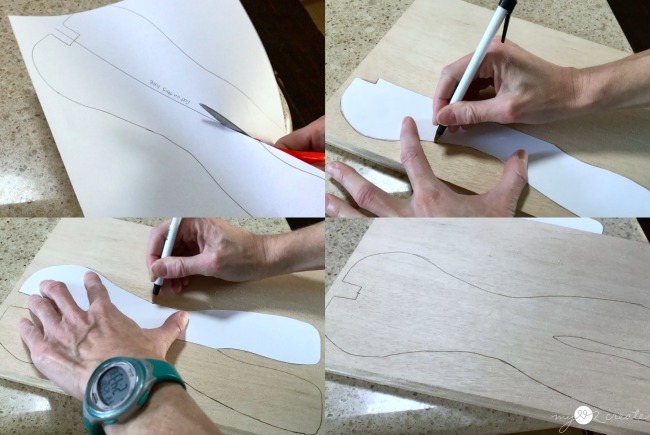
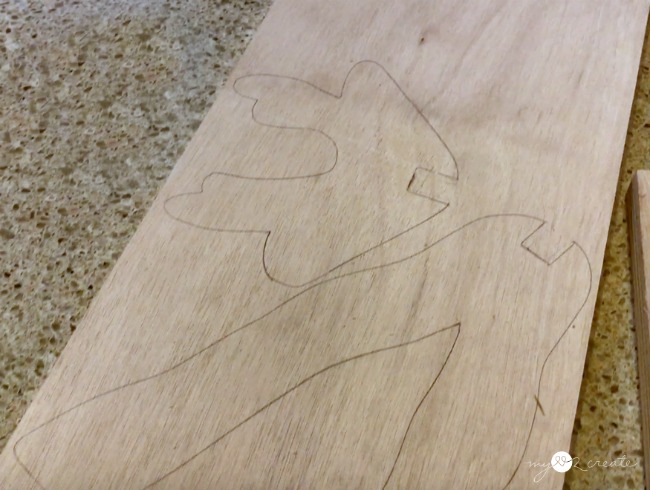
How to make a Wooden Reindeer Puzzle
- Reindeer template– 6 parts: Antlers, Head, Neck, Body, Front Legs, Back Legs
- 1×10 board, or 3/4” plywood scraps
- Jig Saw
or Scroll Saw
- Scrolling Jig Saw Blade
- Face Clamp
- printer/paper/pencil/scissors (for printing cutting template)
- Sander
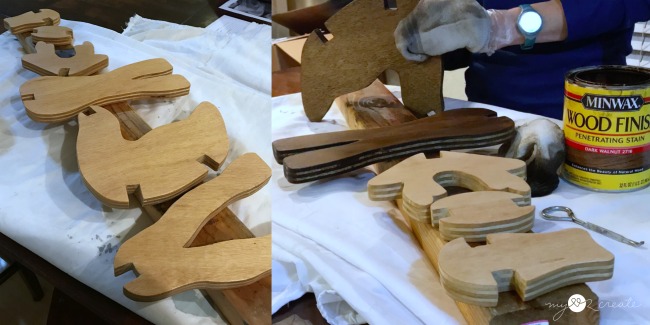
- stain
- Polyurethane
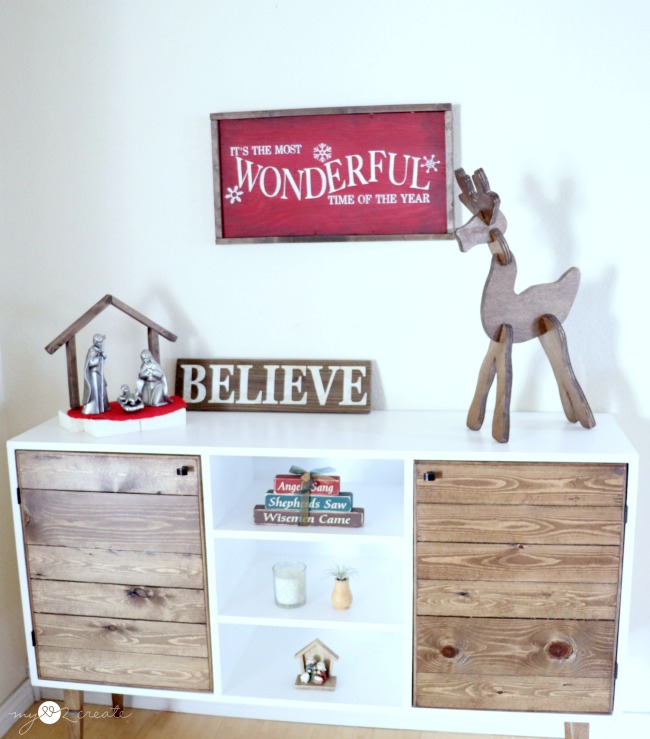
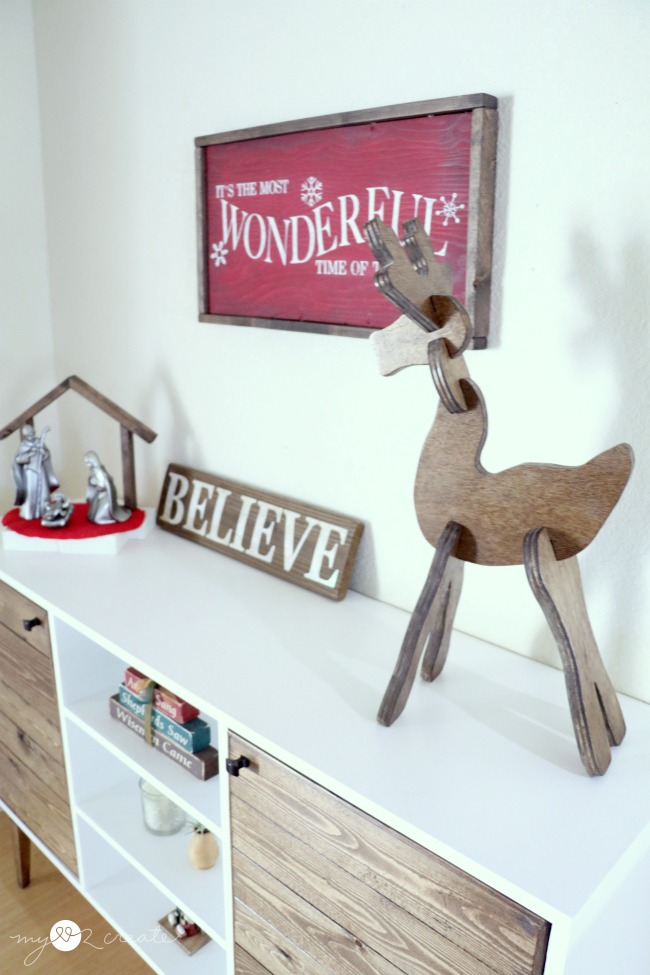
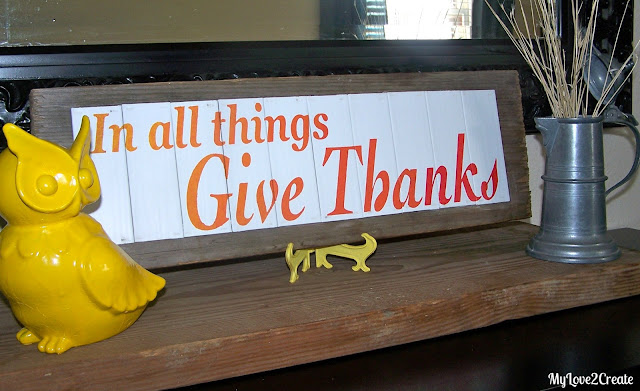
But when it isn’t being played with this little wooden reindeer puzzle looks mighty cute on my Modern Rustic Buffet next to my Pottery Barn Knock off, “It’s the Most Wonderful Time of the Year” Sign.
Of course he is cute on the floor too, or anywhere! My kids want to add some Googly eyes, which we may…I just don’t have any right now.
I also think a little bow or ribbon around his neck would be cute too.
So what do you think, is this little guy one you would like to make?
Thanks for reading and I hope you are enjoying this holiday season!
Hugs,
Mindi





Mindi, I love it so much! Thanks so much! It might just be my first project on the scroll saw!
I love this Mindi, it turned out so cute!! It reminds me of one my in laws used to have but I accidentally broke! Now I can make another one!
Do you have the instructions for the red sign in this photo? I LOVE it!
you marked the front and back legs opposite of the picture, is that correct, I love it and made it already what a fabulous idea, it can be stored flat, does the placement of the legs matter
hello again, im so sorry I confused myself, lol, your pattern is great