Hexagon and Triangle Shelves
It is here! The day of the $10 and under project challenge!! You may remember me announcing it last week, but if you missed it you can read all the details here.
First, I want to share my project that I created for this challenge…my Hexagon and Triangle Shelves.

But wait…there are two projects? Ummm, yeah.
Enter my ever indecisive issues. Which isn’t really a big deal for you, because you are getting not only one, but TWO awesome shelf plans. Bonus! Both are made from a single 1x6x8 foot board which is less than $10. 🙂
I was inspired by RHTeen’s Hexagon Curio Shelf, and when I spotted the Triangle Curio Shelf, I knew I would have to make both, they were just too fun! I actually made my shelves smaller, but in my PDF plans I have included larger shelf dimensions for both styles so you can choose which one to build. FYI- both larger shelves will require more than one 1×6 board or one larger than 8 feet, so be sure to calculate what you will need if you build the bigger shelves.
Let’s get started!
How to build a Small Hexagon Shelf: Click here for Small Hexagon Shelf Building Plans
Supplies: (Affiliate links)
1- 1x6x8 board
2- small D-Ring Picture Hangers (Affiliate link)
Ryobi BRAD NAILER with 1 1/4” finish nails
Step 1: Cut Wood Pieces

To get accurate cuts for each piece use your first cut piece to measure, mark and cut the remaining 5 pieces. I used left over wood from my Rustic Wheelbarrow, which was a little warped so my boards were a slightly askew…but hey, when you are using up scraps a little imperfection does no harm!
Step 2: Glue and Nail pieces together to create Hexagon

When I made my DIY Hexagon planters I made a jig to get perfect Hexagons, it worked like a charm and since I saved it, I pulled it out to help me build my shelf hexagon. I did use a clamp because the 1×6 boards were so tall. I made sure to use wood glue then nailed them together at an angle with 1 1/4” finish nails.
Step 3: Attach shelves into Hexagon

Next I cut my shelf boards to size and used a small level as I placed them in there right spot. Then I glued and nailed them into place.
How to Build a Small Triangle Shelf: Click here for Small Triangle Shelf Building Plans
Supplies: (Affiliate link)
1- 1x6x8 board
2- small d-ring hangers
(Affiliate link)
Ryobi BRAD NAILER with 1 1/4” finish nails
Step 1: Cut pieces and attach to make a triangle

To build the triangle start with joining two pieces and then add the third. Make sure to use wood glue and 1 1/4” finish nails.
Step 2: Add shelves into Triangle

For the bottom shelf I made spacer blocks and a level to get my shelf placed properly. For the top shelf I held the shelf in place and made sure it was level, I marked the sides were it belonged, and turned the triangle on it’s side and placed the shelf where the marks were located and glued and nailed in each side. I liked this second method much better.
Step 3: Fill holes, sand, and finish as desired

After I filled all the cracks and sanded I decided to finish one with a stain and the other white. I added d-ring hangers to the backs, placing them where they would not be seen from the front. The triangle shelf can be hung with the point down or up, so I placed d-rings on the top and bottom so I could hang it either way without having to add or remove d-rings in the future.

I hung them on the wall in my bedroom and attempted to stage them for photos!

My skills are still a work in progress…but hey, you have to start somewhere.

Regardless of my staging flaws I LOVE the shelves, they turned out perfect for what I wanted.

I am super glad I did both, but I am thinking I could even use a third! I made these shelves in a few hours which includes finishing them, so it would be a quick fix if I decided to build a third, and heck for less than $10?! Why not!
So what about you?! Do you have any projects that you have built or want to build for $10 or less?
We want to see them because you could win this…

We have a Winner!! It was soooo hard to pick, from all your amazing projects thank you so much for entering and great job!
The winner is: # 25 Scrap Wood headboard by Shawna Salter Harrington
Second place was entry #29 Rustic Lanterns
Third place was entry #69 Mom’s Kitchen Island
Rules:
- The project can be made from a free item, reclaimed wood, anything as long as less than $10 was spent on it including hardware.
- At least 1 power tool has to be used to build it.
- The $10 Power Tool Project Challenge is open for entries from 10/27 through 11/10 with a link. Upload a picture of your project. 4. If you need help uploading your project photo, send me an email at (add your own email address) and I will upload it for you 🙂🙂
- Submit an old or new project as long as it was under $10 to build.
- Anyone can enter, the more the merrier 🙂🙂
- Each participant can enter up to 3 projects.
- Winners must be 18 or older and live in the United States.
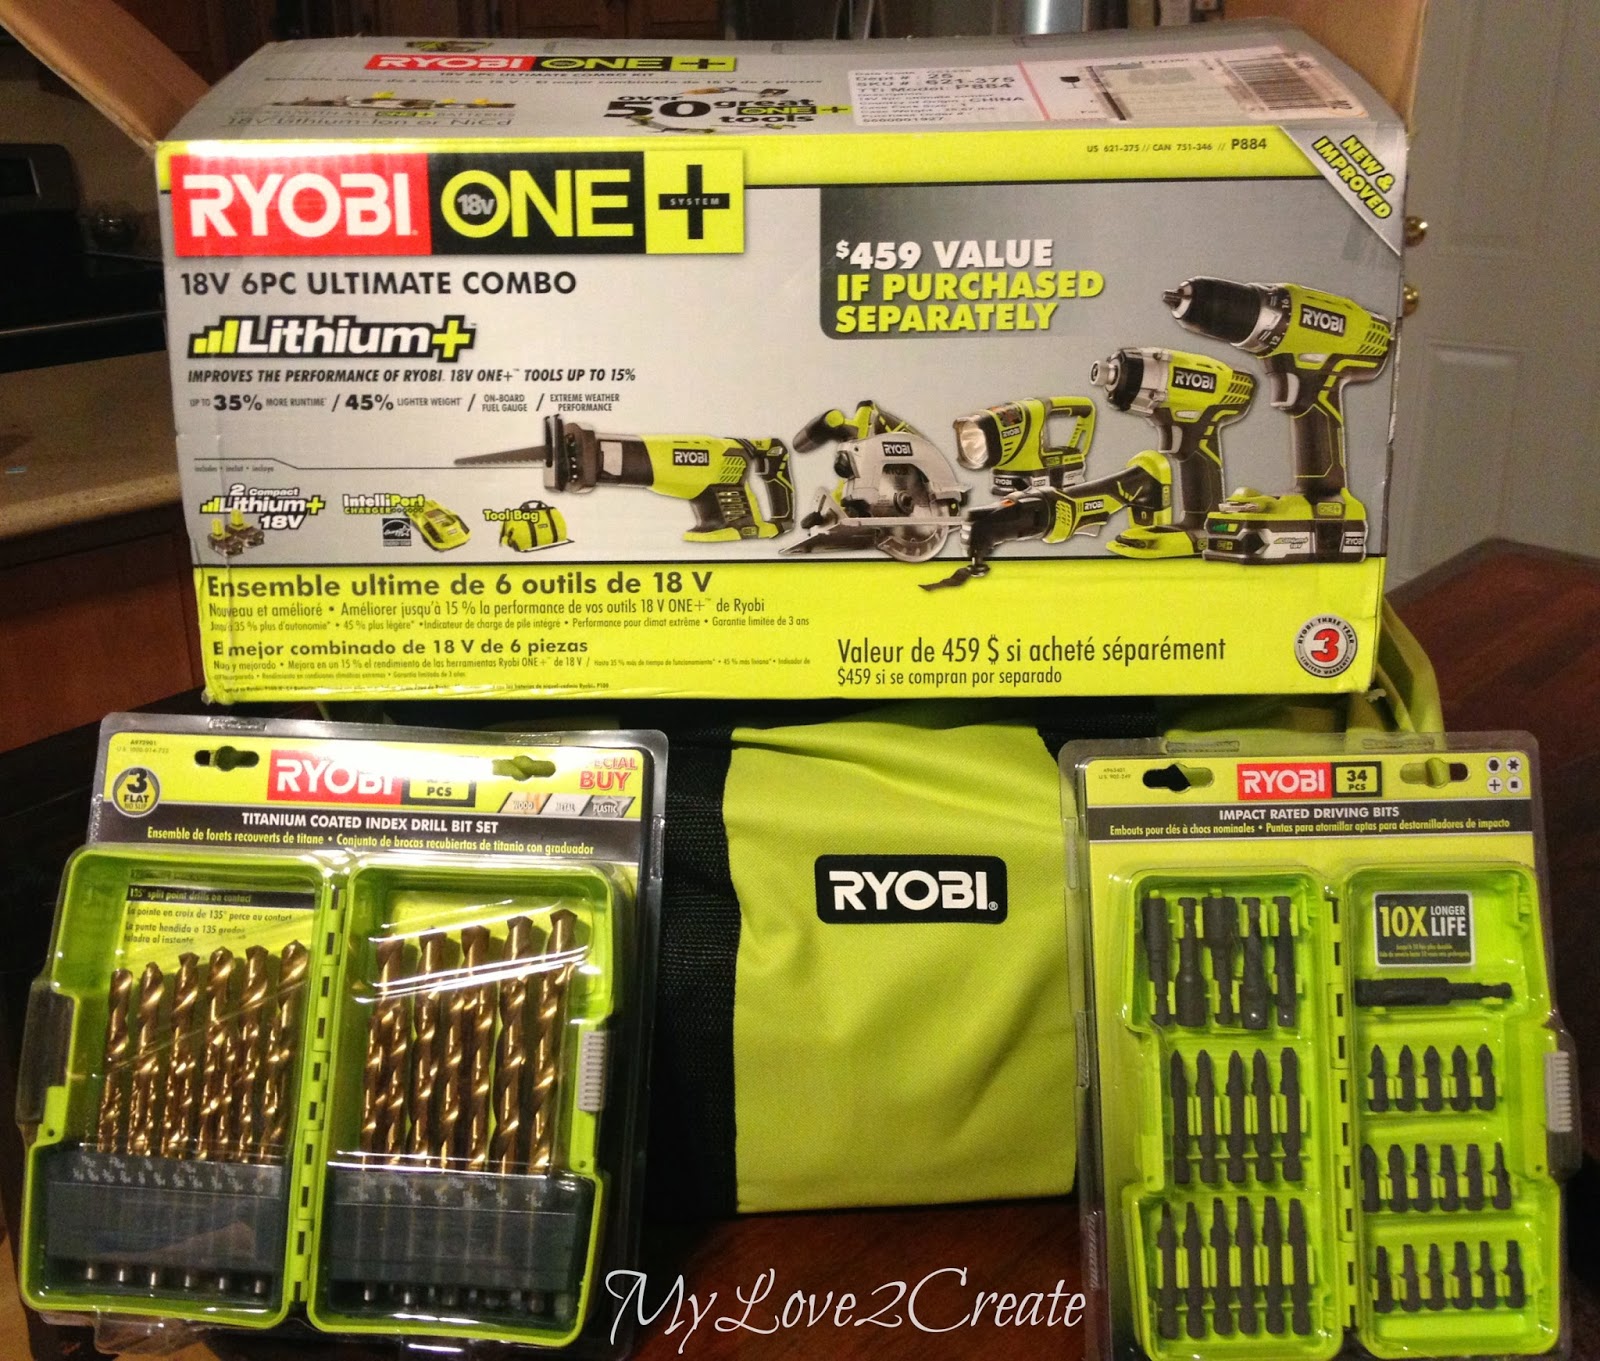
- The Power Tool Challenge Team will vote on the best project and one winner will be selected. The winner will receive the Ryobi ONE+ 18-Volt Lithium-Ion Cordless Combo Kit with Miter Saw 6 tool package shown above.
- Void where prohibited.
- Use the #readerchallenge on your social media posts and be sure to tag @MyLove2Create
Now to Check out all the Power Tool Challenge Team’s $10 and under projects (and no we are not going to be voted on 😉 So many inspiring ideas!

Double Pedestal Scrap Wood Table by My Repurposed Life
Hexagon and Triangle Shelves by My Love 2 Create
Window Box by Dogs Don’t Eat Pizza
Blanket Ladder by Domestically Speaking
DIY Wood Centerpiece Box by Virginia Sweet Pea
Easy DIY Shelves by Create and Babble
Vintage Peg Blanket Ladder by H2OBungalow
Computer Monitor Stand by Interior Frugalista
Wood Slice Plant Stand by Designed Decor
DIY Video Game Organization Station Holder by Kim Six Fix
Time to Link Up!!
Thanks for participating!
Mindi


Mindi…These shelves rock! I fell in love with them as soon as I saw them. I have a new place to decorate & I know exactly where they will fit! Great job & loving the $10 price tag! XO -Wendi@H2OBungalow
I LOVE these shelves! So creative! I need to make that hexagon – I have the perfect place for it! Awesome project!!
Oooo, I have a few places in my house where these would be perfect! Nicely done Mindi!
Oh Mindi, do I love these! I love the finishes too, especially paired together. My office NEEDS one of each and thanks to your excellent building plans, that may be possible.
Mindi,
As soon as I saw the collage I knew exactly which project was yours. You are so awesome with angles! I too love the finishes, but surprised one of them isn't BLUE! 🙂
Fun shaped shelves like hexagon and triangles are perfect for any room or small space.
pinning!
gail
These shelves look great on your wall and it's going to be fun to change out what you display on them. I can think of several spots in my home that could use a small shelf like these.
Oh how I love these shelves!!!
What a fun project!! I love them!!
I love them both I can see whay you had a hard time deciding which one to build. I would of made them both too. I have to make me a big ball of rubber bands I love it, its the simple things! lol.
Awesome as always! I love the Hexagon and hey that price! 😉
Featured at the new party and PINNED. Thanks so much for your awesome tutorials. Best wishes, Linda @Crafts a la mode
The two look amazing together. Love the simplicity of the shelves, yet they have a huge impact on the wall. Great project!
I love this and you can't beat the price to make it! Thanks for the tutorial!
These turned out SO great! Thank you for sharing with us at the To Grandma's House we go link party, hope to see you when the new one starts tomorrow 🙂