Bedrooms | By Room | DIY Projects | Furniture | Living Areas | Office | Scrap Wood
Modern Bookshelf
Hello! It feels like I have been MIA for too long. Last week I attended the SNAP blogging conference and really had a great time. Since I got back life has been super busy… I can’t believe it is already the end of the year, and with six kids this is one of the craziest times of all, but I love it. It really is a fun time.
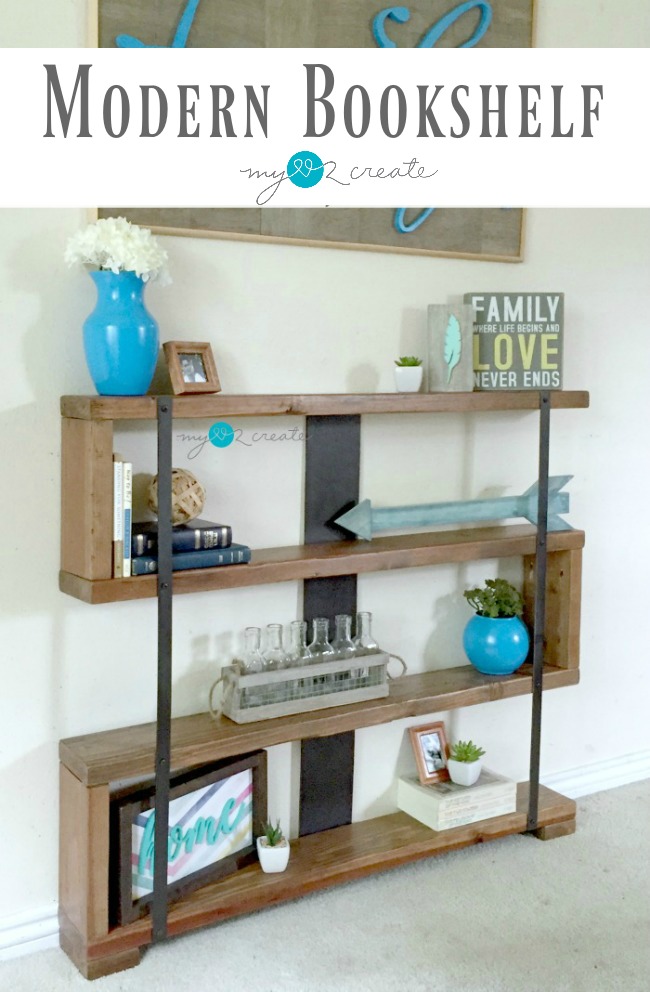
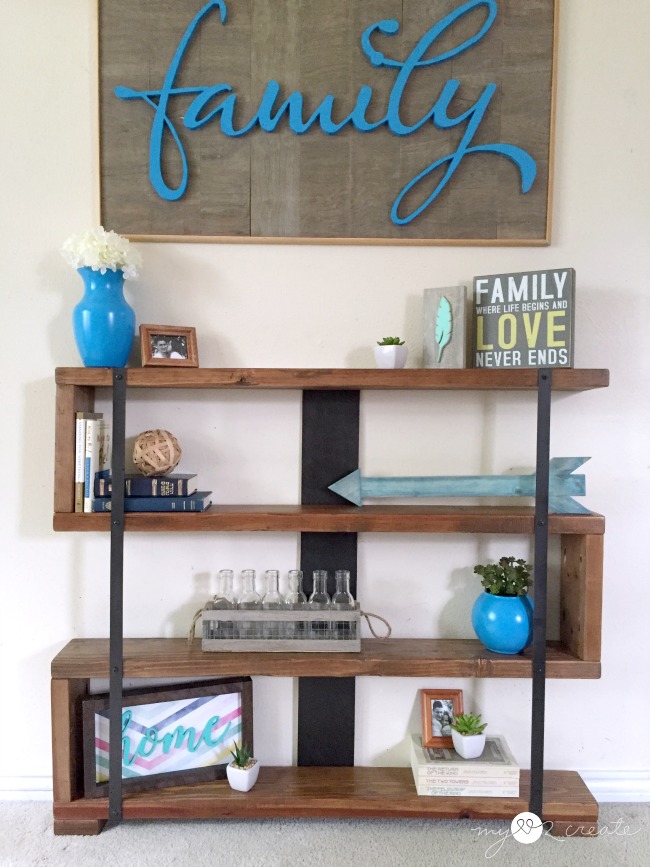
I am pulling out a super fabulous project that I have been waiting to share with you! I posted this last year at My Repurposed Life as one of my contributor projects. Without further ado… meet my modern bookshelf!
I kind of love it. Seriously. It was soooo easy and looks so cool!
Let me tell you how I was inspired.
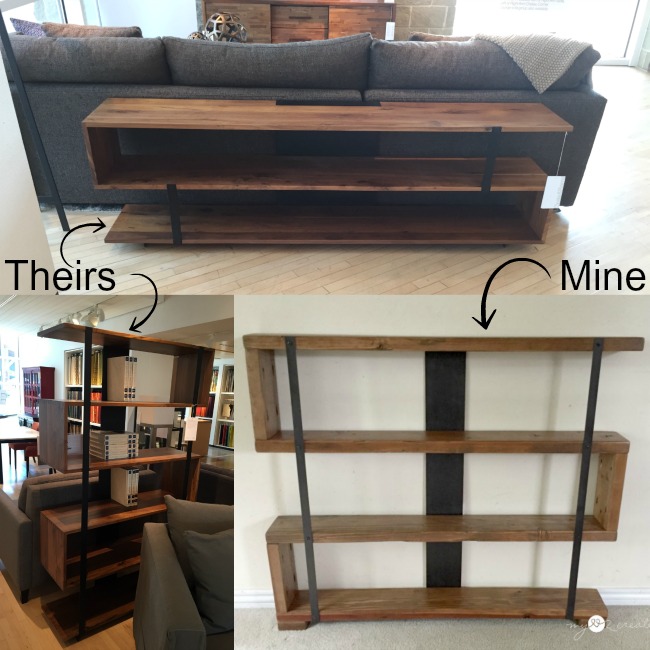
When I go to the mall (which is hardly ever…) I love to walk through Crate and Barrel and drool. Their furniture always gets my brain turning and on two different trips I snapped some shots of the above shelves.
In my master bedroom I had this wall that needed something, but it couldn’t be very deep because it is a main walkway in my room. I really wanted to make a narrow bookshelf. I toyed with lots of different ideas and was planning on repurposing some spindles when I remembered the above shelves. Finally I had an idea!
I had a few nervous moments with the design, but it all turned out great in the end and I couldn’t be happier! Especially because it gives off that rustic industrial look that makes me happy inside.
Lets get started with the tutorial!
This post contains affiliate links that help me at no cost to you! Read more.
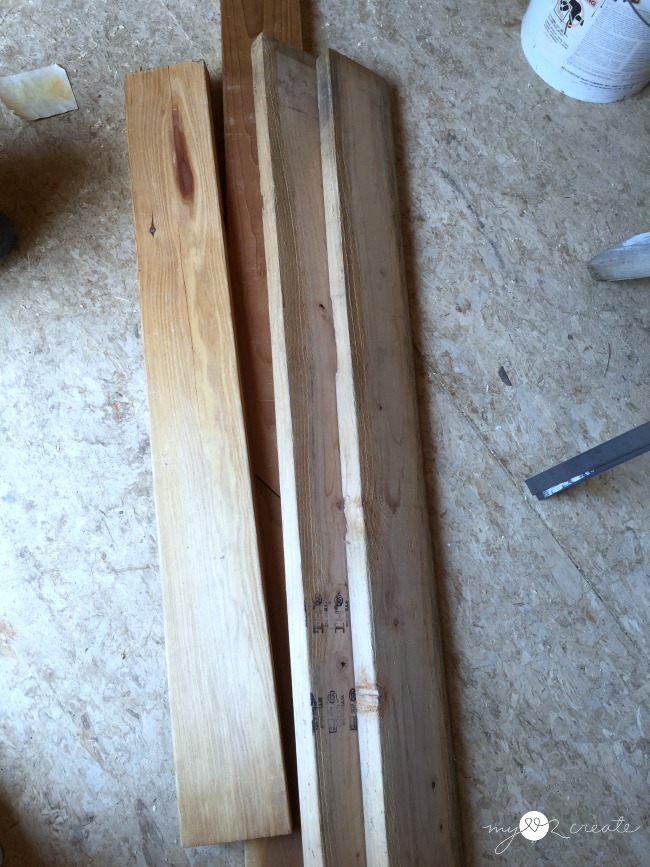
I have a problem with wood hoarding and at times like this it is a good thing. I used some reclaimed 2×6 lumber that I got for free at some point and was happy to give it new life. If you are not a wood hoarder you can buy it at any lumber store. 🙂
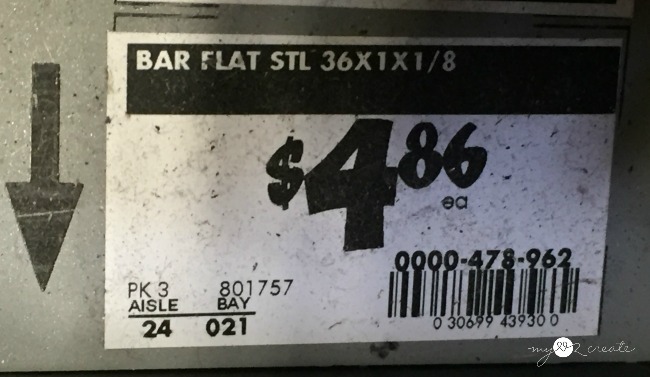
I knew this bookshelf would require some real metal to keep it secure so I headed to my favorite hardware store. After a quick chat with a very nice Home Depot guy, I ended up with the above steel, but any Flat Steel Bar will work. It was the perfect height for a floor bookshelf without me needing to cut it down, so I grabbed two.
I decided to cut my 2×6 shelve boards at 34” long, because it was the perfect length for the wall I would be putting it on.
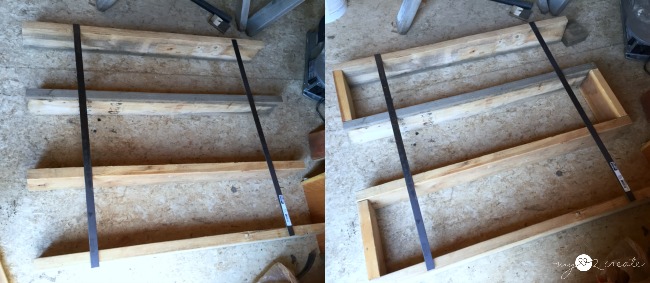
I cut four shelves and then spaced them so the steel straps fit flush with the top and bottom shelf (top left photo). Doing the math, the steel bars are 36” tall and the four shelves are a total of 6” when you combine their widths. So 36 – 6 = 30. Then I needed three wood dividers, so 30 divided by 3 = 10. So the shelf dividers would be cut at 10”. You can see in the top right photo I have cut the dividers and placed them in for a dry fit.
In reality the steel straps were not exactly 36” they were a little longer, but the math is the same. You could make this shelf any size you want. You can use wider wood, make it longer, or shorter, add more shelves….the true beauty of DIY, you make it the way YOU want!
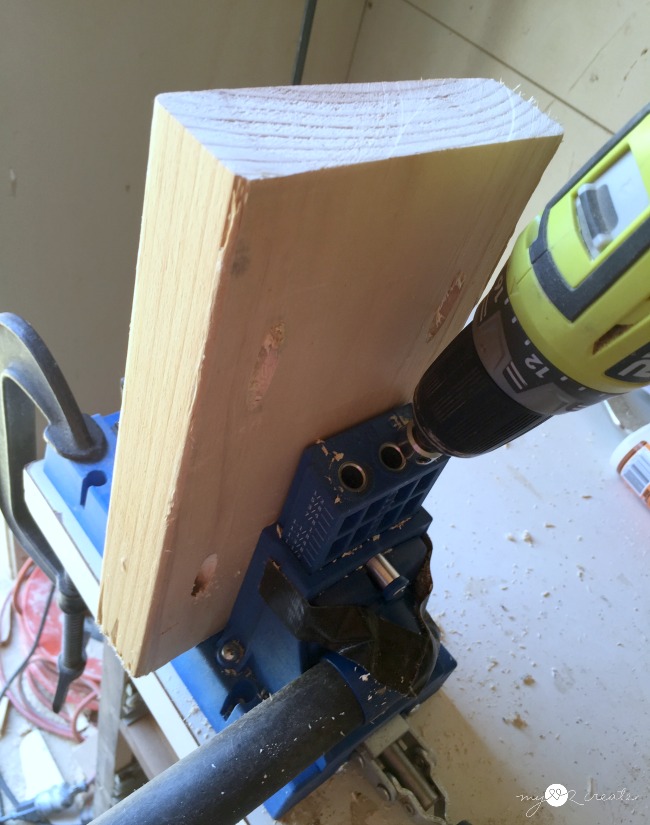
To attach my dividers to my shelves I choose to use pocket holes. I drilled 1 1/2” pocket holes on each side using my Kreg K5 Pocket-Hole Jig .
.
Later in the post you will see that drilling the pocket hole screws in was a pretty tight with only 10” especially if you don’t have a small bit. If you prefer you can drill through the shelf boards into the dividers. Either way will work.
The original pieces were done with dove tails, which I LOVE, but I was going for quick and easy. But something I totally want to try in the future!
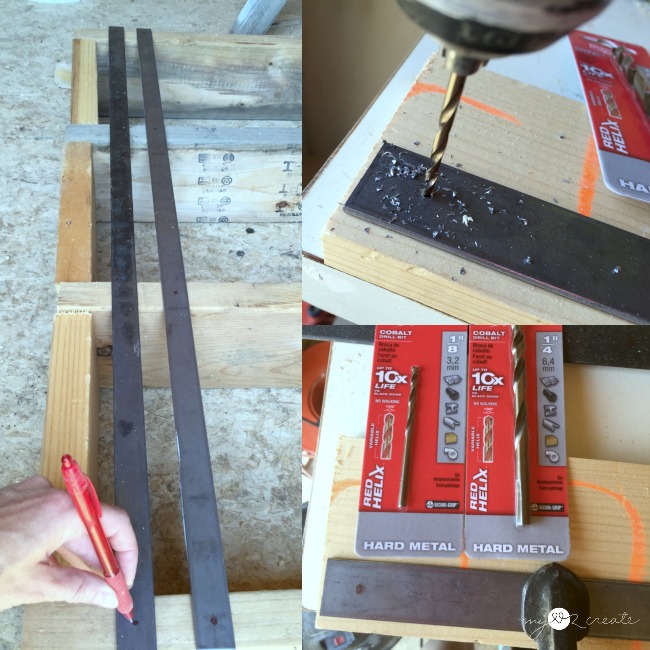
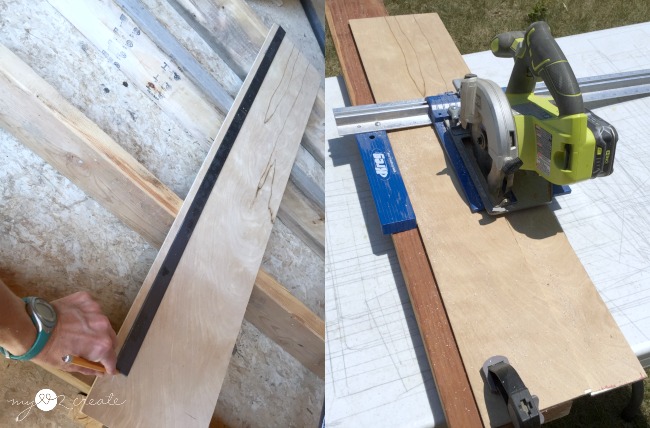
Next I needed to drill holes into my steal straps. To make my marks, I used my three dividers to space the shelves, then I laid my straps on the wood and marked the center of the metal where it connected with the 2×6 shelves, far left photo.
I used a strong hard Metal Drill Bit , the small one on the right, and placed it on a block of scrap wood so I didn’t drill into my workbench. If you go slowly and use the proper bit you should be fine. I ended up not needing the larger drill bit. You will need to make sure the bit is the right size for your screws.
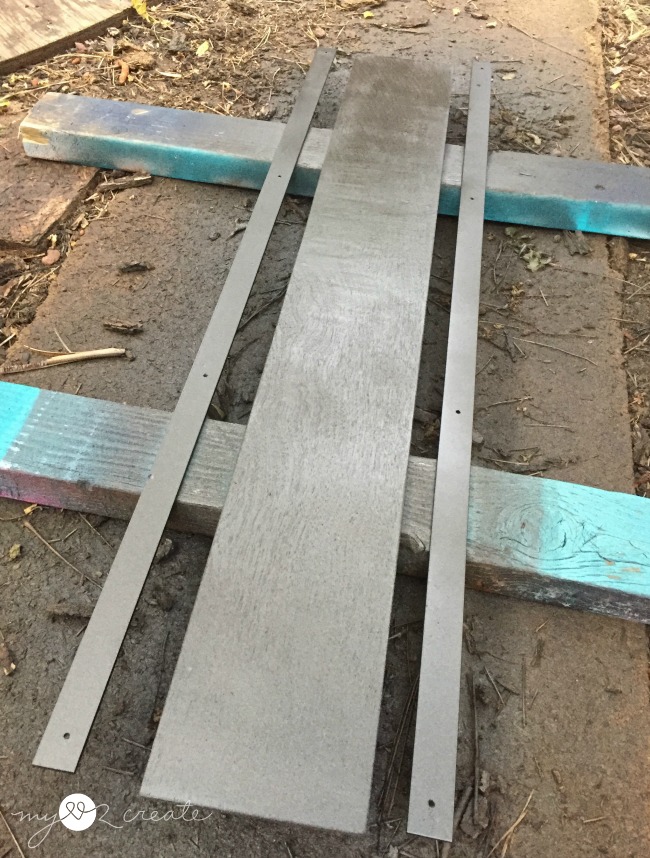
While I was purchasing the steel I made the decision to use a piece of scrap 1/4” plywood for my back brace instead of buying more metal. Then I planned to spray paint it to look like metal. I did this for two reasons, I am cheap, and I already had spray paint at home. So I only spent about $12 dollars on this project, the two steel straps and the drill bit (I returned the larger one).
Anyway…I marked my plywood to the same sizes as my steel and then used my Kreg Rip-Cut and Ryobi Circular saw to rip it down. I choose to make it 5” wide.
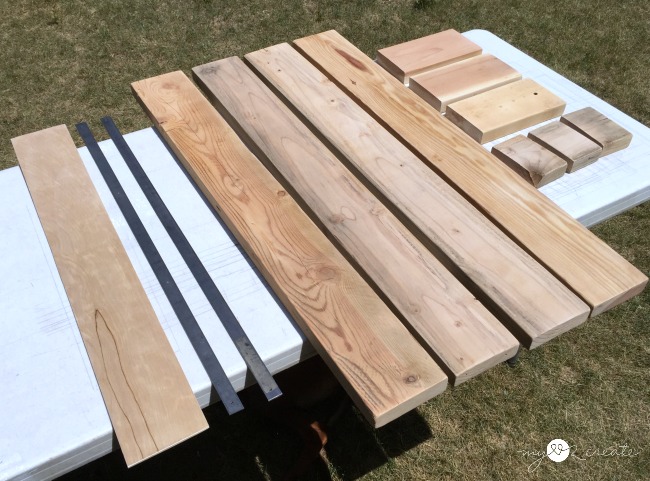
This is a shot of all my pieces ready to build. You will notice the three small pieces, those are the feet, I ended up only using two of them, they were just cut offs from the shelves and I cut them to roughly 3” to 3 1/2” for nice sturdy feet.
I used Minwax special Walnut to stain my shelf boards, the same color as my Hanging Storage Shelf, and I also spray painted my support pieces with Rusteolum’s Oil Rubbed Bronze.
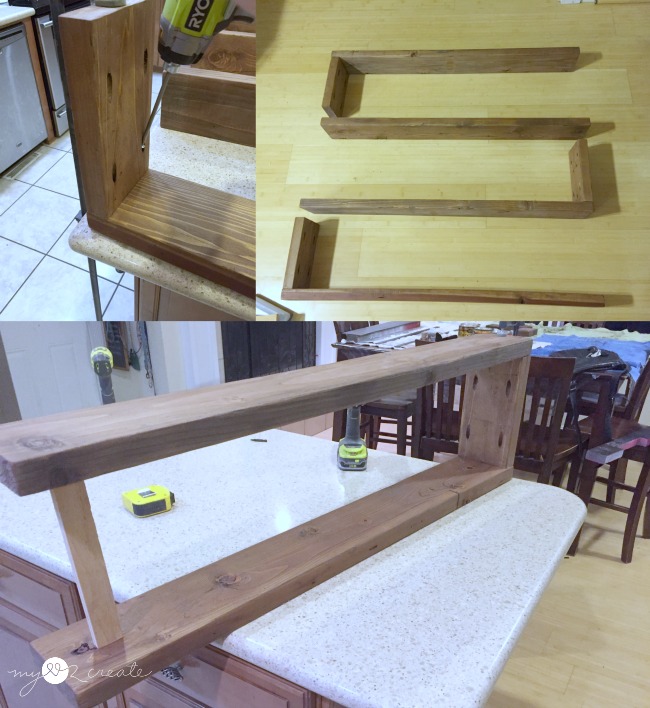
Time to build! I started by connecting the three support pieces to one of the shelves with my 2 1/2” pocket hole screws and gorilla wood glue.
At this point I needed three scrap pieces of wood (cut to the same length as the dividers) to act as supports so I could attach the other sides of the dividers to the shelves. They were great to keep my spacing, I highly recommend you do this so the weight of the shelves is supported.
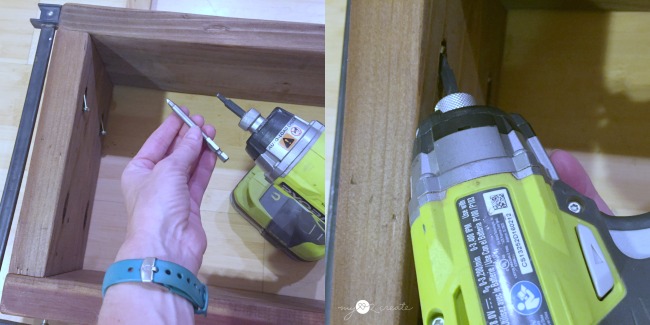
To attach my pocket hole screws into such a short space I tried using my short pocket hole screw bit, but it was still too long. I grabbed an even shorter square tip bit and used it to drill as far as I could go (right), and then I changed it to the shorter Kreg drill bit and drilled in the rest of the way. You can do it this way or drill through the shelf into the dividers with 2 1/2” screws, just make sure to pre-drill and countersink the screws.
With all the shelves and dividers connected it was very hard to move the bookshelf without breaking it. This is why you have to have the metal support pieces.
I was a little worried my project might be a fail at this point, because It was very wobbly when I had to flip it over to the back to add the back support.
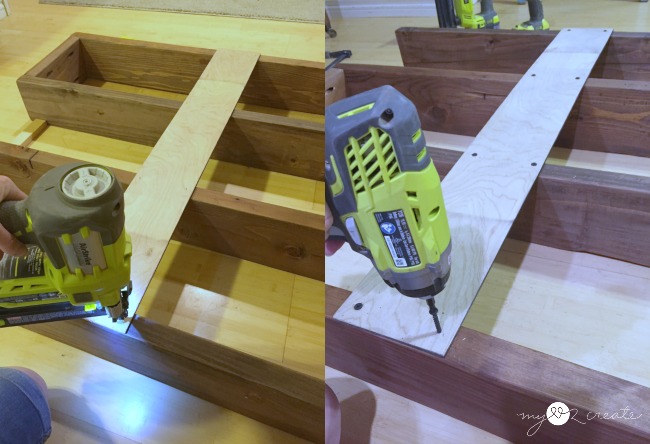
On the back I marked the center and glued and nailed on my plywood back support. Then I came back and predrilled holes and added 1 1/4” screws to strongly secure it to the shelves. You will want to use your spacers when adding the support pieces so that the shelves stay the same distance apart while you attach them.
The plywood back support ended up being just fine (instead of using a metal piece), but before I put the straps on the front it was still a little wobbly and the shelves were not sturdy on the ends…I swallowed down my panic and moved on…
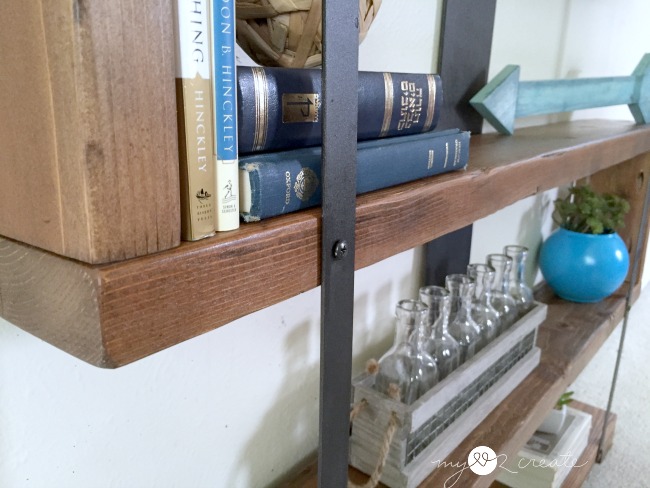
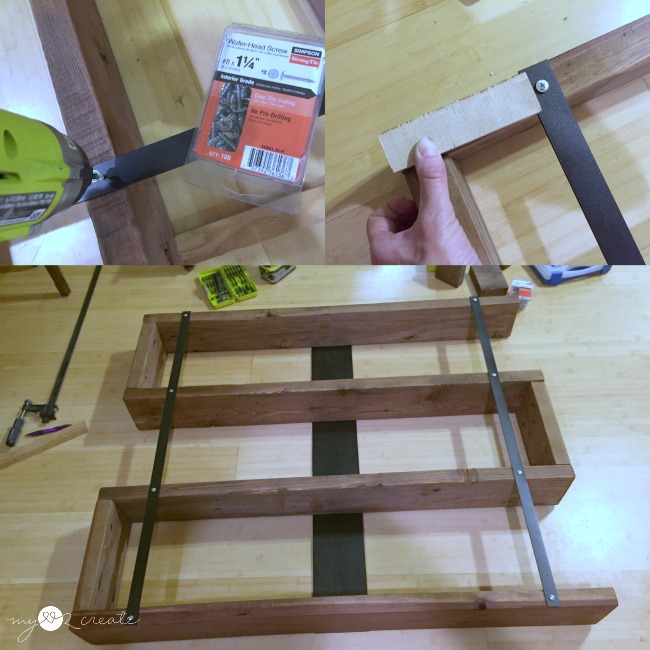
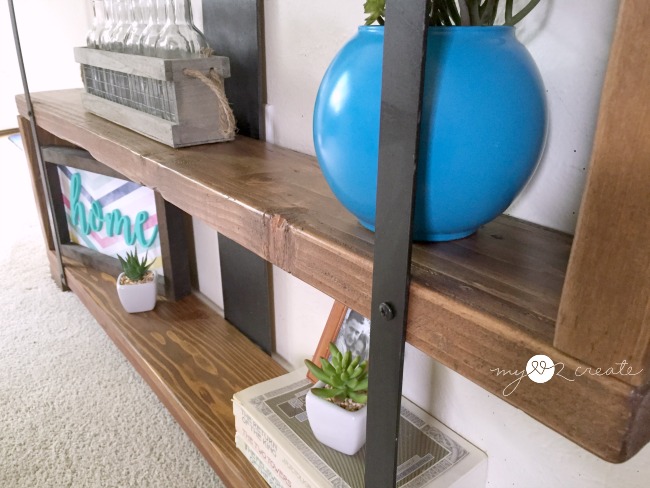
I cut a spacer to the length of how far I wanted my straps from the edge. I believe I cut it at 4”. Then I held it in place while I drilled them on with my Simpson Strong Tie 1 1/4” Wafer Head self tapping Screws, love these. I still had some left over from my Rustic Industrial Media Console. They went in perfectly and once I had the metal steps on all my fears were washed away, it was rock solid. Phew!
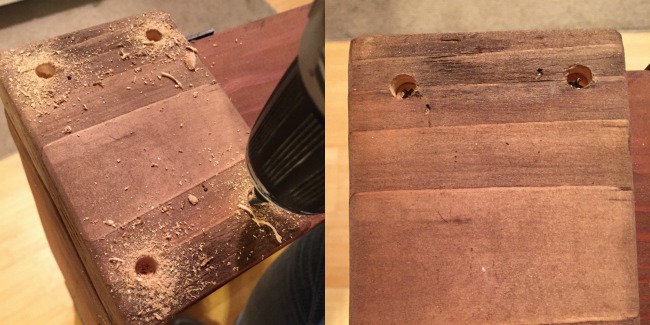
For the feet I used a countersinking bit and drilled four holes. Then I drilled in my 2” screws. Good think I counter sunk them so nice and deep, ha ha 😉 Really you don’t need it that deep, I got a little excited…
To finish, I added three coats of poly sanding with 400 grit between coats 1 and 2, for a nice smooth finish.
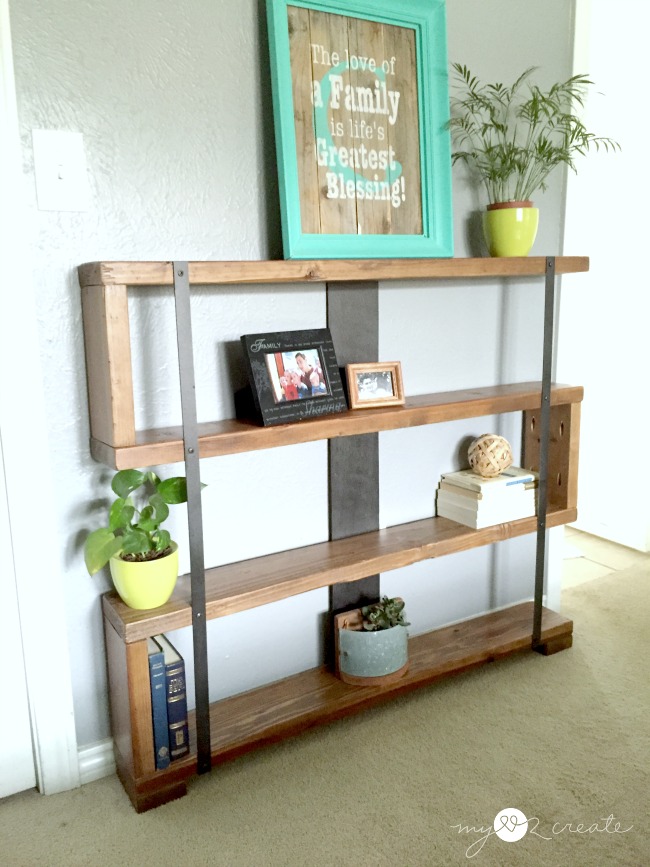
And finished!! I decided to stage it in my living room first so I could have better light.
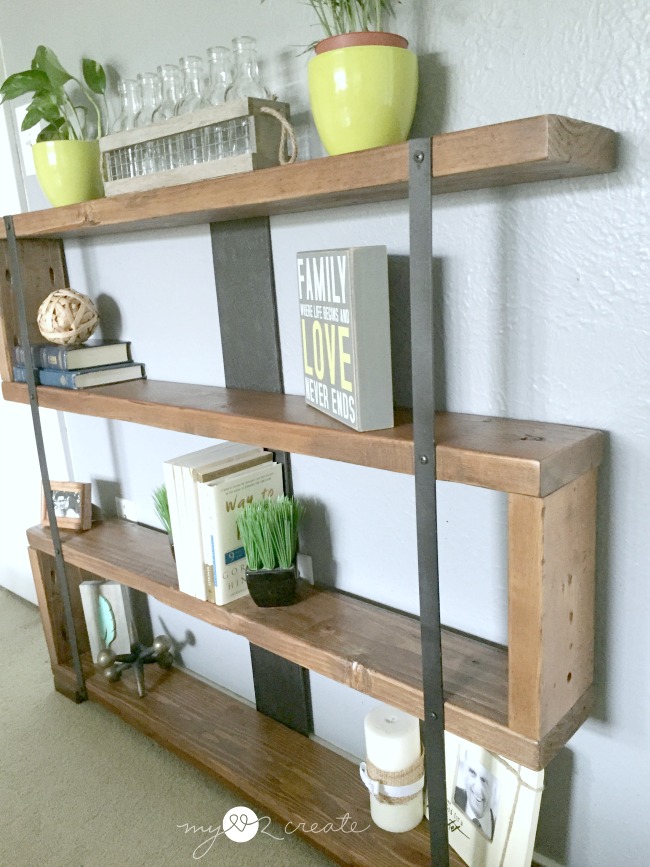
I love that this modern shelf fits smaller books and home decor items very nicely. It would be perfect for DVD’s or video games if you wanted to use it for media storage, it is about the same width as my kid’s Video Game Storage that I built from drawers.
Once I put it in my room I tried several different options on my staging…still not the best at this!
I think that I need lessons, or maybe someday all my practice will turn into perfect…hee hee, in my dreams!
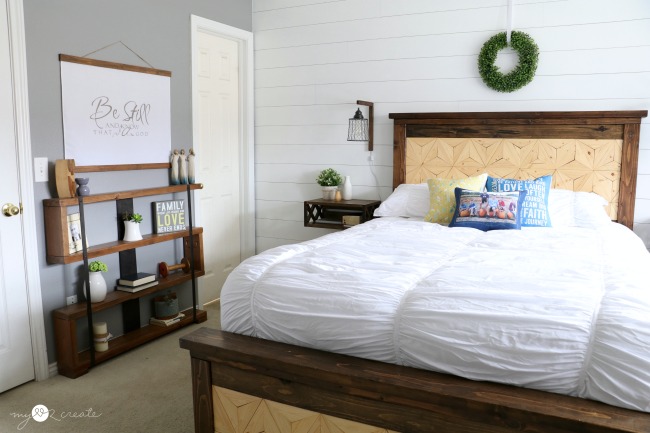
Here is a shot of how it looks now! I recently added my Fabric and Wood wall hanging above it and it looks so sweet!
Can you see why it needed to be so narrow? This is a major walkway from my Master Closet to my bathroom.
Ahhh, happiness.
Hugs!
Mindi


I love this Mindi! I love how unique and different it is.
I love how it turned out Mindi! Tali
It turned out very nice Mindi! Thanks for sharing with SYC.
hugs,
Jann
Not sure of my comments (and my last one) I have been leaving every week are making it through Mindi. I keep getting pictures that say no, an error occurred. Not sure why, I have a google profile and am using it to leave a comment.
Christine @ http://www.rustic-refined.com
Mindi, I love this! Ummm…yeah, it's me. 🙂
I have been following your blog and my apologies for not commenting. Bad reader!
Anyway, I have eyed those metal straps at HD and new they could be used for so many things. But, seeing how you used them is something I would not have thought of. As always, I love how you were able to recreate a piece at the fraction of the cost. 🙂