Cubby Shelf made from Cupboard Doors
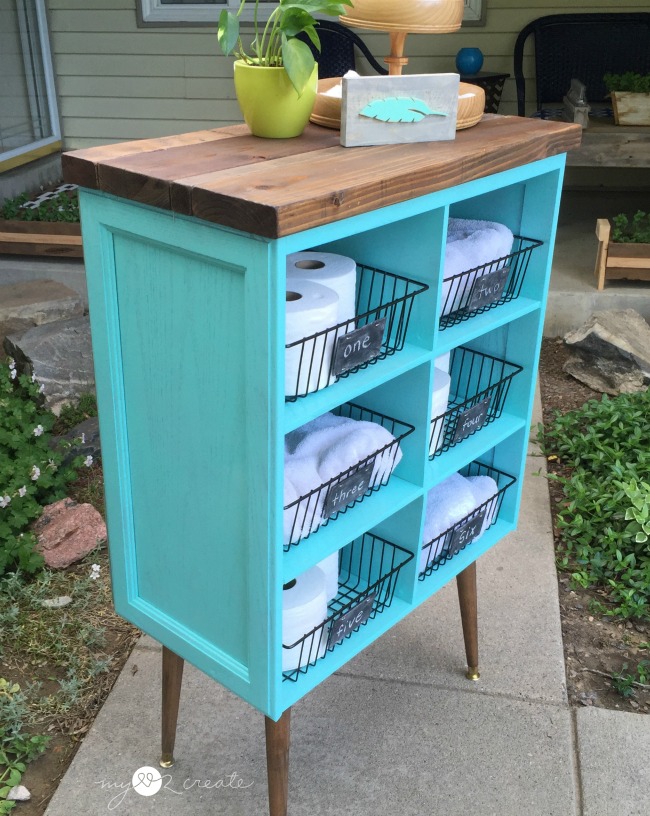
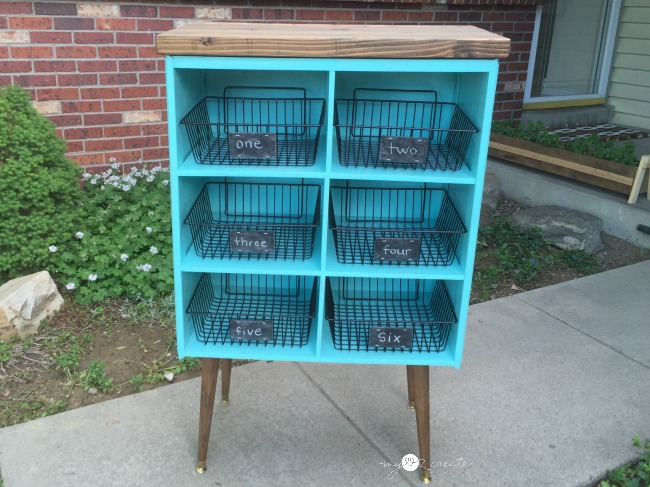
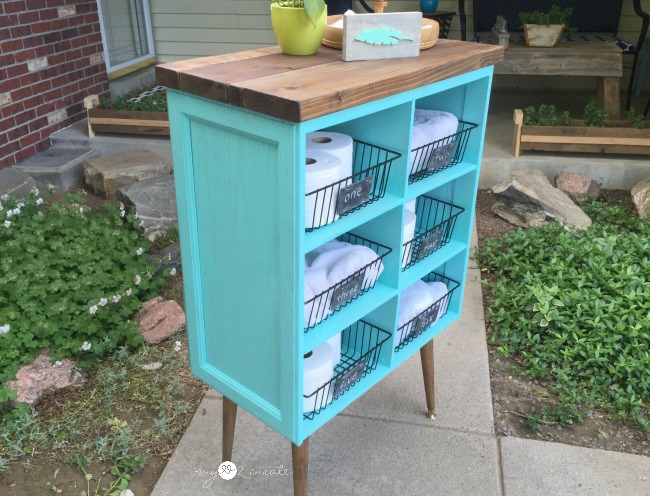
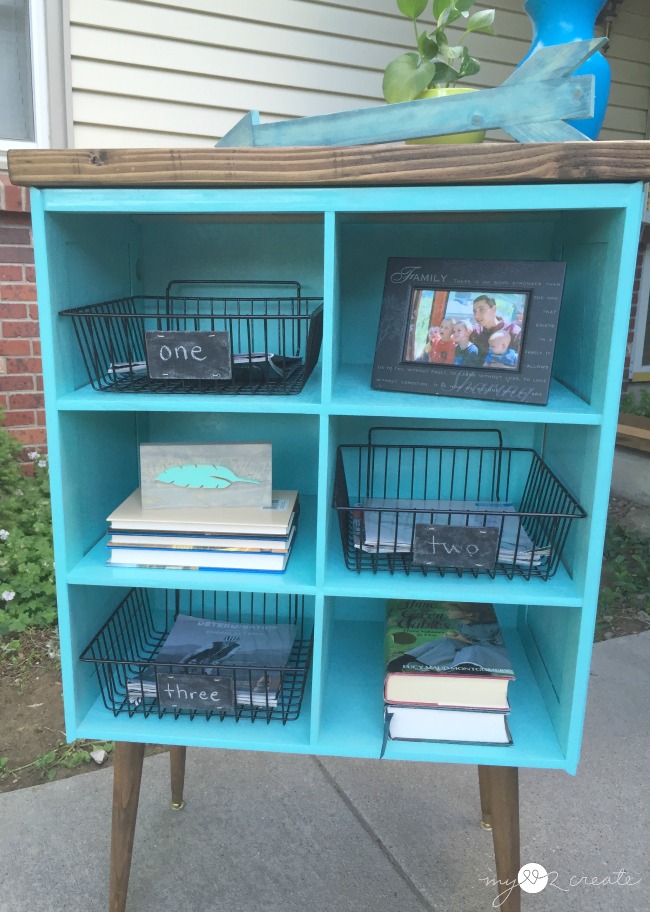
Isn’t it cute?! I really love how this project came together, especially because I had all the supplies on hand…so….free!!
I shared this last year as one of my contributor posts at My Repurposed Life.
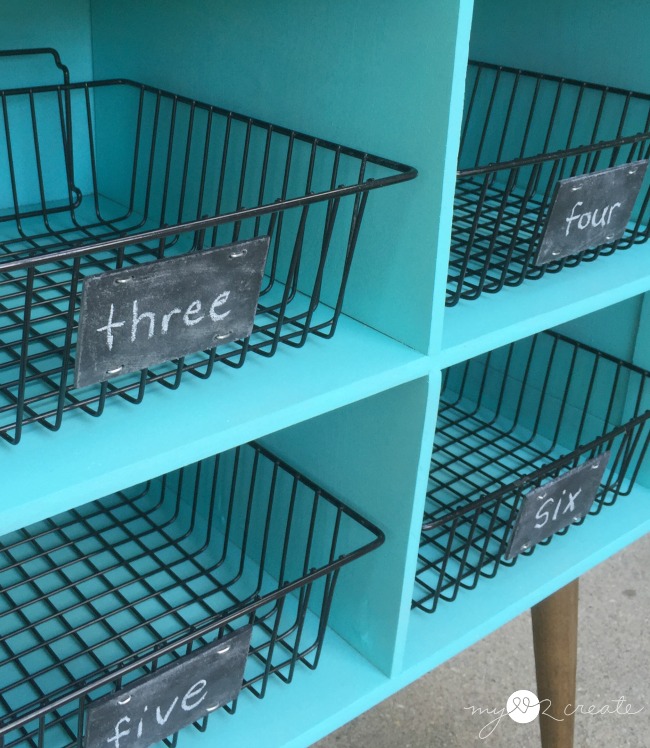
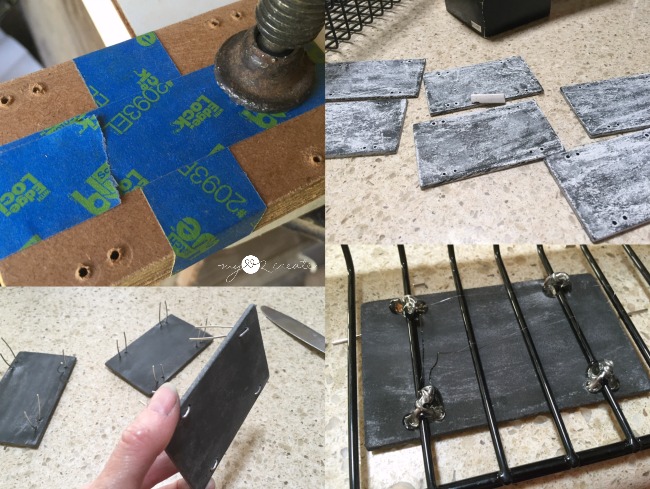
And hello?! It has Chalkboard labels, I am pretty much obsessed with how cute they make everything.
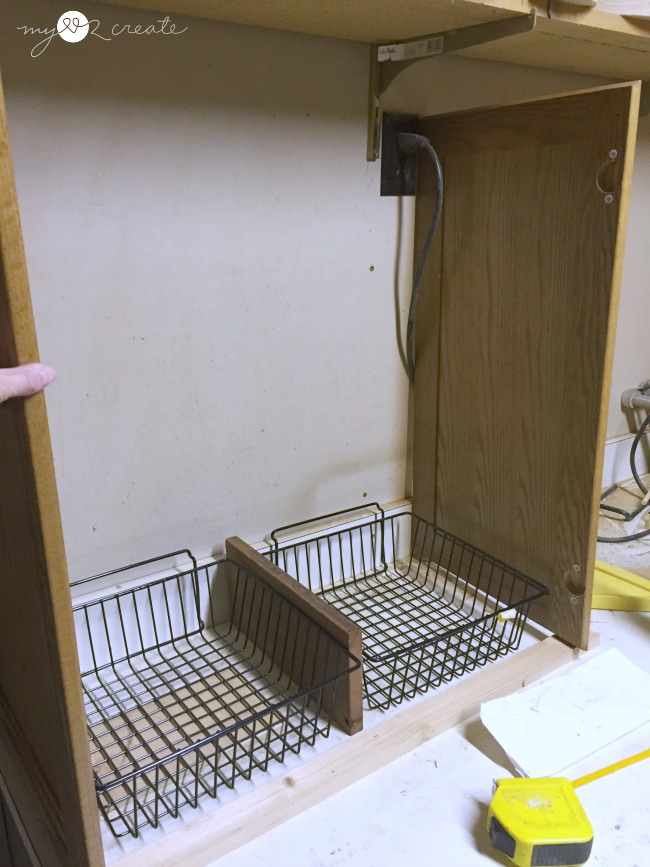
It started with these cupboard doors (free from a friend) and six wire baskets I got at the Restore for $1 each. I didn’t really need these baskets when I picked them up, but I couldn’t resist with that price, can you blame me? Now I am happy I did, I finally found the perfect use for them.
Using the wire baskets and some scrap pieces of wood, I determined how wide to make my shelves.
Once I was able to dig some plywood from my stash of wood to use for making shelves, I set to work.
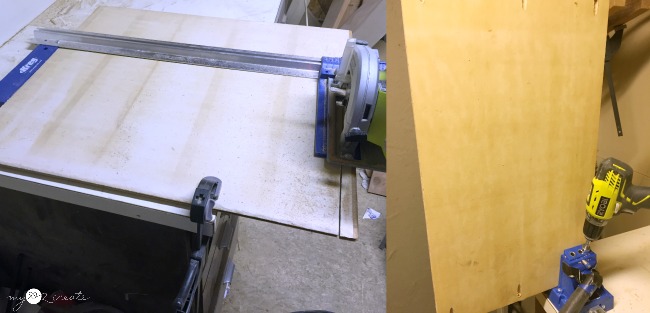
I used my Kreg Rip-Cut to cut the plywood to size. Because the plywood was only 1/2” thick I drilled 1/2 pocket holes with my Kreg K5 Pocket-Hole Jig
.
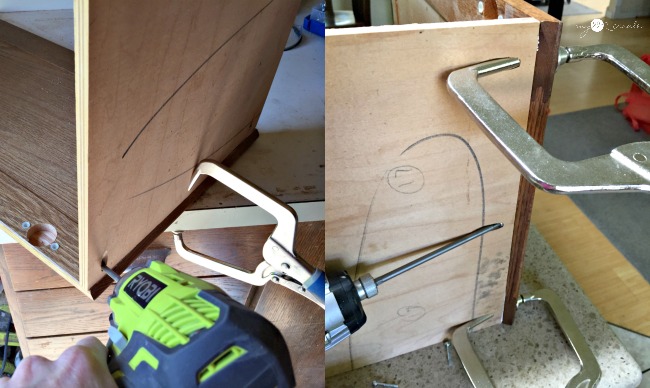
When I build alone it is always a huge help to have my Kreg Right Angle Clamps! They make it easy to keep every thing together. In the above photos I am attaching the very bottom shelf to the cupboard door with my 1” pocket hole screws and glue.
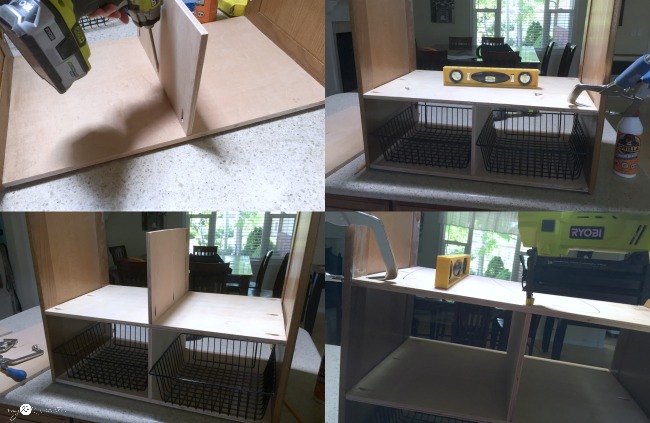
I attached my divider piece with glue and pocket hole screws (top left). I made sure my baskets fit, then added the second shelf (top right). I only drilled pocket holes into the bottom of my divider pieces.
Then I nailed through the shelf into the divider to secure the top (bottom right) using my Ryobi nail gun.
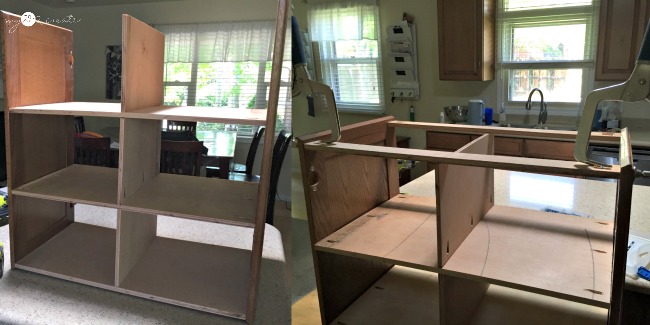
Here is a shot of me adding the top support pieces. I cut my dividers boards a little too short, which left a half inch gap from the top divider to the top of the cupboard doors. It is always something, no project goes perfectly!
To fix it, I just glued and nailed on another 1/2 strip of plywood over the top support pieces (not pictured).
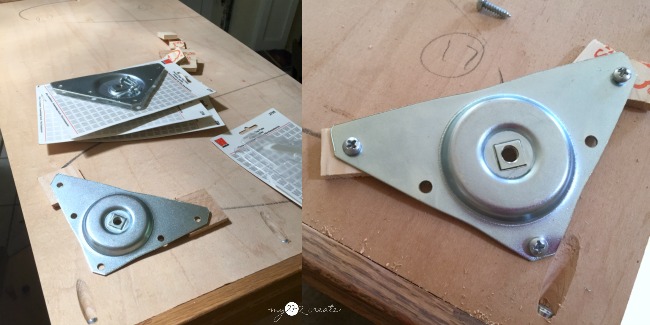
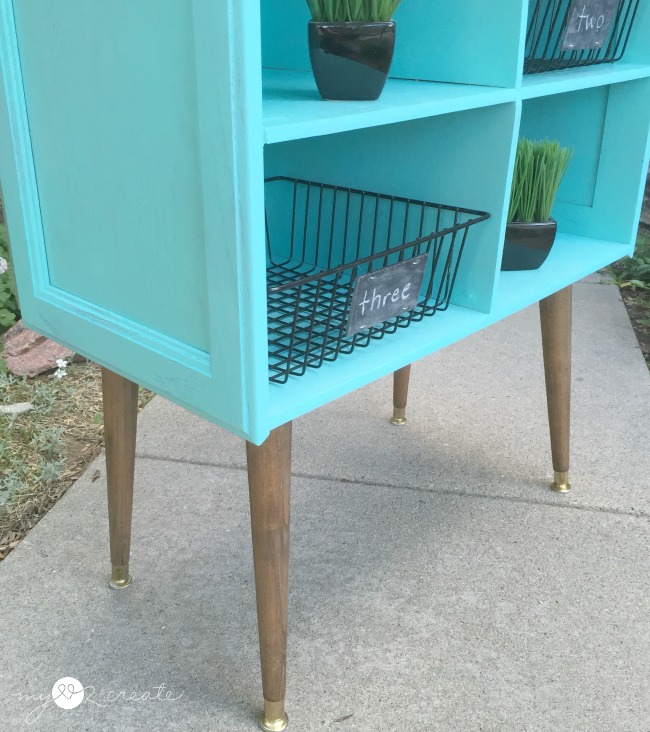
Mid century modern is one of my constant crushes, so I was happy to use some retro legs and leg mounting plates that I had waiting for a project.
To add a slight tilt to my legs I rigged the mounting plates with some paint stick scraps, lifting up the inside edges. Totally did the trick!
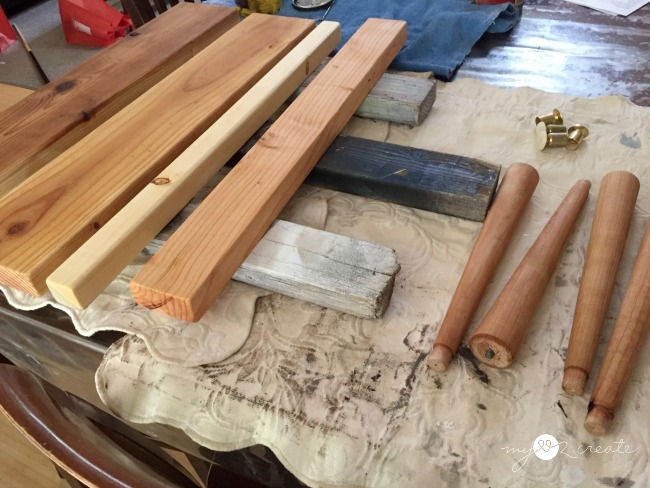
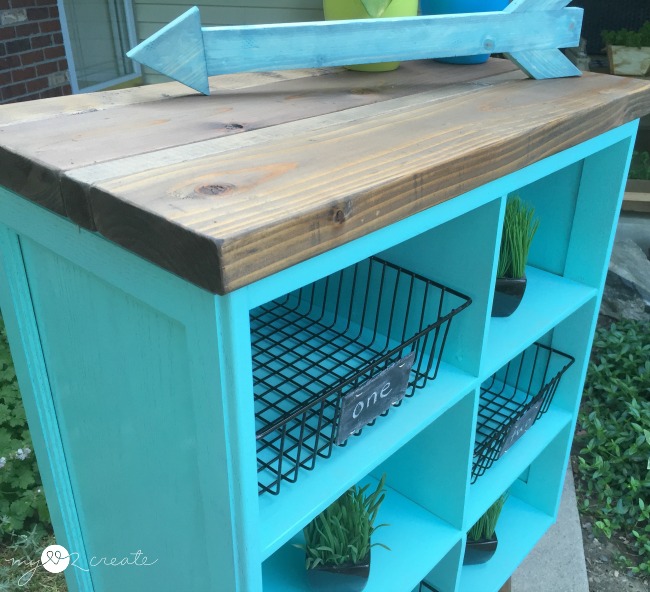
I took my cupboard door shelf outside so I could figure out what to used for a top. I finally found some boards that worked. I ended up with two 2×6’s, one 2×4 (that I ripped down to 3”, and one 2×2.
All of them are totally random boards, with different colors, but I was good with it, it will give the top some character. 😉
In order to prep the top board and the legs, I use Pre-Stain Wood Conditioner. Then I stained them with the same mix that I used on my Shoe Cubby Dresser.
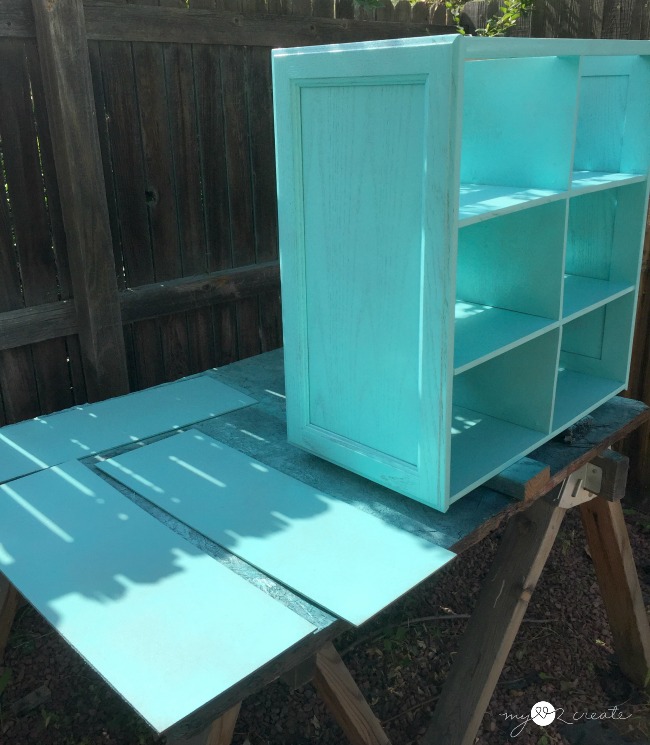
I made sure to fill all the holes with spackle and sanded them smooth. I cut some pieces of chipboard to make a back. I decided to paint the shelf and back boards before I put them together.
When I made the kids storage bench for my sister in the fall I bought too much spray paint, and finally used what was left on this cubby shelf.
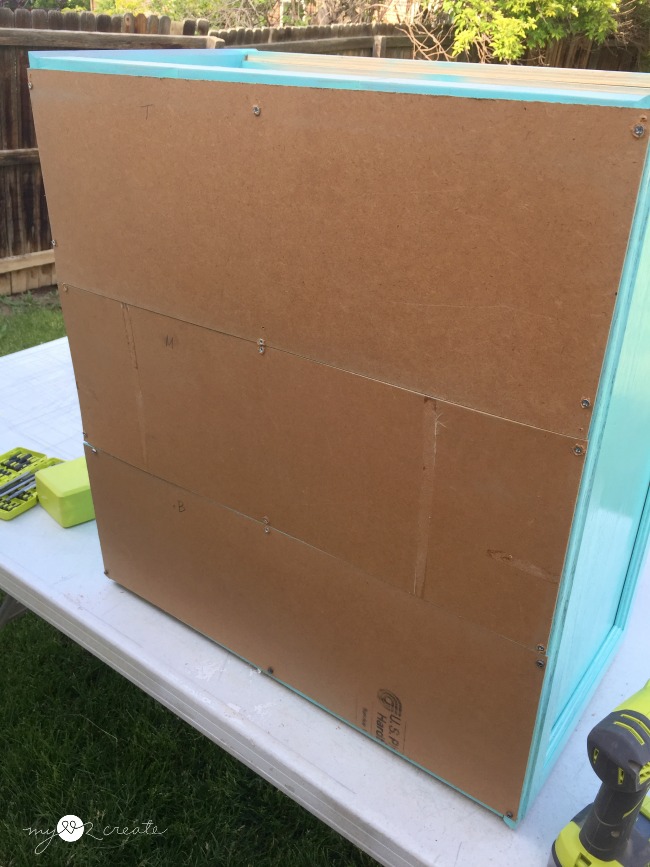
After the paint dried I added my chipboard pieces to the back, pre drilling and screwing them on. I also attached the top boards with glue and 2” nails (not pictured, nailing into the cupboard doors and support pieces), and last, I screwed the legs into the mounting plates.
Done! Oh, and I did apply 3 coats of poly to the legs and wood top, sanding with 400 grit between coats 1 and 2.






please come and share with us at http://tryit-likeit.com/entries/link-party/creatively-crafty-link-party-67
Since it matches my cute bench, I think you should just send it my way and I'll use it!! 😆 I always need and love a good storage shelf. I think I'd like it in my play room for toy bins. 👍🏼 Always love seeing what you create!!! 😘
I love blue. Love this idea! It turned out wonderfully!!
Hi, Mindy! I love love love this repurposed cabinet door project. I have a small request: I run a small nonprofit classroom where we teach repair, refinishing, and repurposing. We are holding a class in cabinet upcycles next month. May I use your photo as an example? I would of course credit you and link to whichever page or account you would like. You can read about our classroom here: https://www.habitatanchorage.org/makeitclassroom and email me at sburtner at habitatanchorage.org. Thanks for your consideration!
Thank you!