Long Octagon Tray
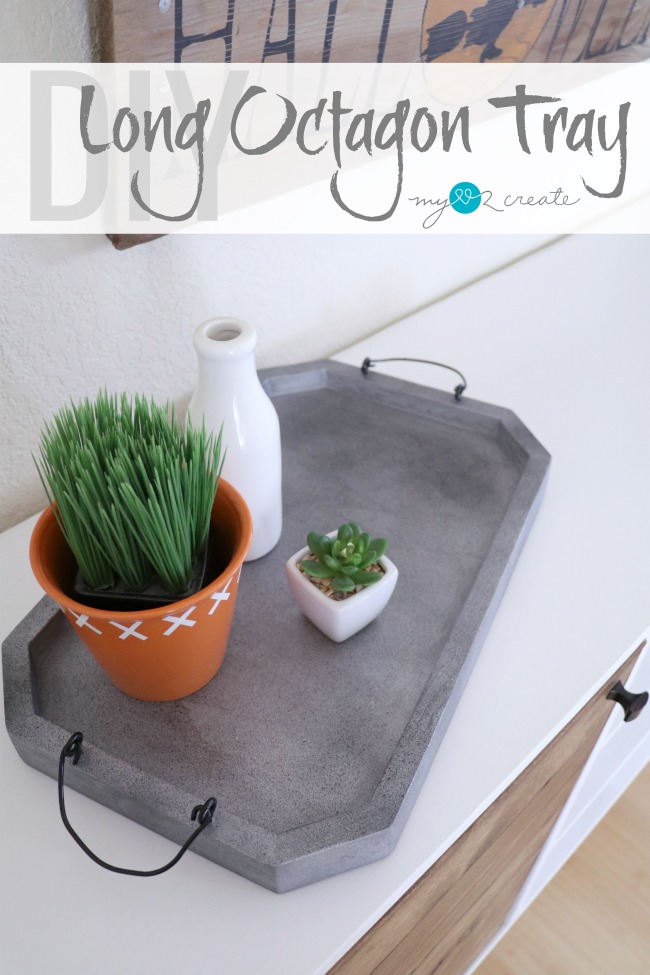
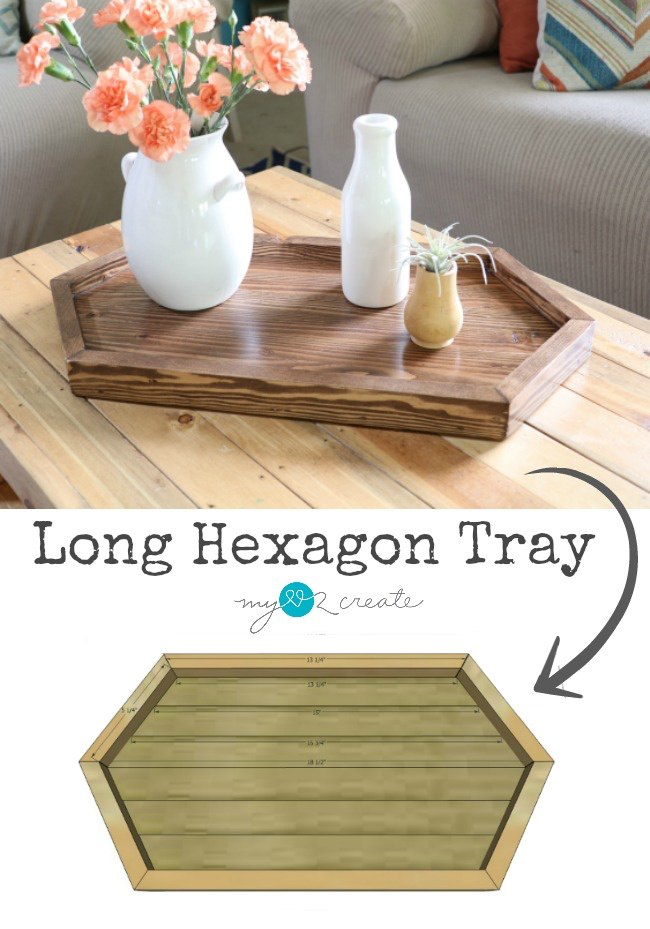
You know I love a good tray, and ever since I made my Long Hexagon Tray Plans, I have been itching to try a long octagon tray.
I also wanted to create an octagon jig to make the process easier and to have a jig for future octagon projects.
So….when Sandra at Sawdustgirl.com asked if I wanted to be a part of her mentorship squad I was so excited! She is amazingly talented and someone I wouldn’t miss an opportunity to learn from!
I will be sharing my tutorial for my Long Octagon Tray here on my blog and you can see the process of how I made the Octagon Jig on her blog.
Let me tell you, sometimes projects go pretty smoothly (not perfect, but not always filled with a ton of issues) well this project was filled with issues…seriously.
Now don’t worry, the issues basically involved me not using my head…or something to that effect…so I am happy to report that I am going to teach you how to do it so you don’t make the same mistakes I did! Yay!
This post contains affiliate links, read more.
- 1 – 1x2x8 board for tray sides (number of boards depends on how small or large you want to make your octagon tray, I used 1)
- 1 piece of 3/4” plywood I used a scrap piece I had
- Octagon Jig (optional)
- 1 1/4” finish nails
- wood glue
- 4- Screw Eyes
(optional)
- 1- 1 gallon paint can handle (optional)
- Miter Saw
- Nail gun
- Sander
- wood filler
- desired finishing supplies
Then measure and cut your 1×2 tray sides to your desired sizes. You will need 4 small pieces (bottom right) all the same size. And two long pieces the same size (long sides) and two shorter pieces (ends) the same size. 8 pieces total=an octagon!
Here is a shot of all my tray sides (top). I put the long sides together after I cut them to make sure they are the same length.
In the bottom left photo I did a dry fit. This was my first cut and I honestly just guessed on the sizes. It was a little too square-ish for what I wanted so I cut down the two end pieces and ended up with a more rectangle-ish shape (bottom right).
Like how I am using square and rectangle words when it is actually and octagon? hmmmm….
Step 2: Measure and cut your bottom tray piece (or do this step after step 3, cause we are learning from my mistakes…)
I used a piece of scrap 3/4” plywood. I used the edges of the plywood and placed my tray sides around it the best I could. You can see I set my small pieces on top to create a pattern of where to cut. Then I marked it with a…red pen?…I have no idea why, but it was the only thing I could find in my shop…
I used my miter saw to cut out my long octagon shaped tray bottom, you could use a Jig saw as well.
With the bottom cut I did another dry fit. Now like I said above I had issues on this project…I was a little off on my tray bottom…but at this point I knew that I could fix it with wood filler.
What I should have done was follow the same process as I did when I built my Hexagon Planters. I should have built the octagon shaped sides of the tray using my octagon jig…and then traced the tray bottom and cut it out. I would have gotten a better fit. I also did it this way with my How to make a Rustic Octagon Mirror and had much better results…
Learn from my mistakes!
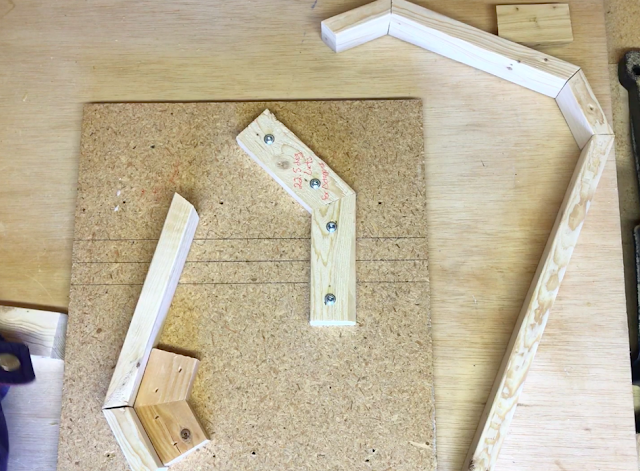
Step 3: Build your Octagon shape with your Octagon Jig
Now this is where you are going to want to visit my post on How to make and Octagon jig. And TRUST ME you will feel awesome about yourself after reading it, because I don’t think I have ever make that many mistakes on a project before. I make mistakes all the time, just not that many on one project.
But, once I get my head in the right place, I got it all figured out, and show you how to do it without making MY mistakes!
The above photo is about how far I got…and you will have to read the post to understand why.
Because I had gotten so far, and cut all the wood, I wasn’t about to let my mistakes stop me.
If there is one thing I have learned when doing projects, things rarely go perfectly…so you keep working until you know it is total failure (they do happen) and chalk it up to a learning experience.
This, however, wasn’t a failure…just a struggle, and most of the time the case with projects, you can usually fix things.
I had part of my octagon shaped sides built with the jig. I decided to just glue and nail them to the bottom anyway, despite the imperfections. I used 1 1/4” finish nails and attached the sides to the bottom piece, and then added the rest of the side pieces. Once they were attached to the bottom I went back and secured them at the corners.
Step 4: Fill seams with wood filler and finish as desired
With my imperfect long octagon tray built, I was ready to cover up my mistakes fill my seams with wood filler. 😉
Now if I had been staining, and I hadn’t had so many gaps, I would have just skipped filling the seams. But that wasn’t the case, and in fact, I was out of wood filler. So my options at this point were to fill with spackle and paint.
Not what I had planned, but I wanted to finish the project, not scrap it, so I worked with what I had. After the spackle dried I sanded it smooth.
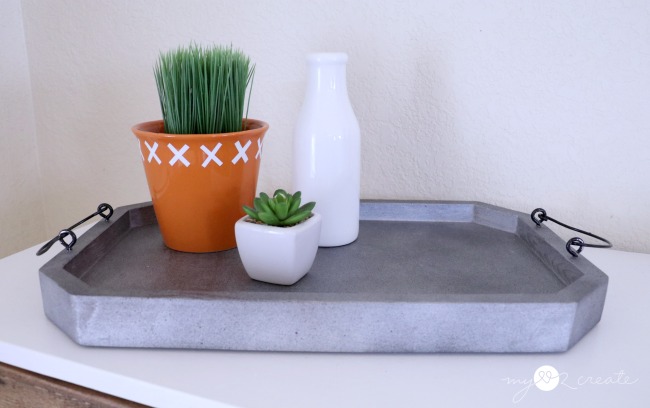
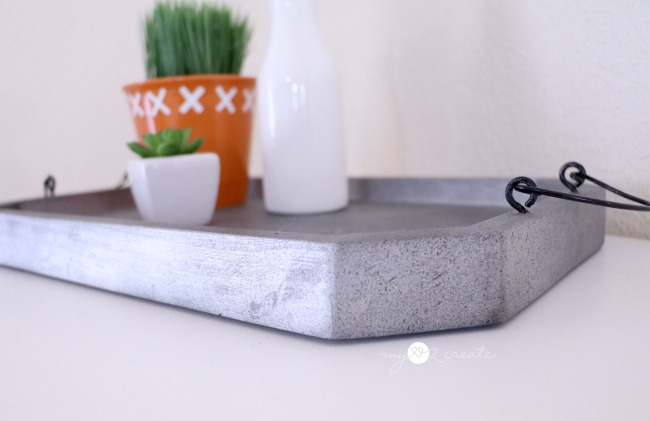
I had some metallic silver paint and so I tried a faux metal finish. I sprayed the tray with the metallic silver, then used black spray paint (I would have used oil rubbed bronze, but I was out) to spray from far away (right photo) and very lightly…to give it more texture.
I used a similar technique on my Pottery Barn Knock off Clock.
Step 5: Add Handles (optional)
Because I went with the faux metal finish I was in the mood for some industrial handles. I also didn’t want to buy any, because I am cheap.
Remembering what I did on my DIY Coca-Cola Crate, I changed it up a bit and used the handle from an old paint can!
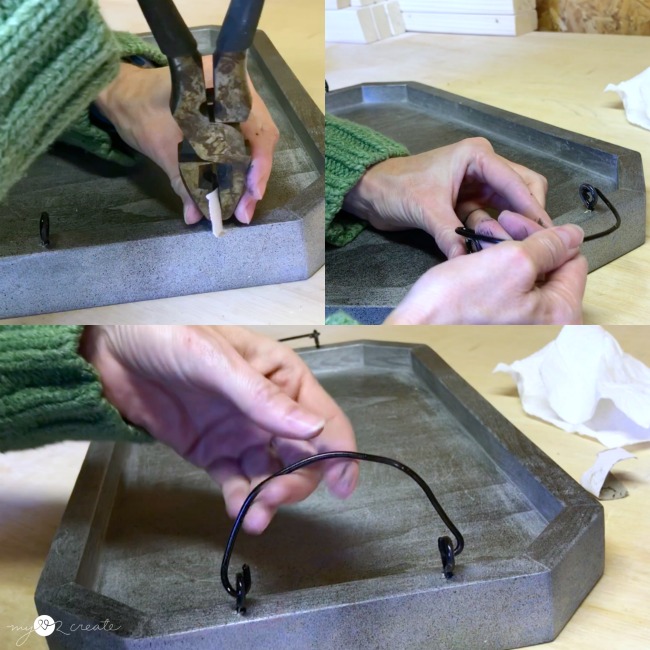
Using some very rusty pilers, I wiggled out the wire handle from the paint can, then I tried to clip it in half with with the wire cutting part on another “less rusty” pair of pilers. It was too thick for me to cut all the way through, but after bending it a couple of times it snapped in half. Sa-weet!
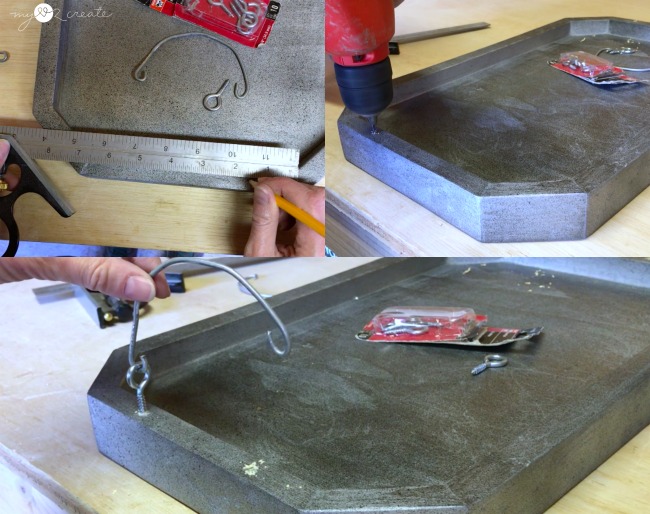
I grabbed some screw eyes that I had on hand, and marked for center on the ends of my long octagon tray, and pre-drilled some holes. I did a test run with one of them to see how the handles would work.
I used the already bent end on the handles that was in the paint can, and used the pilers to bend the other side to try and match.
I spray painted the screw eyes and the “new” handles and did not wait for them to dry completely. To attach the screw eyes, I used a paper towel (top left) to help protect the paint as I screwed them in with my rusty pilers.
(Be patient, unlike me, and wait for the paint to dry…trust me. I had to do some touch ups!)
Then I attached the wire handles! They are kind of fun!
And that is how you Make a Long Octagon Tray! Phew!
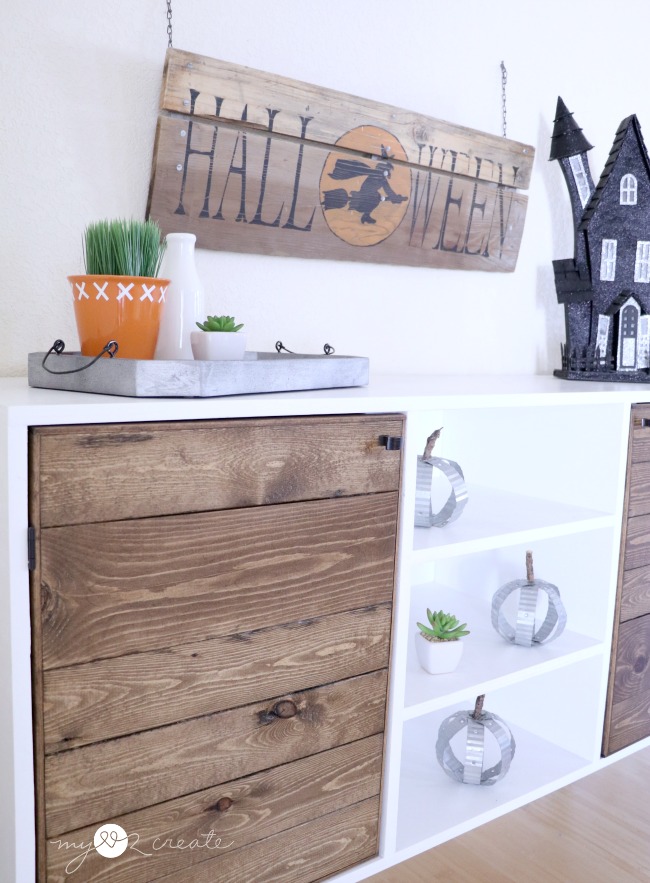
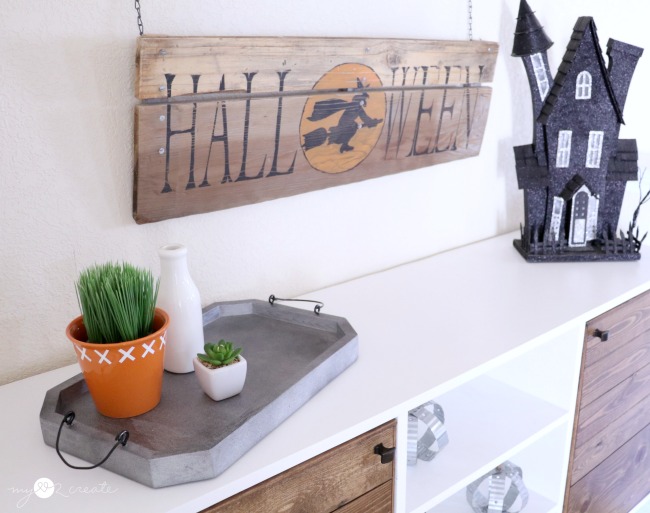
It is adding to my minimal Halloween Decor for this year, along with my Industrial Pumpkins and my Rustic DIY Halloween Sign, all on my Rustic Modern Buffet!
I am so glad I didn’t give up on this project! See… if you didn’t know about the mistakes you would never know it was almost a fail!!
Plus, I never would have come up with these cool DIY Industrial Handles if I had quit!
Now I can enjoy it, and feel good about overcoming my struggles…NEVER give up!
Thanks for reading and sharing!
Hugs,
Mindi
I will be linking to these parties, Savvy Southern Style.








Awesome! I thought it was concrete and kept looking to see how in the world… Soooo cool!
You are right it does look like concrete! Ha ha! I didn't even notice! Thanks Sandra!!
I thought it was as concrete also. Good looking tray, great job.
J
Thanks! Now we know how to get a faux concrete look! 😉
I love trays for corralling things and this is super cute Mindi! Thanks for sharing with SYC.
hugs,
Jann
Thanks Jann!! Yes trays are perfect for corralling!!
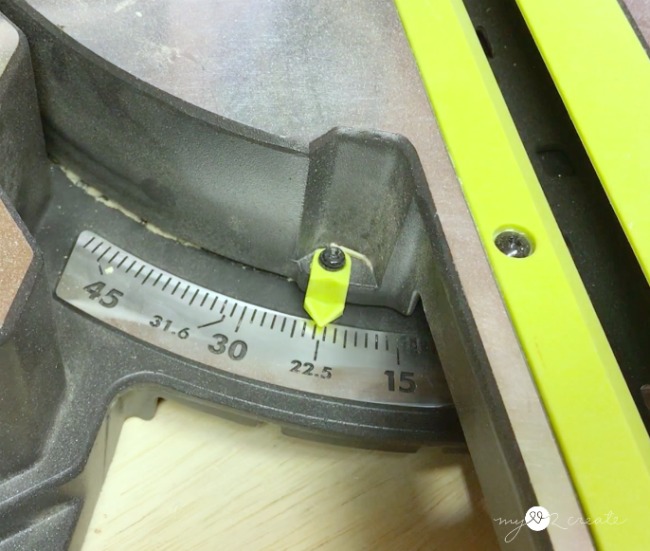
oh my gosh! I wish I had seen this earlier. ugh! I made one of these and it was disastrous. I don't remember what angles I used, but I'm pretty sure they weren't 22.5°. oh man! I need to pin this so I can share it when I blog about my "how NOT to make an octagon tray. hehehe
great job Mindi!! Your tray is beautiful!
gail
Thank you Gail!! This was one of "those" projects that nothing seemed to be going my way, but I am so happy it turned out in the end! Thanks for pinning! I hope it helps in your next octagon project!