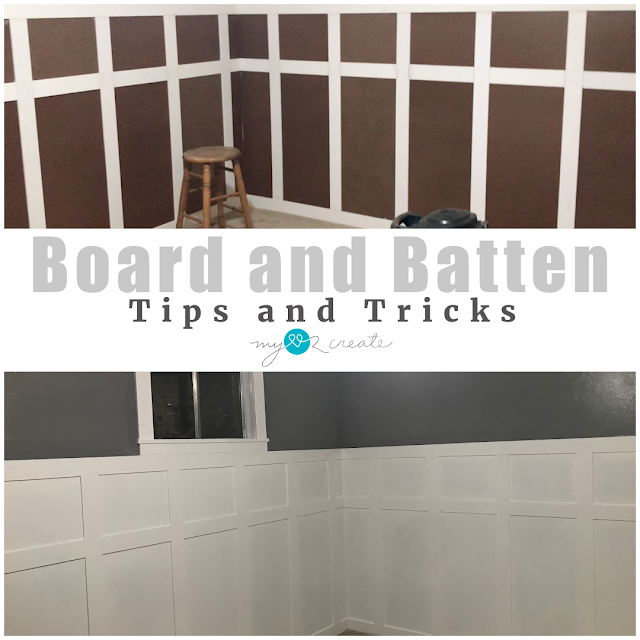
Board and Batten Tips and Tricks
I am excited to write this post, mainly because it means that my teen boy room is looking might “Purdy” right now. Happiness!! Board and Batten to the rescue.
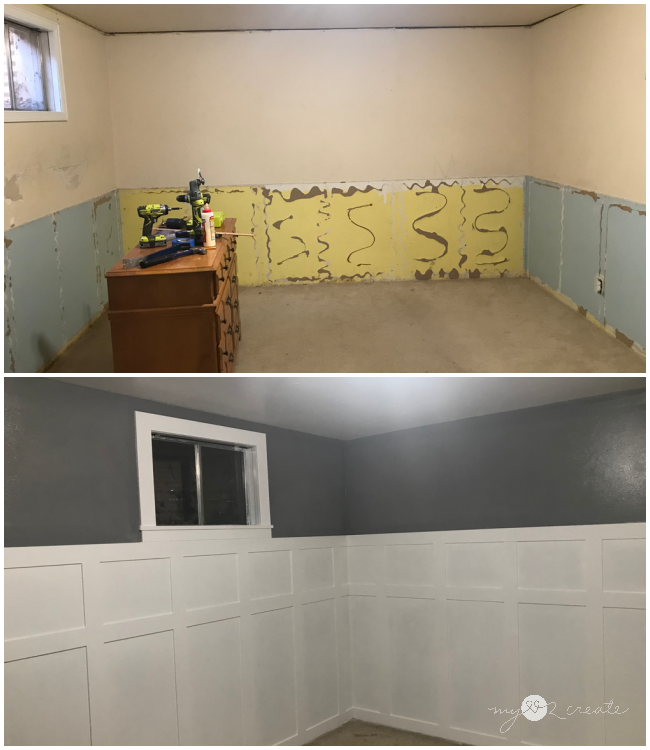
If you are following along on my room makeover you will remember my post last week, where I was embracing the ugly. Well, now folks, the ugly is ancient history!
Today I am going to share with you some…
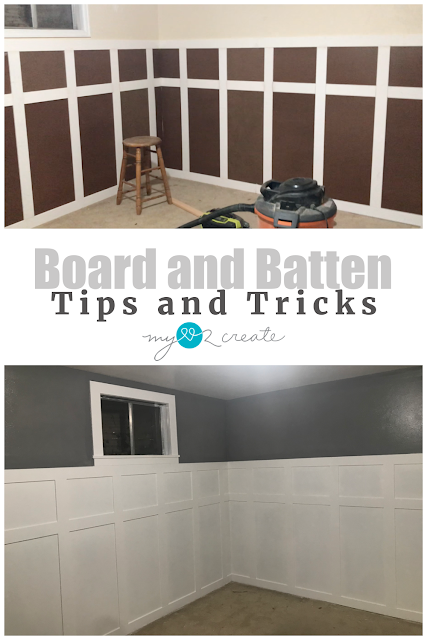
Board and Batten Tips and Tricks
Tip 1: Take measurements and make a plan…before you start!
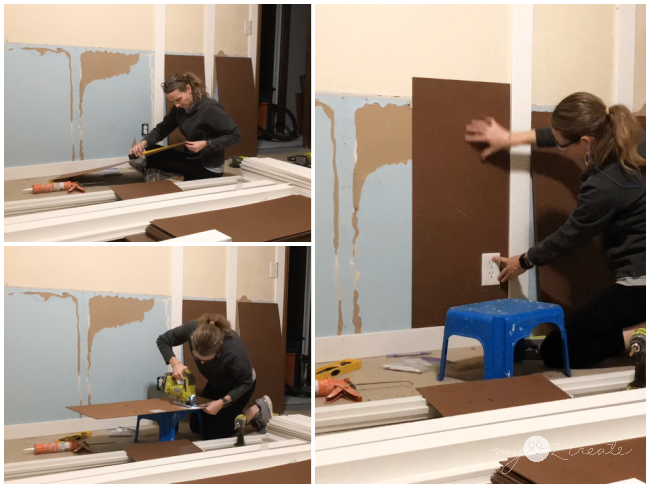
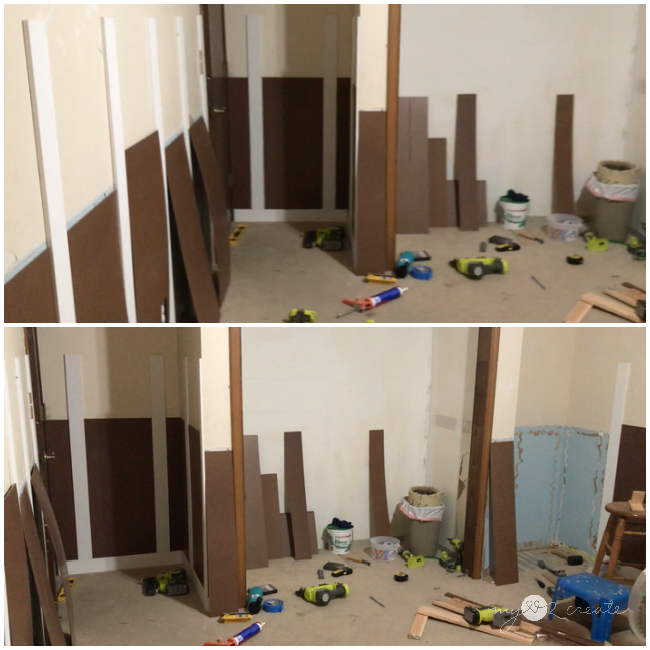
Since I was going with a middle trim in my board and batten style, I used my small top boards to map things out along the walls. I used a small piece of the trim, which was 1/2” 1×4 (3 1/2″) MDF to space them the right distance apart, then left them on the floor to see how it would all fit.
On one side wall where I was going to end the board and batten, I thought ahead and remembered that I would need trim in front of the built-in’s coming directly from the closet. I added a board where the trim would go, then used my trim to space the first board along the wall.
Next, I removed the carpet where the built-in’s were going, I figured it would be easier to do now before I installed the board and batten. *I purposely left the carpet in the rest of the room for the board and batten installation, it is much easier to do with it in place when I put on the bottom trim.
Tip 2: Always use a level when installing Board and Batten, especially on the base trim.
The very first thing you do is add your base trim. Depending on your plan this may also be your baseboard trim for the room, like I choose to do. Some do it on top of the existing baseboard. Either way this is the MOST important step to make sure you are installing your boards level.
Tip 3: Cut boards for spacers when installing your batten.
Since I decided to use boards in-between my batten I was able to use them as my spacers, this is a definite bonus. If you are installing without boards like I did in my bathroom/laundry room makeover then simply cut two boards to the size you need. I like one for the top and one for the bottom, to make sure the batten trim is spaced correctly. I also use a level to make sure the first board is nice and straight, so the batten are not crooked.
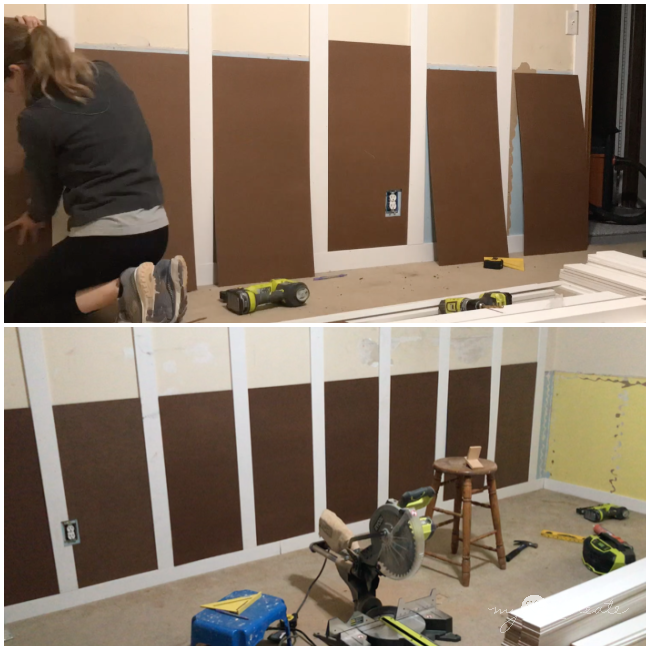
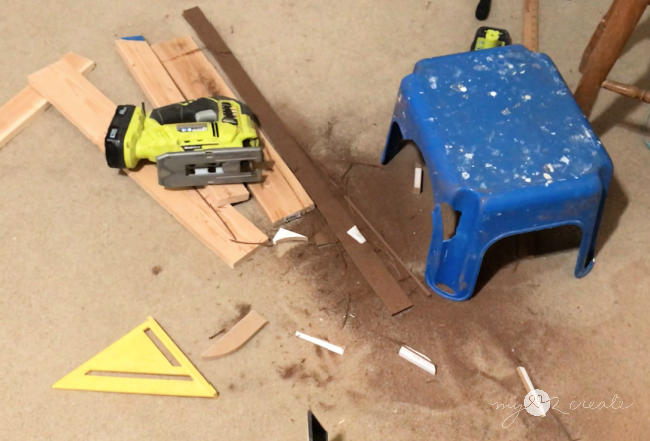
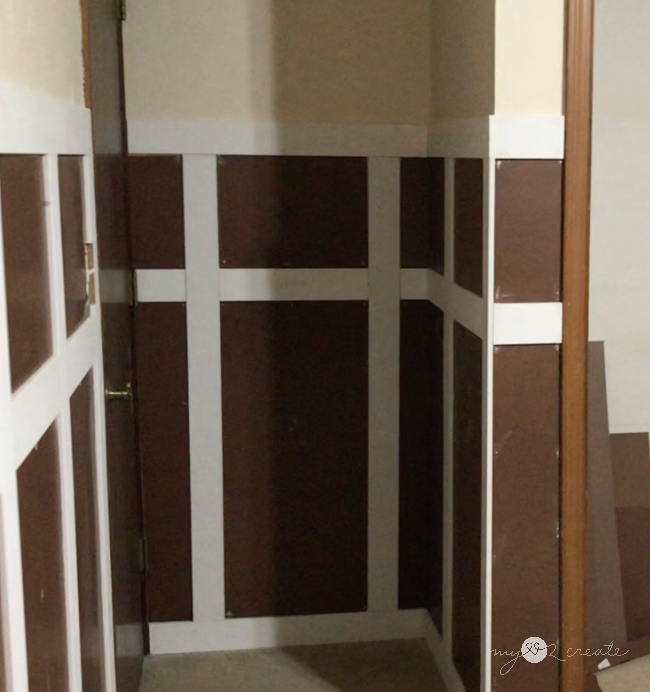
As you can see in the corners where the side walls meet the back wall, I had to cut my boards lengthwise to make them fit. I had to cut two boards for each corner. The measurements between battens are not the same as the rest of the room for the corners, but you can’t tell because it is a corner. This is why I did the sides first, then my corners were the same. Hopefully that makes sense.
Here are a few shots of all the batten around the room installed!! Yay! The boards for the bottom half are the next thing to be installed, and they are ready to go.
Ok so suddenly in this picture all my board and batten is installed! You guys, I got so busy putting it in I totally forgot to take pictures or videos. (hand slap to forehead) But honestly, it is pretty simple. Here is the list of what I did after installing the base trim and the batten.
-
- Once the batten was installed I used a small amount of liquid nails on the back of my boards and then used my nail gun to secure it to the wall.
- Next, I added my middle trim right on top on the bottom board, nailing it to the wall.
- Once that was added, I simply put the top boards on the middle trim with liquid nails and nails into the wall.
- Then, I added the top trim the same way as I added the bottom trim. When connecting the boards I used a 45 degree cuts so they are more seamless than a blunt straight cut. Start from one end of the room and go all the way around. Attaching with finish nails.
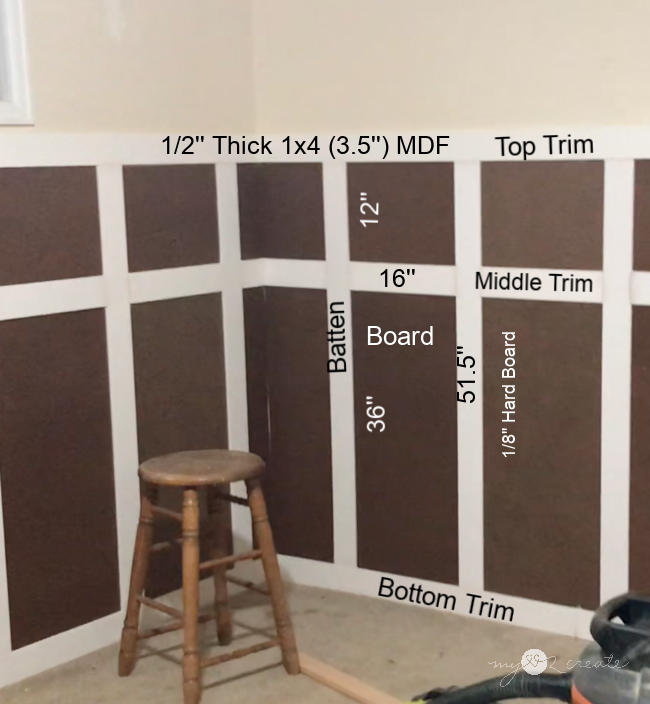
Here is a shot of the “anatomy” of the style of the board and batten I did. Of course, these measurements are very specific to my room size and height. So keep that in mind, make sure your measurements will fit your space best.
Tip 4: Fill holes and caulk, this is the magic to beautiful Board and Batten!
Ah, the best part is when the kids help with their room makeover, so cute! Filling holes is always a good job for them! 😉 Make sure you fill all nail holes, I use spackle, and caulk ALL seams for your board and batten. If you skip this step, and yes, it takes quite a bit of time, it will not look good when you paint. You must caulk and fill holes or they will stick out like a sore thumb.
I thought you might want a shot of the ceiling, where I had to mud and tape after filling in the massive gap! This is after my second mudding, once it dried, I sanded then did the wall texture not very well, I might add.
And another quick shot, it is so brown…which leads right into my next tip. Which is a “do as I say, not as I did” tip…
Tip 5: If you are using boards in your board and batten, PRIME them first before you paint and install.
Sometimes pretty much all the time actually I have a brain freeze and don’t think very clearly. Like thinking I don’t need a primer on dark wood boards when I am painting them white! HELLO. So this is the first coat and I believe the boards took 4 coats, and I still think I might add a fifth coat.
I also wanted to show you my new window trim. I removed the old trim and used the same trim around the window as I did on the board and batten. The bottom of the window was so close to the board and batten that I decided instead of having a very small gap between, I would place them flush. I used a 1/2 trim piece and then a 1×3 1/2” MDF board to go above the top board and batten trim. I think it turned out great.
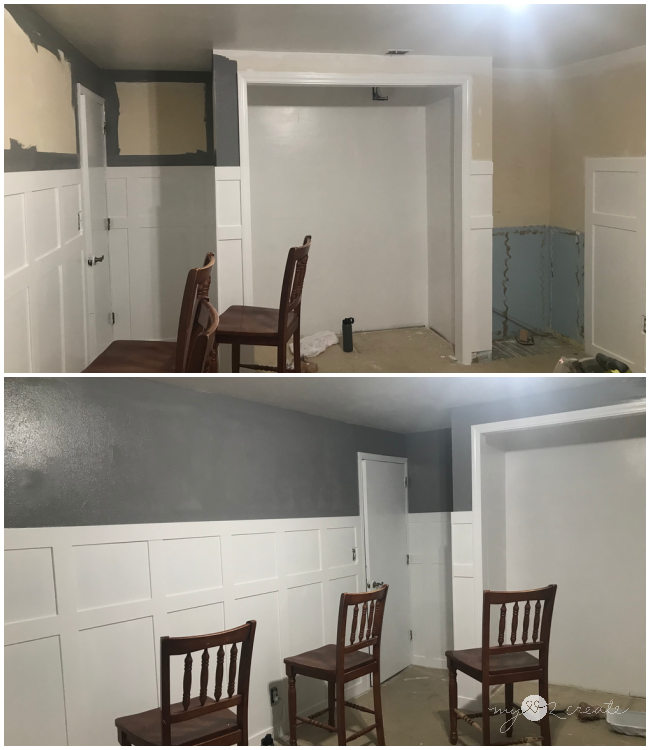
After a million coats of white paint on the board and batten I was ready to paint the walls above. (Oh, and I did paint the ceiling white as well) Since it is a boys room and most of the walls are white I went with a darker gray color. I LOVE how it turned out, one detail I totally messed up on was I forgot to get a satin or matte for the gray, and I accident got a gloss. I wanted gloss for the white, but the gray would have been better not glossy. Oh well, I guess it can’t be totally perfect, ha ha. 🙂
Seriously!! Night and day. “Adding Board and Batten, WOW, what a difference!” (If you want to indulge me, you can sing that to the jingle “Blockbuster video, WOW, what a difference!”, because that is how I wrote it, in my head. Things always sound better in a jingle don’t they?)


