Bookshelf from Cupboard Doors
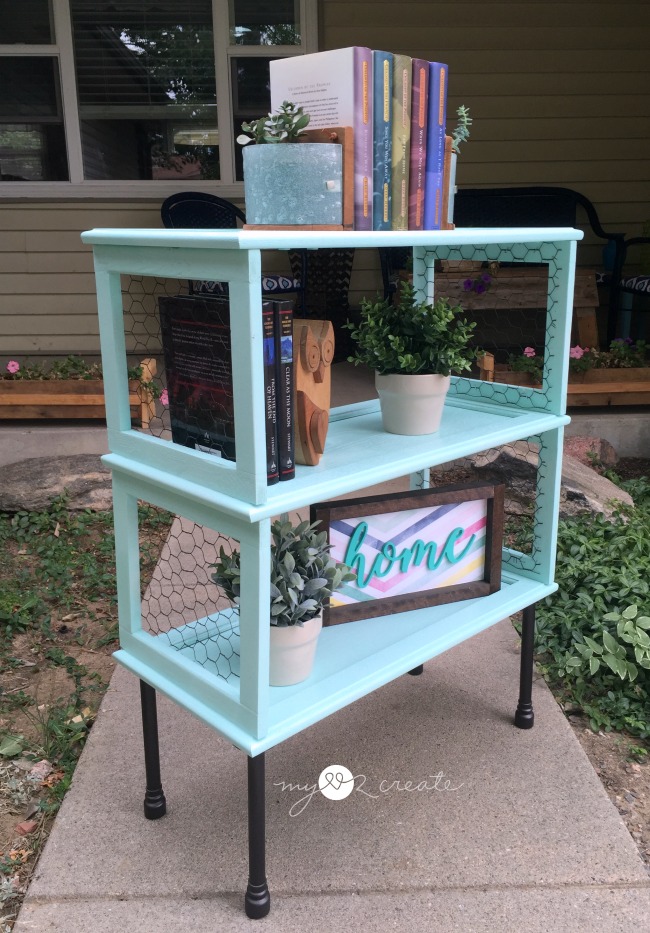
See, cute!! I am so happy this project turned out, I did have some moments of doubt while building it…but that is all water under the bridge.
This was one of my contributor post for Gail at My Repurposed Life last year, and I am so excited to share it with you!
I have been storing a whole kitchen of cabinet or cupboard doors that my friend gave me, I enjoy coming up with different ways to repurpose them. For example I have done my Cabinet Doors into Children’s Desk, or my Corner Cabinet Planter, or even my Cupboard Door into Command Center.
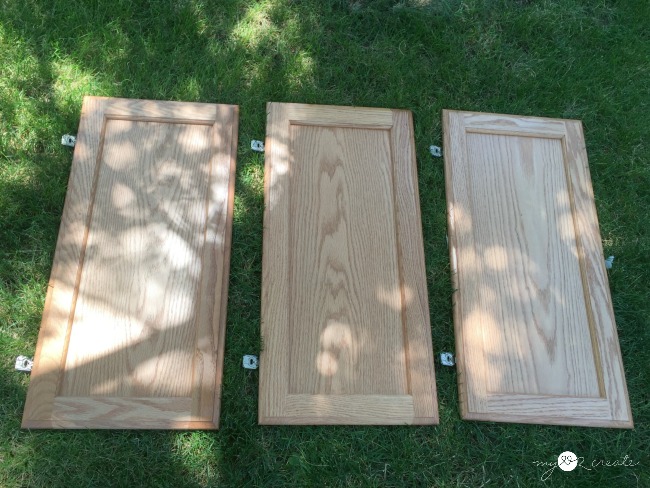
These three cupboard doors were exactly the same size, after some thought I realized they could make a bookshelf.
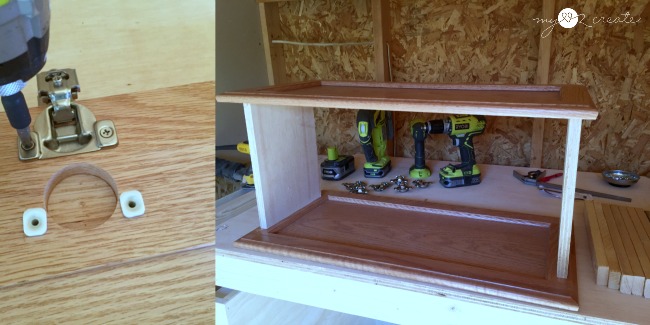
After I removed the door hardware, I grabbed some scrap wood and used it to get an idea of how my bookshelf would look. I was liking it!
I love using 1×2’s when I build and so I always have a lot of scraps. I decided to use them to build 4 frames. The frames would hold up the cupboard doors as the shelf supports. You could easily use plywood, but I wanted the shelf to have an open look and the frames were perfect for that!
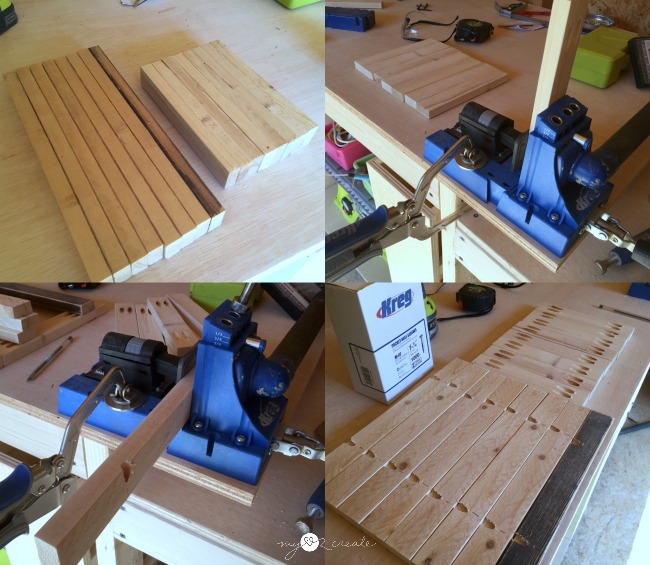
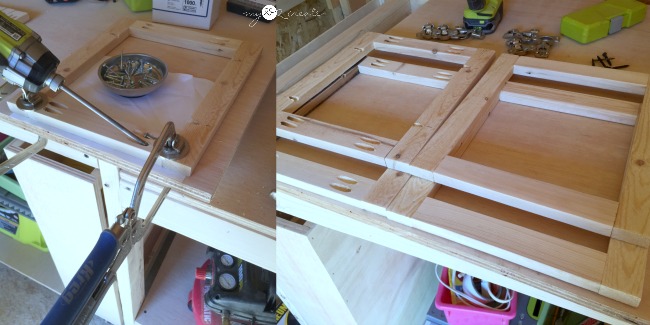
I cut scraps to the size I needed and then proceeded to drill pocket holes with my Kreg K5 Pocket-Hole Jig. I drilled two 3/4” pocket holes into the ends of the shorter pieces. On the long pieces I drilled two pocket holes for attaching the shelf support frames to the cupboard doors.
Using my Kreg Automaxx 3-Inch Face Clamp I secured the frame for attaching the 1×2’s together, this helps keep the boards flush. I used Gorilla wood glue and 1 1/4” pocket hole screws.
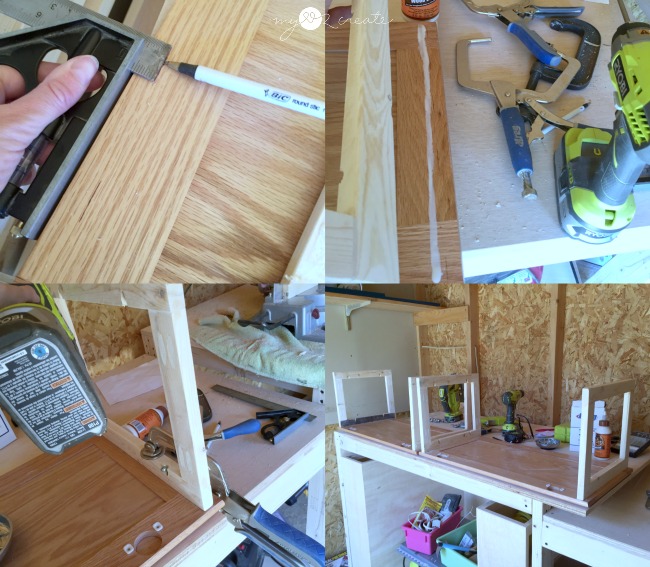
Because of the decorative edge on the outside of the cupboard doors I needed to inset where I would be attaching my divider frames. I used my Combo Square to mark all of my boards the same amount as the decorative edge (top left).
Then I used wood glue and clamped the shelf support into place and drilled in my pocket holes. On the bottom right you can see I did this with two of the cupboard doors.
I used my wood glue and 1 1/4” pocket hole screws to add the third cupboard door onto the bottom of of one of the cupboard doors with the side frames attached.
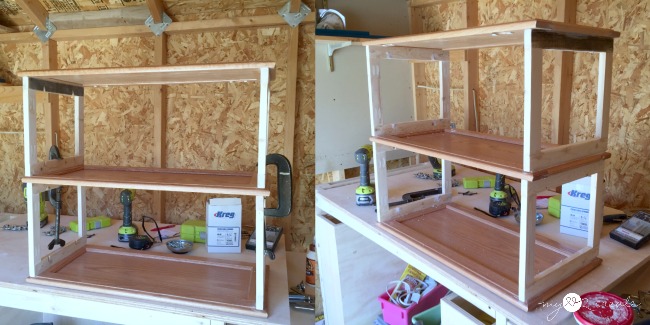
To finish I attached the last one on the top. If you look in the left photo, you can see how I have them clamped together. Then I filled all the pocket holes with spackle (right photo).
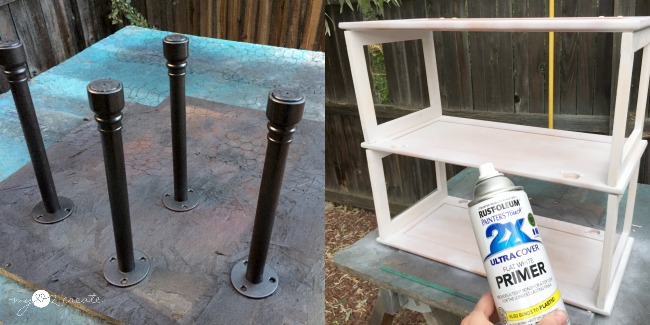
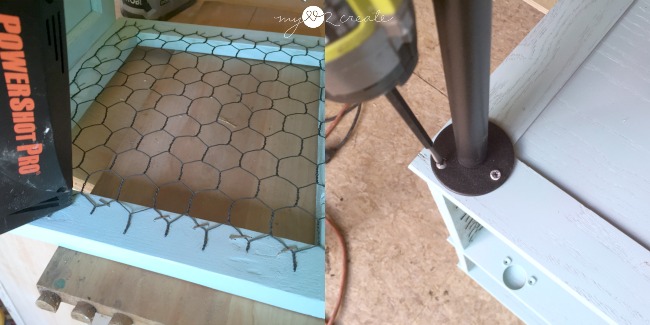
Once the spackle dried I sanded the filled holes smooth. I found my $1 legs that I got at the same time as the legs I used when I built my Rustic Industrial Table. I sprayed them and some chicken wire with oil rubbed bronze spray paint. Can you see the chicken wire in the background?
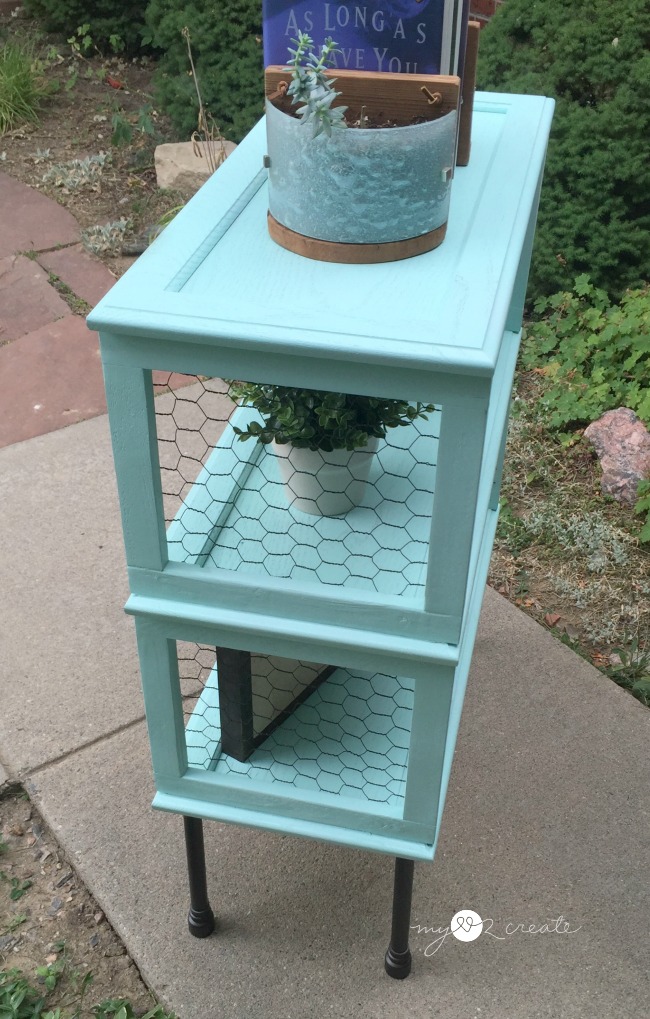
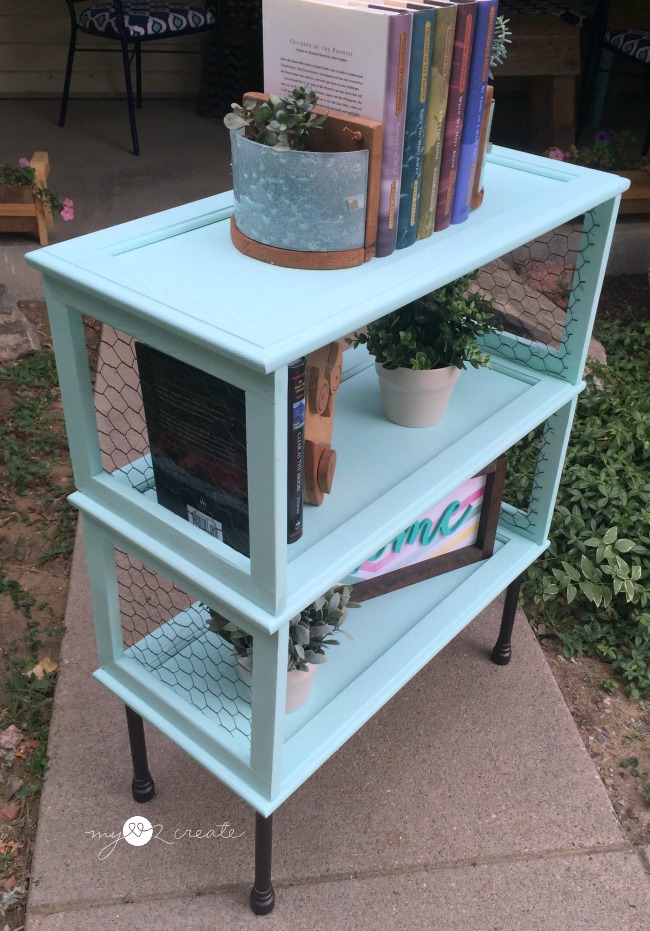
Using Rustoleum’s Ocean Mist I spray painted the book shelf, and I love the color!! I added my chicken wire to my shelf support openings with my staple gun, and screwed the legs onto the bottom.
If you are concerned about the edges of the chicken wire scratching someone, you can use small strips of felt and hot glue them over the edges of the attached chicken wire. If you want the felt to match, just spray paint the felt the same color as your shelf before you attach it. Problem solved!
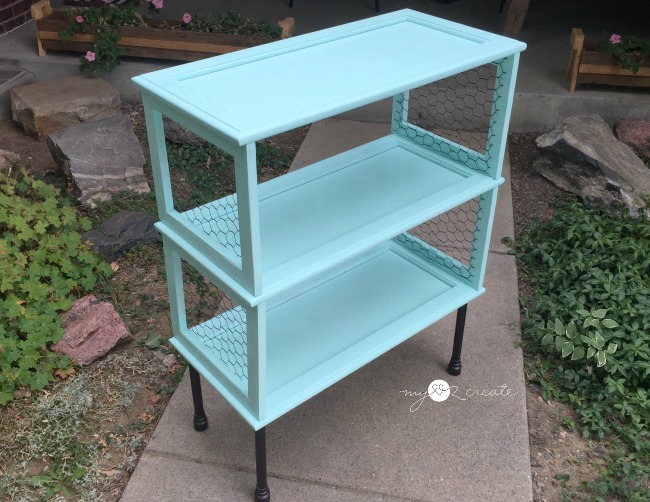
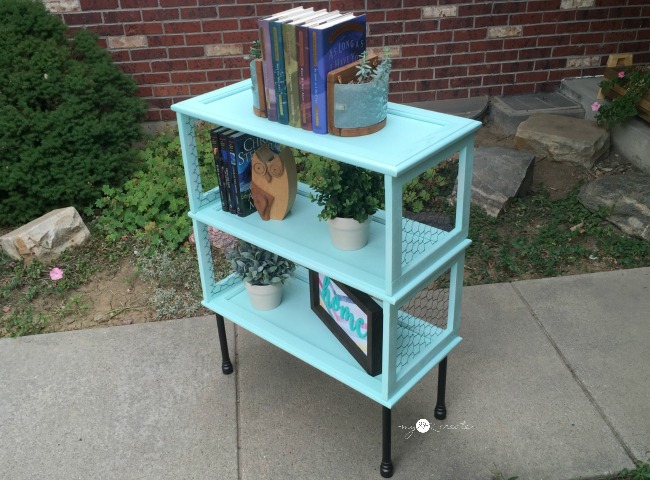
Here it is all finished, and I think these cupboard doors never looked so good!
Do you like how I did my staging outside? It was way to overcast to get good lighting inside!
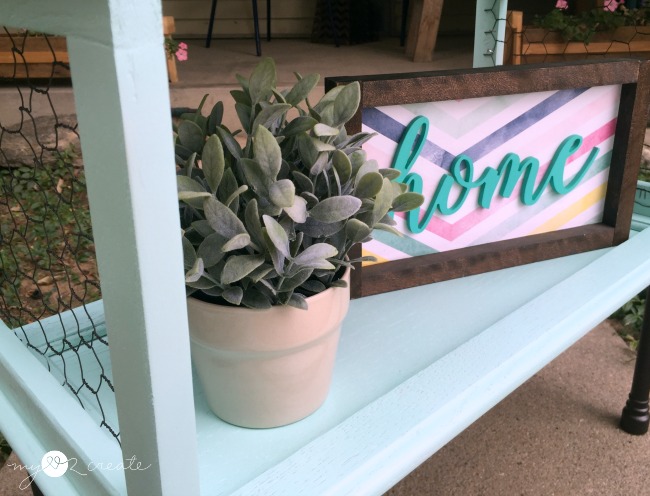
I love how the natural inset of the cupboard doors makes a perfect ledge, for storing books and decorative items.
When I built this I had a few different ideas of how to dress up the middle of the side frames, but I am so glad I went with the chicken wire, I think it gives it a little farmhouse feel!
And there you have it! Do you have any cupboard doors? You could have a fun bookshelf in your future! 😉
Be sure to pin the image below to save this project so when you run across some cabinet doors you know what to do with them!
Thanks for sharing!
Hugs,
Mindi




Oh how pretty! You did a great job on your book shelf! I love the color, and how you added the chicken wire to the sides, and the legs.
Great idea for covering the ends of the chicken wire, I wouldn't of thought of that.
What a great way to use the old doors! Pinning and sharing. Thanks for linking up to #HomeMAttersParty
Hey, Mindi! Just wanted to let you know that we loved your Bookshelf Makeover so much when you shared it at the #HomeMattersParty last week, we’ve HIGHLIGHTED it THIS WEEK! Hope you can check it out when you get a sec. http://ourcraftymom.com/home-matters-linky-party-127/
This is so fabulously creative! I love the color and the legs but the chicken wire sides are the greatest idea ever! Thanks for sharing! #HomeMattersParty
Jeannee
I have a bunch of cabinet doors. Now I want to go home and make something out of them.
I love your creation. Beautiful.
Mind-blowing work Mindi. Very good use of cupboard and the makeover of bookshelf is absolutely gorgeous.
Hey, Mindi! It’s great , very beautiful
I enjoyed on reading your blog post. Your blog has a lot of useful information for me, I got good ideas from this great blog.
Really! i just can't believe anyone can make a bookshelf from cupboard doors. It is looking amazing. the color looks pretty. I can say that it is a perfect bookshelf for anyone. I will must try that in my home. Hope kids will like it.
Thank you for sharing.
Awesome