Built-in’s-The First Steps…
It is no secret, if you know me, that I sort of have an obsession with built-in’s. I have done several closet makeover’s with them.
They look good, they keep me organized, they make me happy. What’s not to love?!
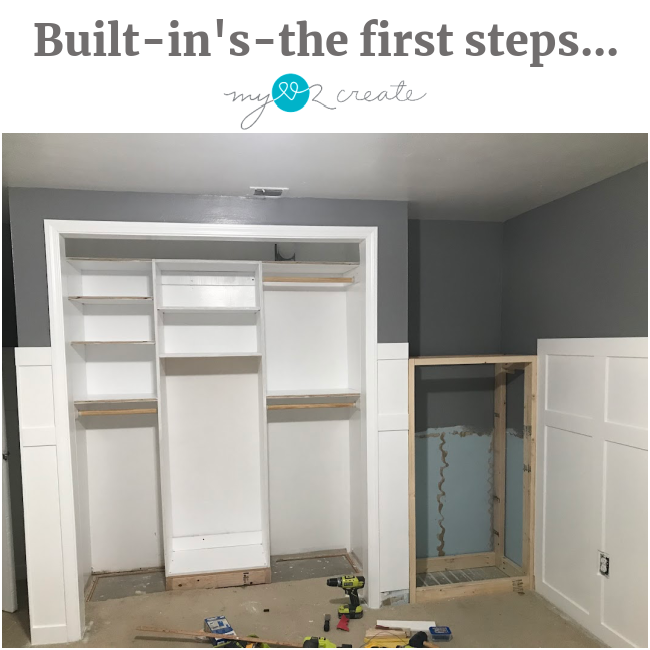
The first steps to creating built-in’s.
Step 1: Make a plan.
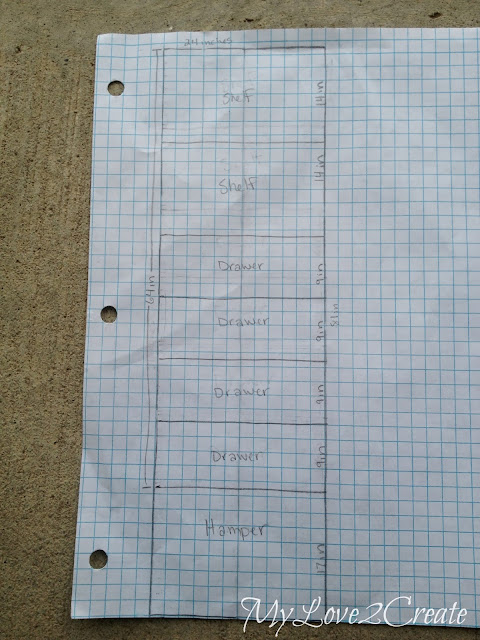
It is simple but tells me exactly what I want to happen.
Step 2: Remove carpet where built-in’s will be placed.
Step 3: Build a Frame and or Base and attach to the wall.

If you are installing any type of cabinets, towers, shelving that will be on the floor I recommend placing it on a base. Why? You need to add trim somewhere for starters, this is what your built-in will sit on.
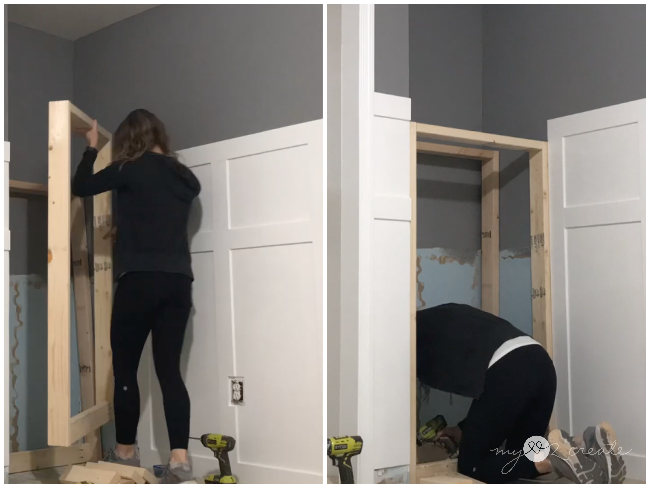


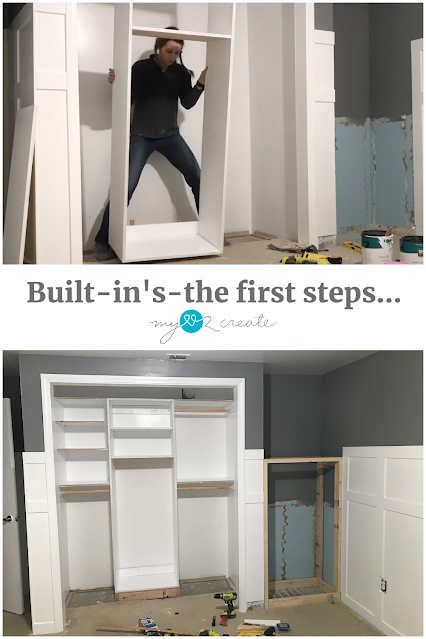
Here is my frame all ready to go. I want to note that because not all walls are square, you may have to add shims between the wall and your frame, which I had to do here. If necessary, you may need longer screws for this. If you look close on the top right you can see a shim sticking out a bit where I attached it to the wall. I will work more on this later, for today that’s a wrap on this built-in.
Step 4: Add your tower, or cabinets to your base, and attach to the wall.
Of course before you add your tower or base, you have to build it according to your plan. 🙂 Once you have done that then you can add it to your base. It did this very not very gracefully, as you can see.
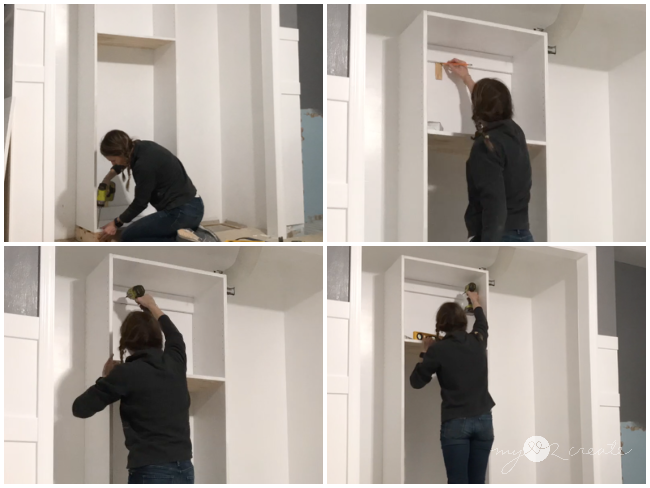
Once you have placed your tower or cabinets on your base, check for square. Yep, the walls are tricky, remember. You may have to add shims to the back to make sure it is square to the front. Then you can attach your tower, or cabinets to the base and the walls (into the studs). You will need shims here as well, so keep them handy. You can see in the top right of this photo I am marking where to cut my shim. Unlike the shim in the niche built-in, this one will be seen if I don’t cut it, so keep that in mind.
Step 5: Add your extras to your built-in’s, shelves, closet rods, etc…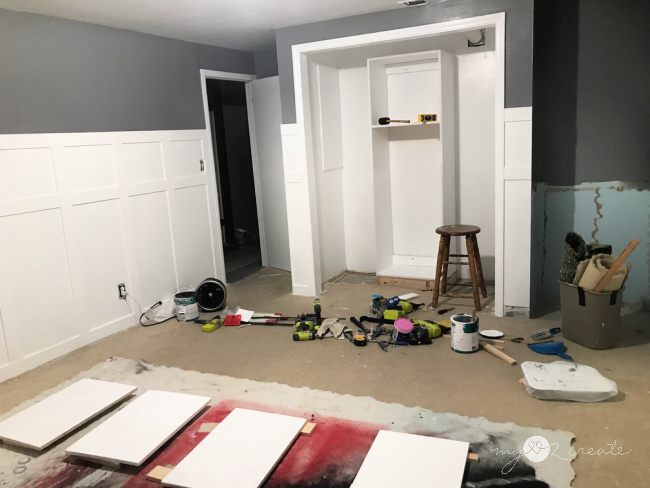
Let’s take a quick pause here before we add the extras, shall we? You may have noticed that all my boards are already painted, including my tower. This is an extra bonus tip that, trust me, you will want to mimic. When you have all your boards cut, paint them, both sides, with two coats of paint, before you build. It saves so much time! Unless you like painting in all the nooks and crannies. I DON’T! Painting flat boards is a cinch with a paint roller.

When installing shelves, always make sure to check for level when attaching your shelf supports and boards. I like to check for level, quickly nail the board into the wall studs with my nail gun, then I screw it into the studs. I also used a clamp to help hold my board level and in place when I screwed the shelf board into the tower with pocket holes and screws, worked like a charm!


I added my board with the shelf pin holes to the wall with nails into the studs, then my top shelf board.
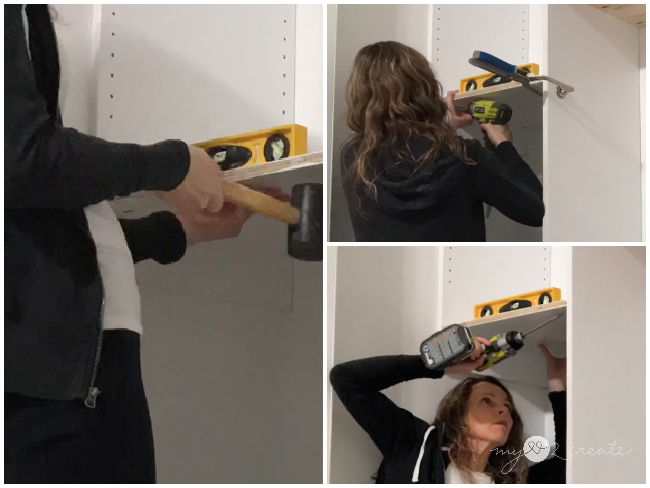
Next, I added my fixed shelf bottom board. See me using a mallet to make sure it is perfectly level? My Kreg clamps again for the win in helping hold my board up for me.

This is how it looks with the tower and the fixed shelves installed.

Look pretty good so far, don’t you think?! This is a very simple closet, so of course depending on your design, you may have more steps. However, these first steps in creating your Built-in’s are going to pay off in the end!

I am getting giddy!! Next week your mind will be blown…hopefully!

I will see you next week!


