Decorative Triangle Tray
Hello! Last week when I posted my Large DIY Metal Pegboard Command Center I promised at the end of the post that I would be sharing a fun and easy project at the end of the week…and then I didn’t.
As usual life got a little crazy and while I liked my project, I thought it still needed tweeking, so I put it on hold for a few days to think, and now I am ready to share it with you today. My Decorative Triangle Tray!
So cute, I love it! It really is easy, so don’t let the triangle fool you! Let’s get started, all you need are some scrap 1×2’s and scrap 1/2″ plywood to make your cuts.
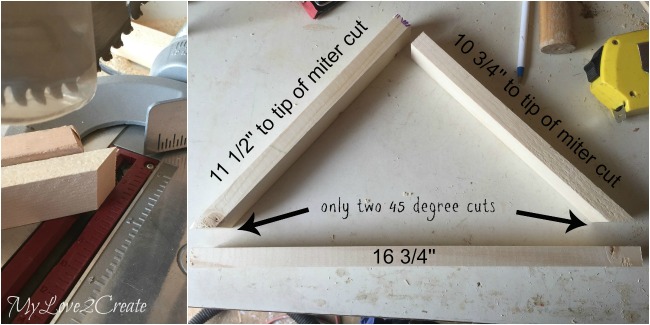
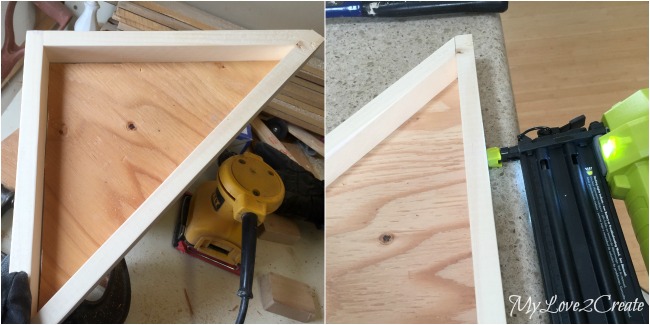
I began by cutting two of my scrap 1×2’s at a 45 degree angle on only ONE side, the other side got a straight cut. Please note that one of the 1×2’s will be 3/4″ longer than the other one, and the measurement I give you above is from the straight end to the long end of the miter cut.
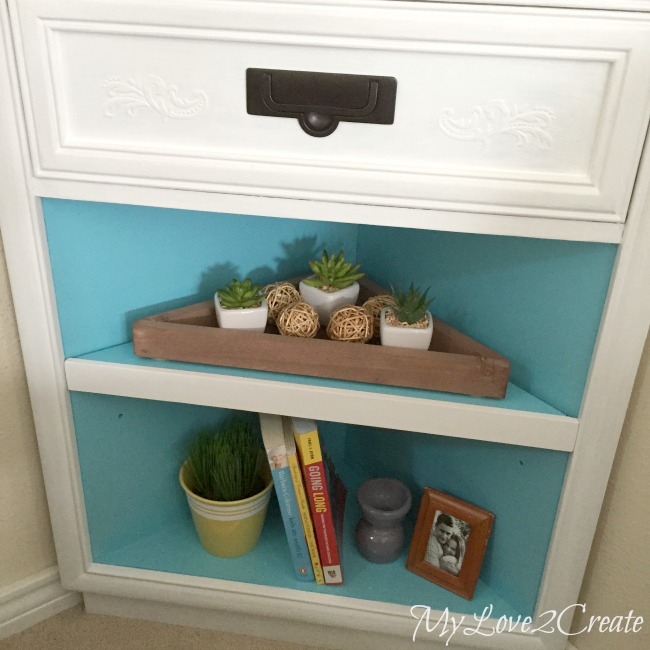
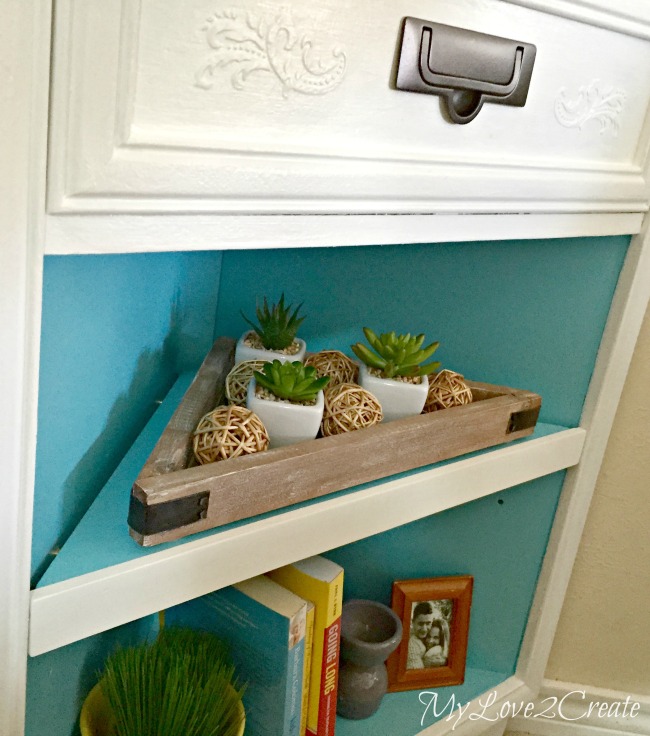
I made this tray a specific size so I could fit it in my Corner Cabinet Makeover but you could easily adjust the measurements to fit your needs. I have added mine above.
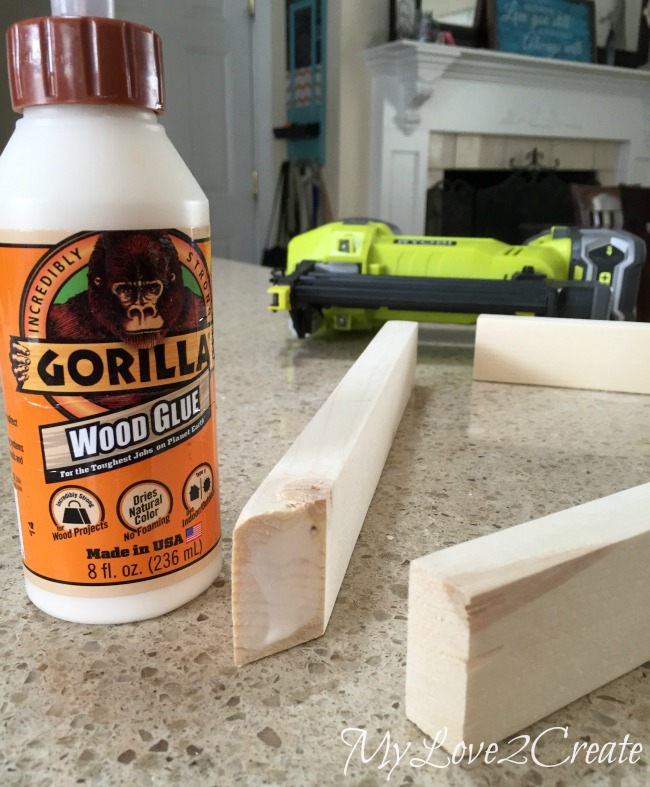
Once I sanded my pieces I came inside, because it was way below freezing, and used my favorite gorilla wood glue on my cut ends.
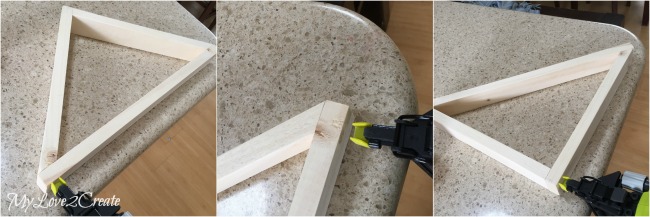
Then I busted out my Ryobi nail gun and secured all the sides from every angle. LOVE this tool, it makes me happy!
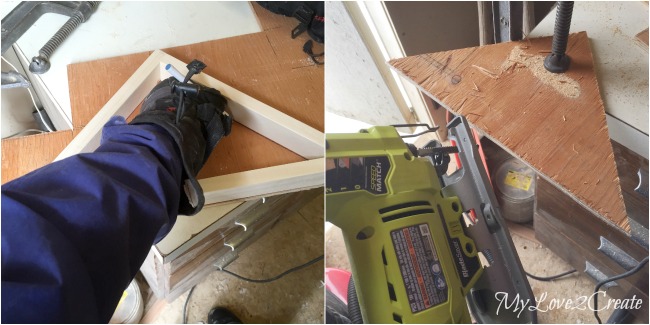
Next up I had to brave the cold again, in order to find something for a tray bottom. I found a piece of scrap 1/2″ plywood and put my triangle on it and simply traced it on the inside. Then using my Ryobi Jig Saw I cut it out! 🙂
It fit! Okay…one side wasn’t too straight, my fingers were numb by this point (see it on the right side in the photo?). I wasn’t too worried I knew some wood filler could fix it. After I sanded it really well I came back into the warm kitchen and glued and nailed it into the triangle. Then I filled in those cracks with wood filler.
To finish it I used the vinegar and steel wool method I used on my Camping Crate. I added some felt pads to the bottom and I was done.
This is what it looked like in my contributor post last week at My Repurposed Life. While I thought it was cute and did a perfect job for what I wanted…I also thought it needed something…and then I knew…
…a few days later. 🙂
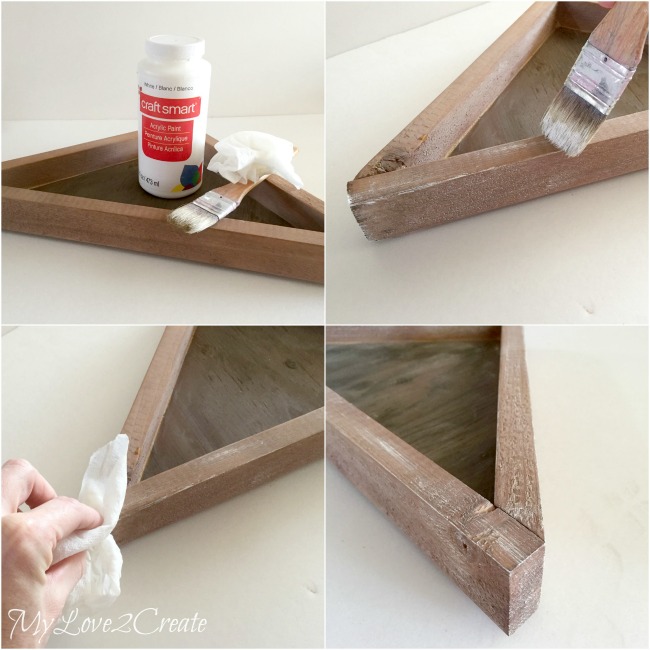
I added some texture to the natural stain with some white paint and a chip brush. I loaded and unloaded the brush with paint, and then lightly brushed it on the tray. For spots where I added too much paint, I wiped it off with a wet paper towel. My friend Elisha has a great tutorial on how to create this Weather Wood Finish, and I have used it several times. It is nice because you can do as little or as much as you want.
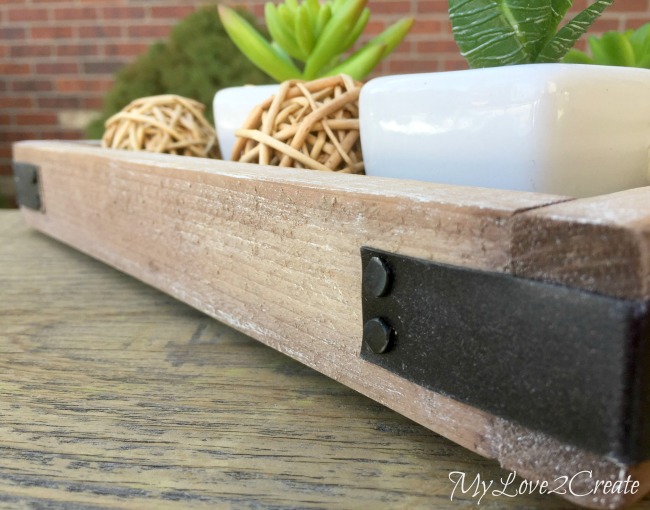
Next, up I came up with a method for making some metal braces to add an industrial look to my tray. I got this idea from my Large Rustic Clock I made a few months back, and knew it would be easy to do.
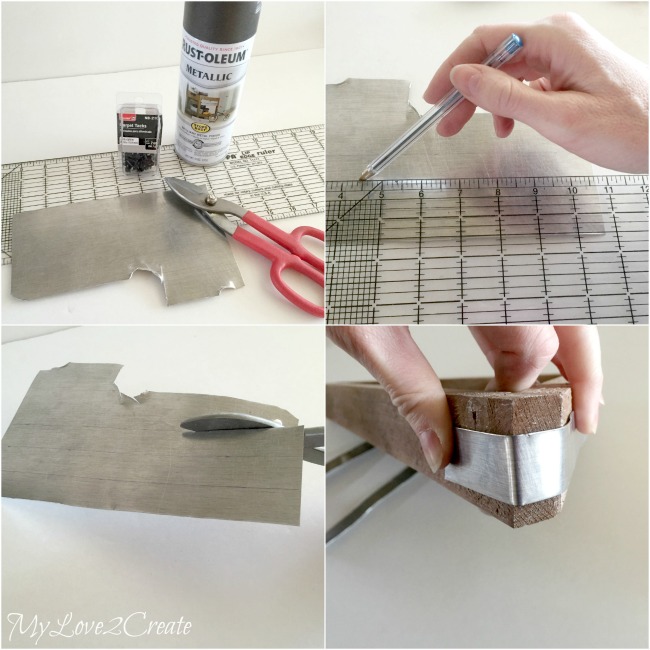
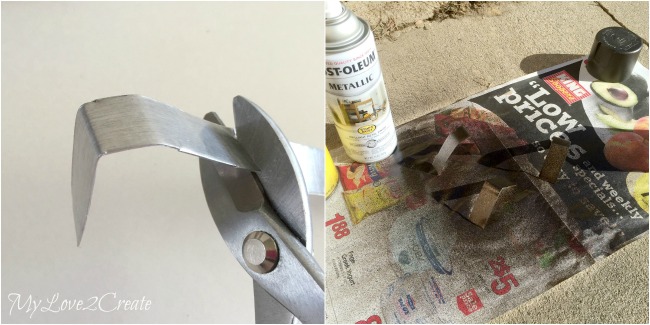
I grabbed some left over sheet metal/tin and marked it in strips to the width I wanted. You can buy this at Home Depot. Then I used my tin snips to cut the strips. I bent one on a front corner of the tray and it looked good.
I measured and cut it to the length I wanted and took all three pieces out to get a light coat of metallic oil rubbed bronze spray paint. Yes, it is now above freezing and I am soooo happy!
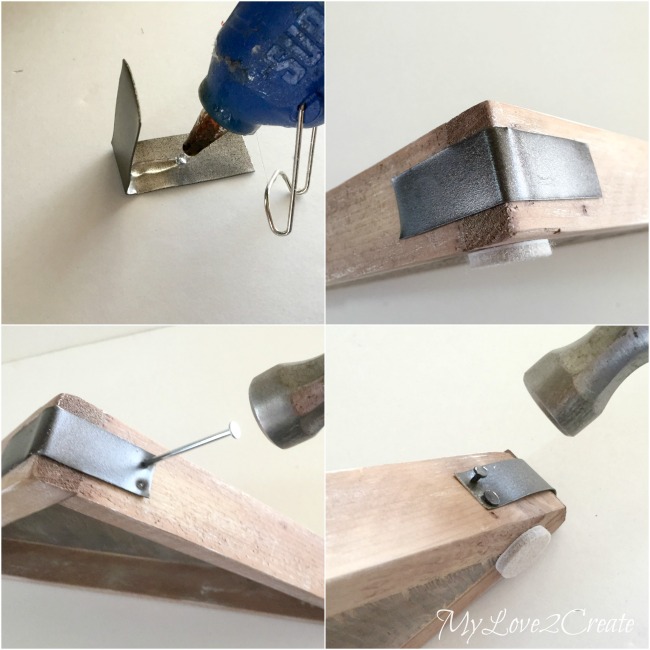
To attach my new corner braces to my tray I used hot glue. Then I used a common nail to puncture the tin. After that it was easy to nail in my carpet tacks and I was done!
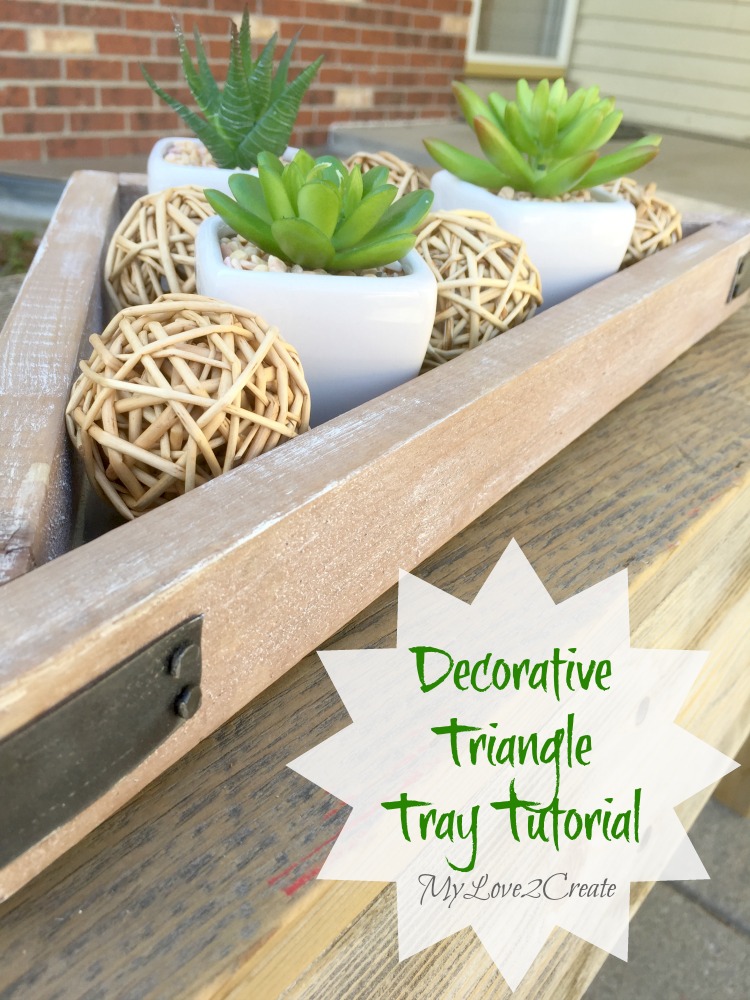
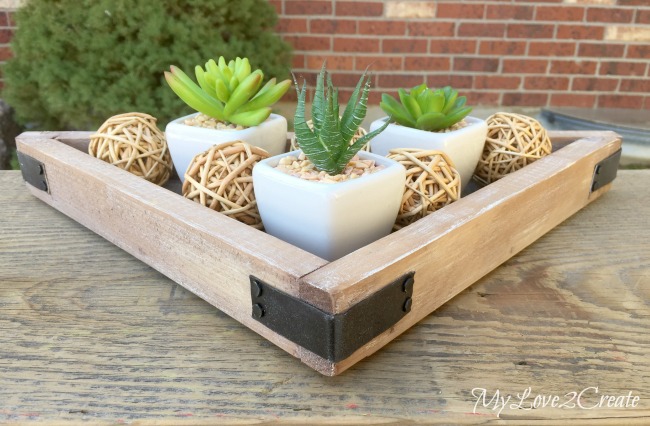
I think it made a huge difference and gave my little decorative triangle tray some character! Yippee!
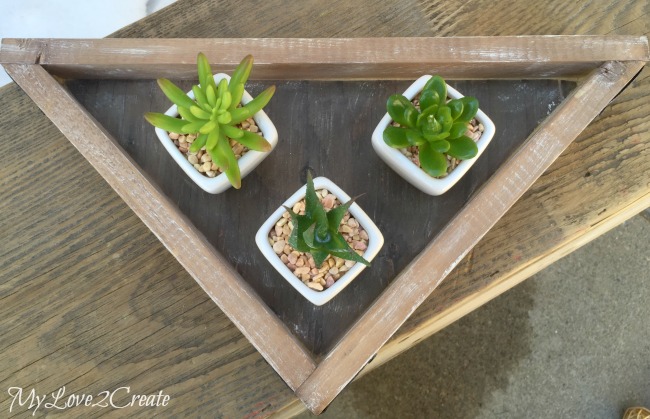
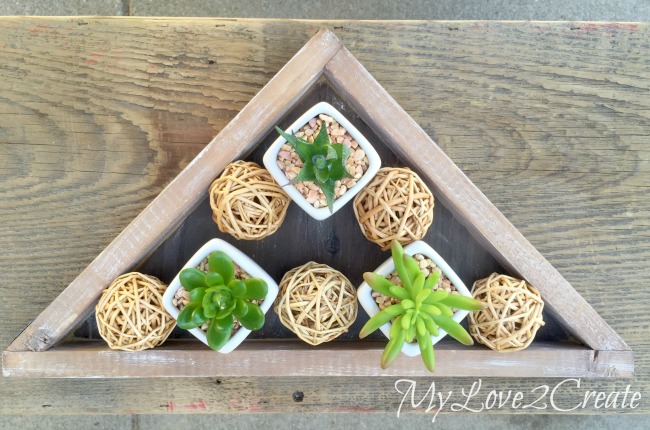
The plywood took the natural stain differently and I love the contrast.
I think this tray would look really cute on a desk or table, it is fun to have a different shape.
Since I had minimal succulents I threw in these wood balls things…not sure it was the best option, but when it is the only one you have…it works!
I think this is a perfect little rustic industrial tray now, with it’s new added charm. I am glad I waited to share it with you. 🙂
Thank you so much for stopping by and I hope you have a wonderful week!
Hugs,
Mindi
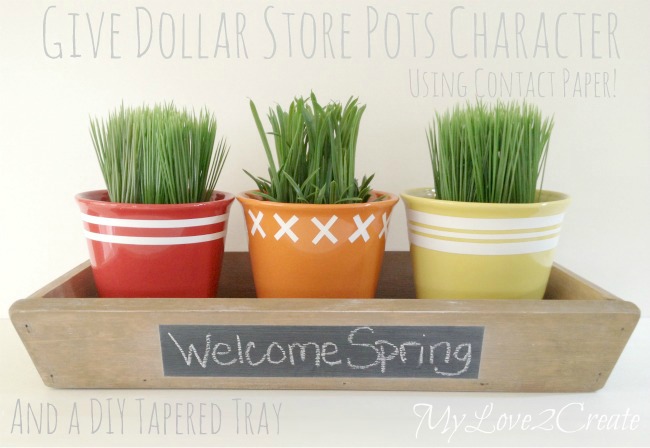 |
| DIY Tapered Tray and Dollar Store Pots dressed up with Contact Paper |
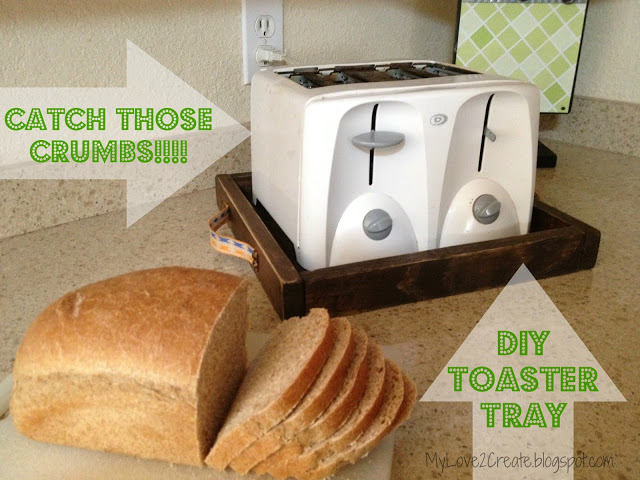 |
| My Toaster Tray |
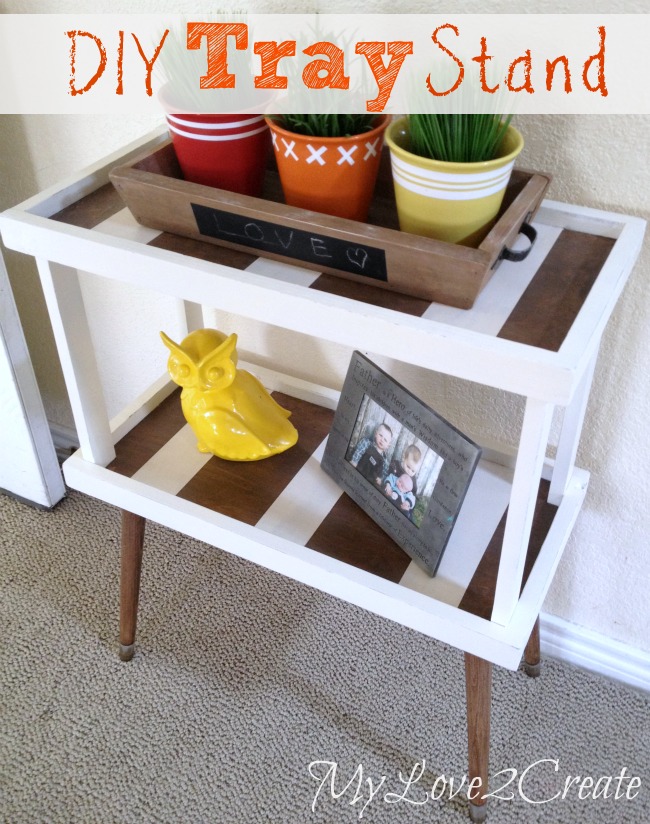 |
| DIY Tray Stand |
I will be linking to these parties!
and Savvy Southern Style

Awesome tutorial for a great project. You have lots of great tray ideas. Love the crumb cathcer! Please come share your blog posts over at the Home Matters Linky Party! We'd love to have you for a visit. The Door is still OPEN. http://lifewithlorelai.com/2015/03/05/home-matters-linky-party-27/ 🙂
~Lorelai
Life With Lorelai
That's fantastic. I actually have one of those little corner shelve whatnots, and I never know what to do with it! Would you share this at Five Star Frugal? We're sharing ways of living elegantly for less and little DIY projects are always welcome. I'd be thrilled if you'd join me….Mimi xxx
http://atrayofbliss.blogspot.com.au/2015/03/five-star-frugal-8.html
Hey Mindi! I love it! It's so refreshing to see a unique tray!
I would love for you to stop by my blog and join our Something to Talk About link party!
So many parties to go to 🙂
Have a heat day!
Karen
I love it! It looks great on your shelf. Thanks for sharing at the #HomeMattersParty 🙂
Love your newest tray, Mindi! The shape and metal decorative details are my favorite. You always come with such cute unique ideas and the pictures made them look like straight from a magazine!
I love it! And I really like it with the plants!! Just fantastic…and it is making me think of planters for my garden!!! Keep em coming lady! Hope you are having a great week!!! Nicole xoxo
that is so perfect for you corner space…and the details are absolutely adorable
I love this idea! Thanks for sharing.
This is too cute! Now, I not what to do with my scrap sheet metal and carpet nails! I thought you bought L brackets! lol Mindi, that is very creative. I need to try adding white paint with a chip brush sometime. I really like how it adds a rustic finish.
and….
Oh My Goodness!
I LOVE that clock you made! I missed that post. 🙁 Lady, I am really eying my sheet metal now. Question, I know you hammered out the sheet metal after you cut it, but how did you get it so flat? Hmmm…I am wondering if I need a different pain of tin snips. My lines are never truly straight and seem jagged in between each cut. I guess I need to go to HD. 😉
Such a cute tray, Mindi! Great way to use up scrap wood. I have a little mitre box, but I would love to make one of these for our deck.
I really love the look the homemade brackets give to the tray. Great idea! Thank you for sharing at Merry Monday!
What a unique project and I LOVE the metal corners! I believe I will have to "craftlift" that idea and soon.
What a great project! I'd love for you to come over and share your post at my linky party!
I think this is the first triangle tray I've seen. Love the addition of the metal edges. Thumbs up!!!
Oh my…so cute! Pinned and tweeted. Thank you for being part of our party. I hope to see you on Monday at 7. Lou Lou Girls
what a fun and unusual shape. Fits in their so nicely! Thanks for sharing with SYC.
hugs,
Jann
What an awesome tray! Featuring you tomorrow at Work It Wednesday, hope to see you back!
What a great tray!! I love the unique shape! Thanks for sharing at Fridays Unfolded!! Pinned 🙂
Mindi! I love this tray, it's perfect for those little plants. Catching you!!
gail
Congrats! You were featured on Friday’s Five Features over on DIY Vintage Chic. Stop by and grab yourself a button! http://diy-vintage-chic.blogspot.com/2015/03/fridays-five-features-no-82.html
Hi Mindi! I love your triangle tray. It turned out really nice, and looks perfect in the little triangular cabinet. I use the same magic measure to age my wood, it works great. I like how you went back and added just a little white. And love your metal bracket, they look great. I will have to remember that. I think your like wood ball things look great in with the succulents!