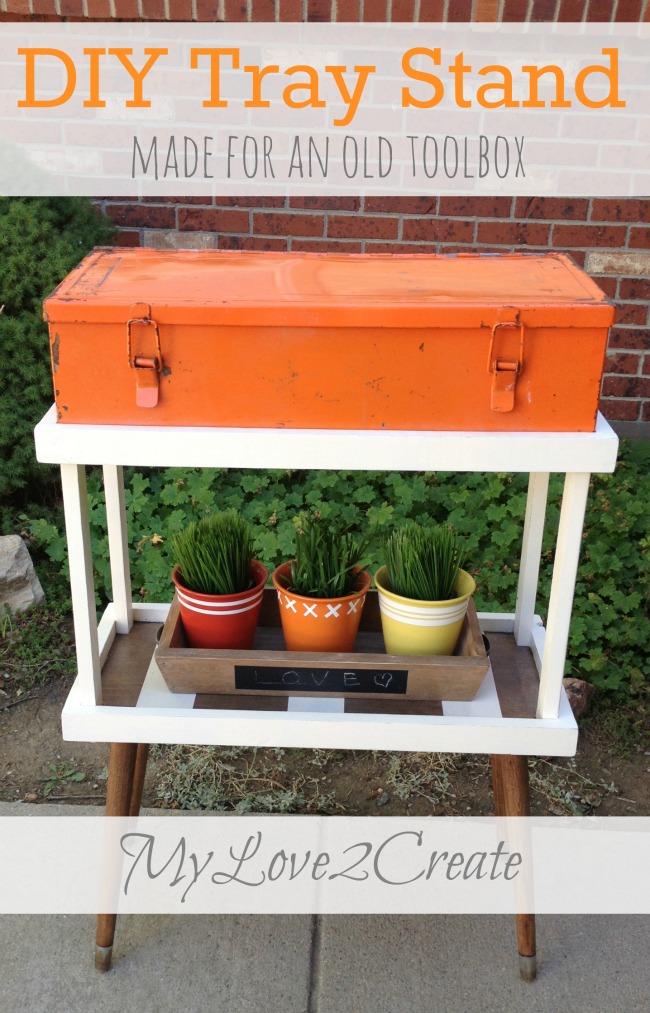
DIY Tray Stand, made for an old Tool Box
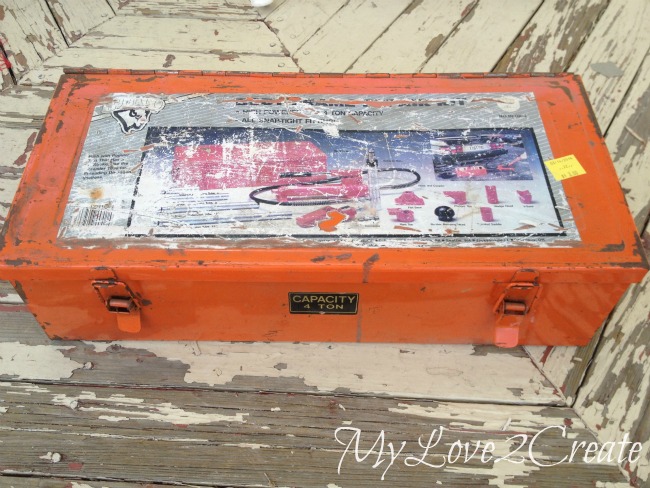
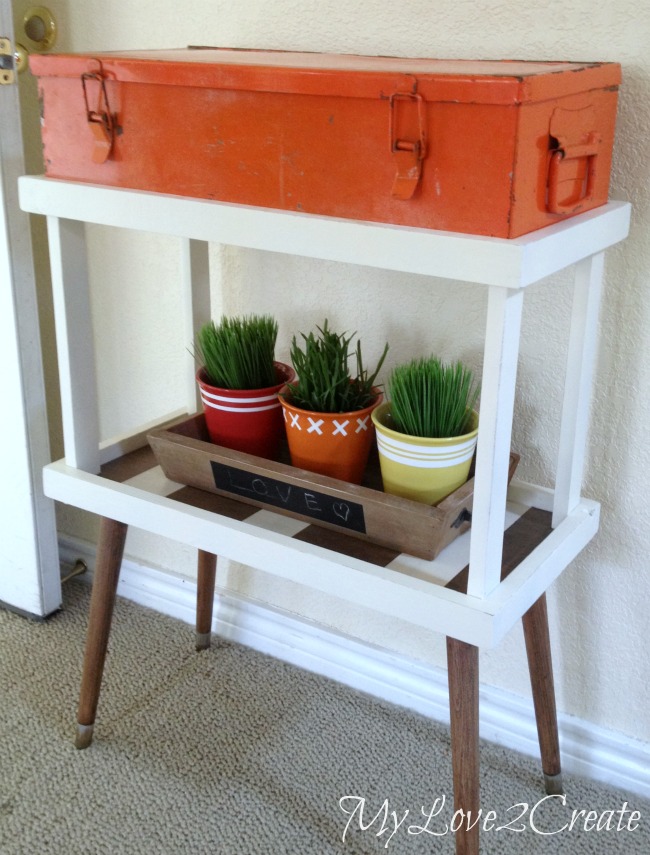
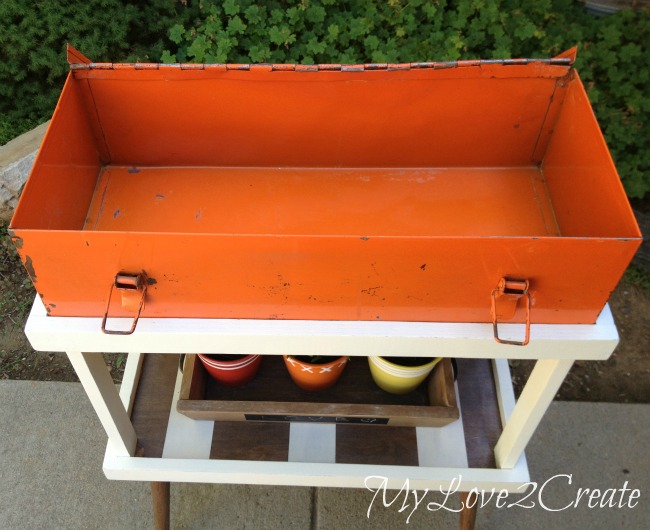
I obviously have a thing for cool old metal boxes, as you can see in my first Metal box Makeover. So when I saw this one at the Restore for only $3 it had to come home with me, plus it was orange, I have a few orange lovers in my home.
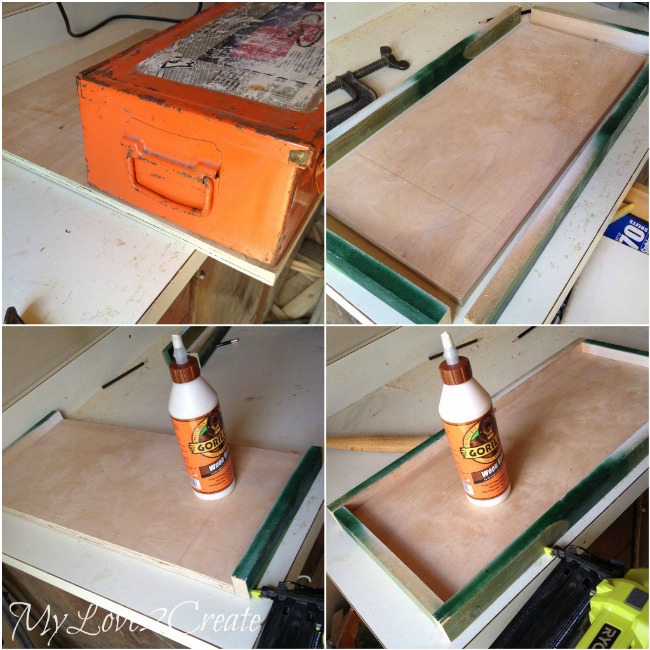
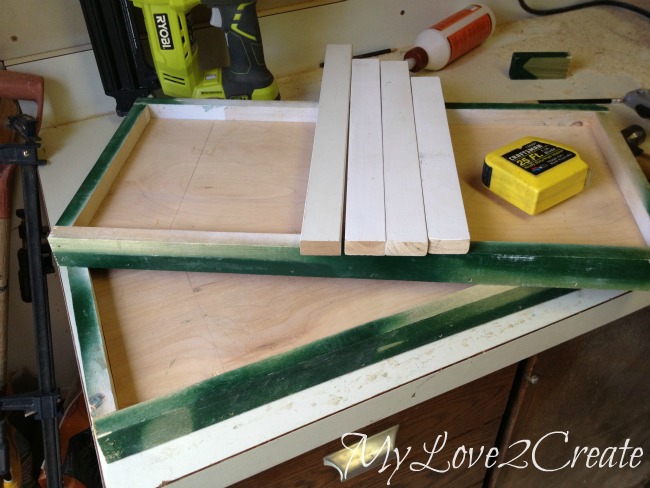
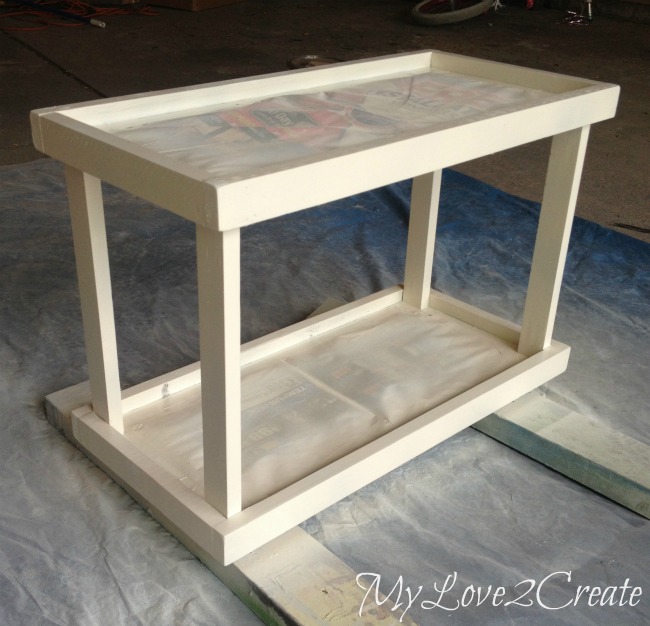
I started with my metal box and set it on a scrap piece of plywood. After I traced around the box onto the plywood I cut it out with my circular saw. Then with the scrap 1×2’s I had collected I cut them to fit around the plywood. I used gorilla wood and stapled the short ends first and then finished off with the long ends. One tray all built!
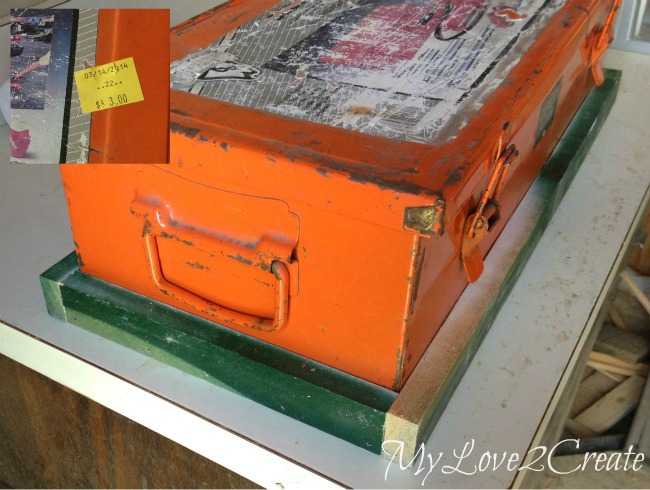
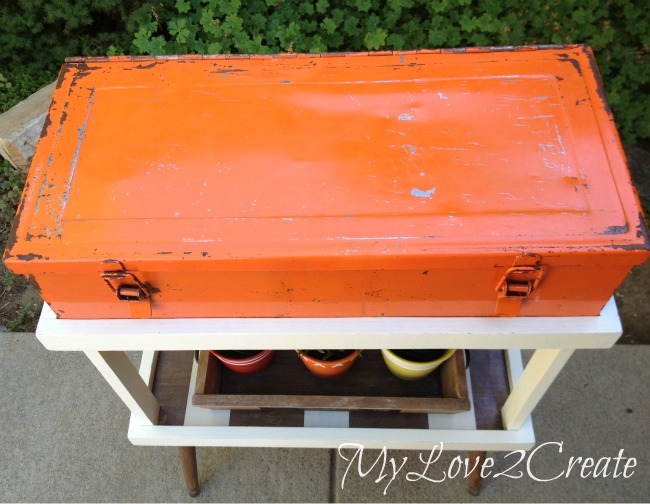
Perfect fit! You can see I added a picture of the price tag.
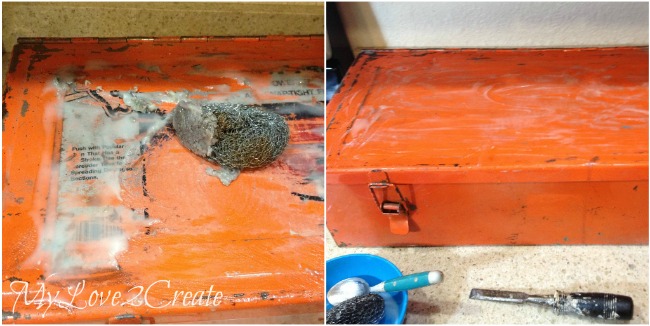
Of course I wasn’t a fan of the ugly sticker on the top, but I knew I could take care of that. I used equal parts (maybe…I didn’t actually measure) of baking soda and vegetable oil and mixed them up. I spread it over the entire sticker and let it sit for at least 10 minutes, for me it was more like 30 because I got busy and forgot. Then I scrubbed in a circular motion with a metal scraper and removed the top layer. There was a thin layer left, so I spread more stuff on and let it sit for 10 min again. After scrubbing this time it all came off! I cleaned the whole box with a soapy rag, wiped it with a clean rag, and dried it.
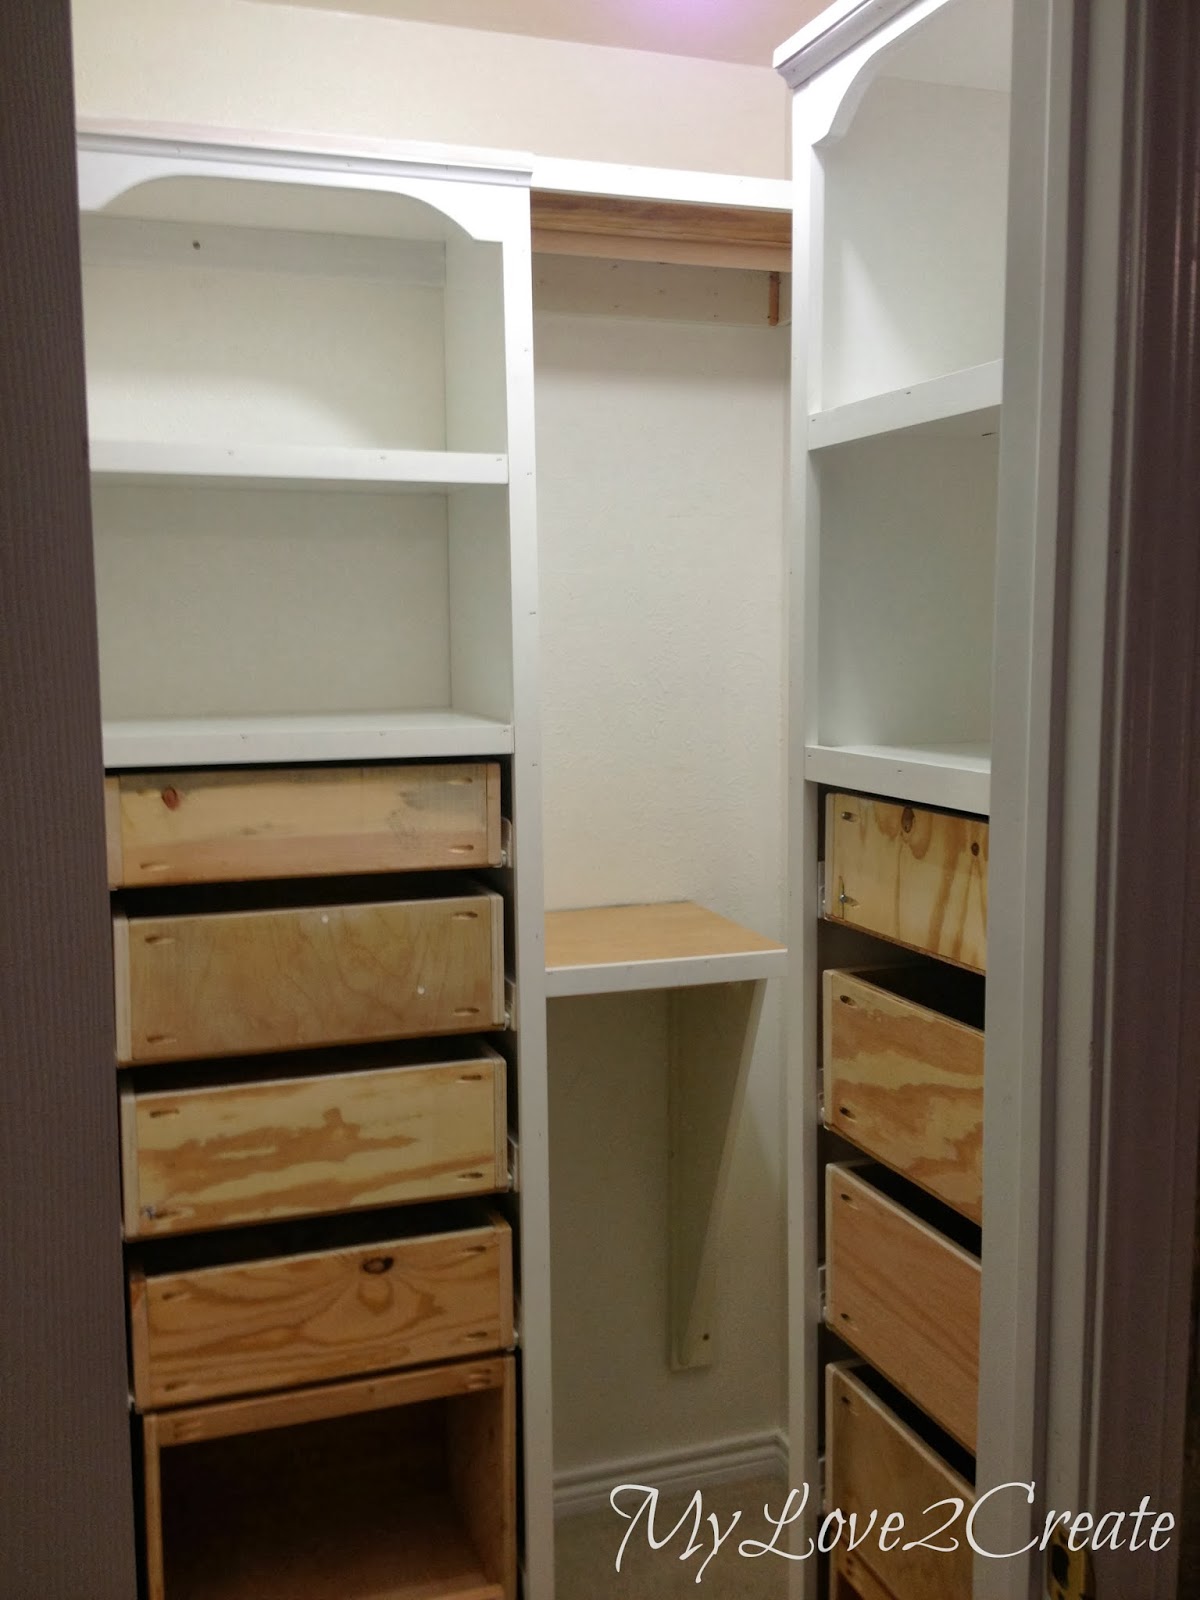
While the sticker on the box was “soaking” I went out to the shed to make another tray the exact same size. I also grabbed some scrap 1×2’s from my Master Closet Makeover to use for supports between the trays.
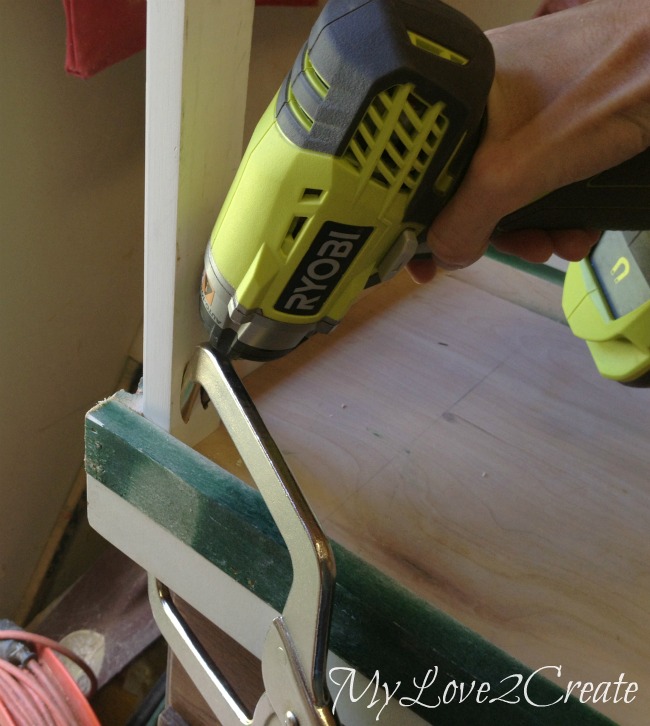
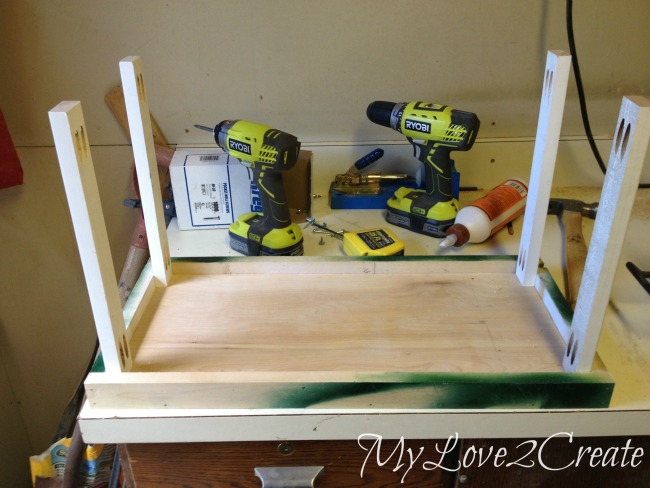
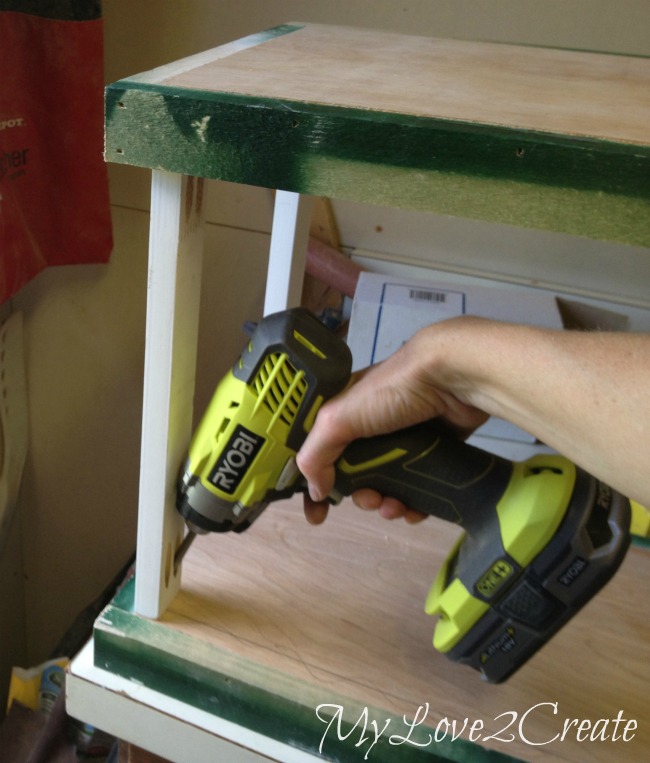
I cut them to 13 inches each and drilled pocket holes with my Kreg jig K4 into each end. Then I started attaching them to the bottom tray with my pocket hole screws. For the first one I used my right angle clamp, but found I didn’t need it for the rest… probably because I was drilling down the boards were secured against the sides, normally I use it because it really helps to hold my boards tight so they don’t separate when I screw them together.
They went in really easily. Now to attach the top tray…
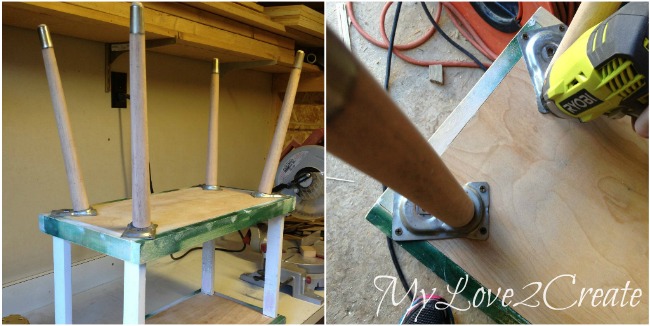
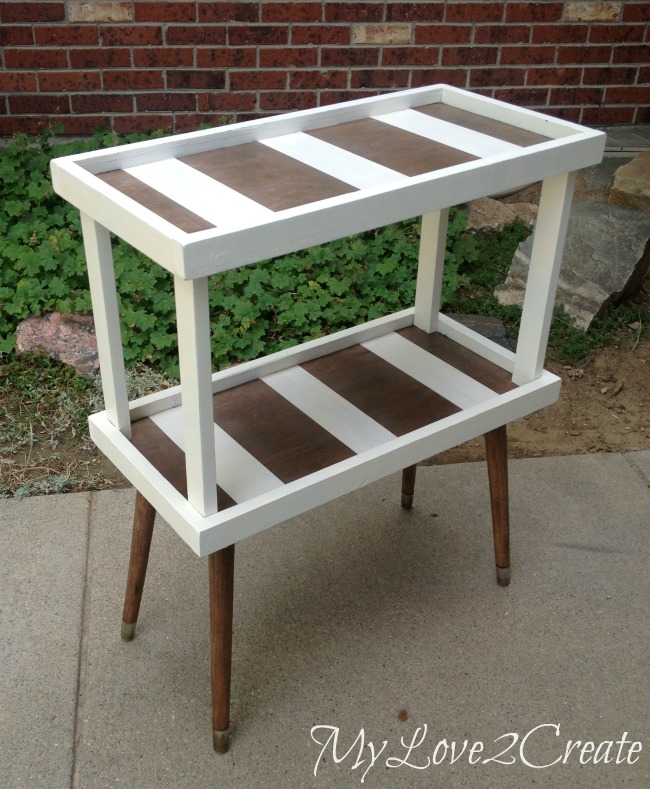
I set it upside down and attached the supports to the bottom. All it needed now were some great legs, and boy do I have some legs… ha ha! No, not mine 🙂
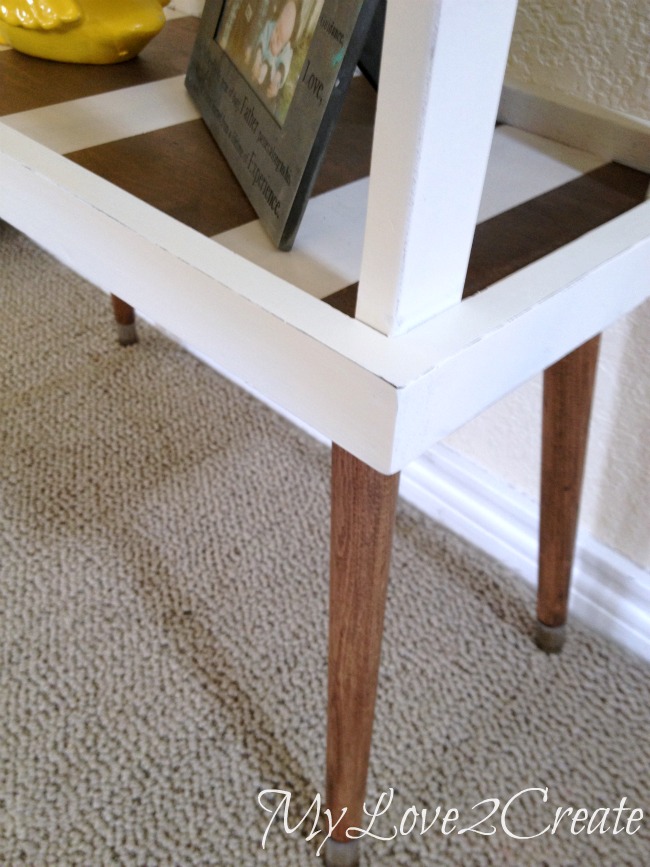
These babies were a $1 at the Restore, for all four. I got them a few years ago before the new manager took over and raised the prices…man I miss the good old days. Anyway, they don’t look like much because they are covered with a thick ugly brown, something… Easily taken care of with a sander.
I sanded the legs first with 60 grit and then finished with 100 to make them nice and smooth, who would cover up that pretty wood?! Here you can see I am trying out how I want to attach them to the bottom tray. I had the leg mounting plates from when I turned an end table into a desk I love them because you have the option to screw the legs in straight or at an angle. I used the angle.
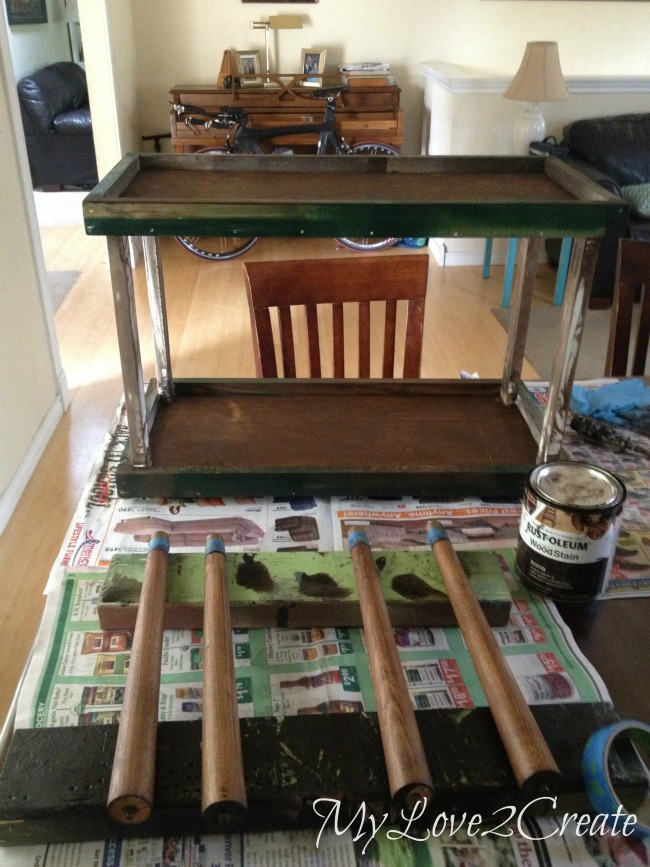
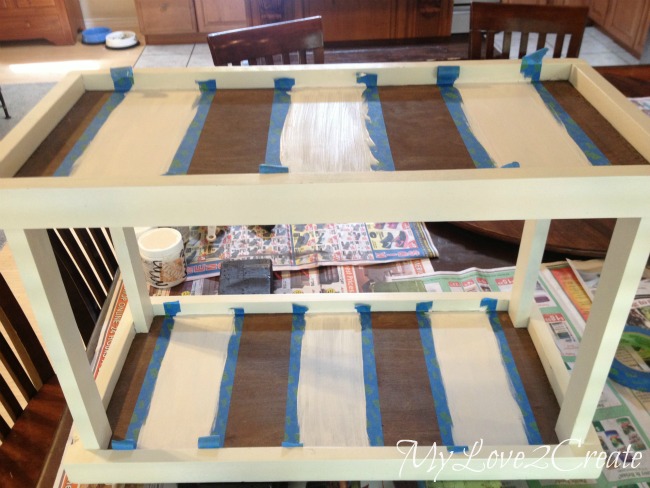
I also filled in the nail and pocket holes with spackle. After sanding it was ready for paint and stain.
I will be linking to these parties.


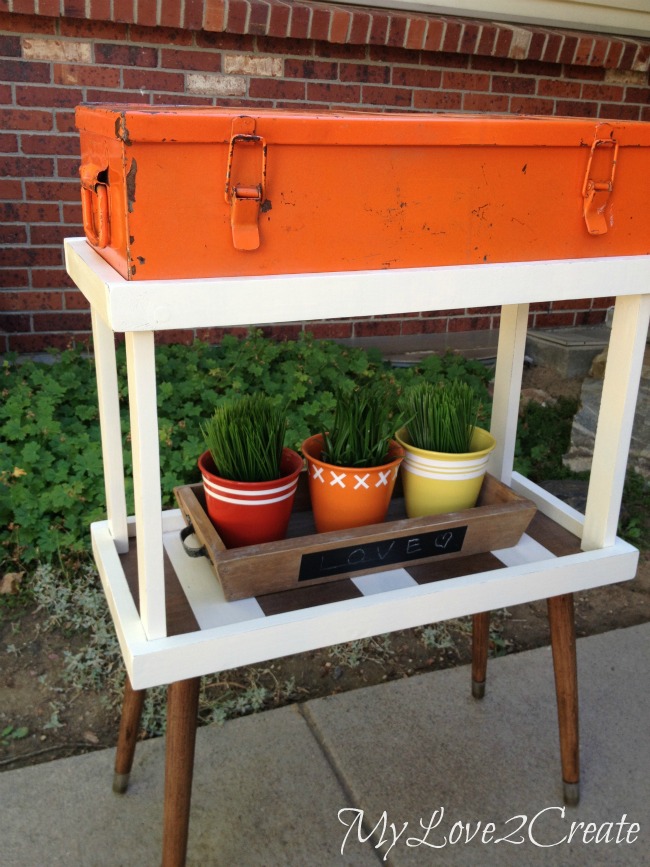
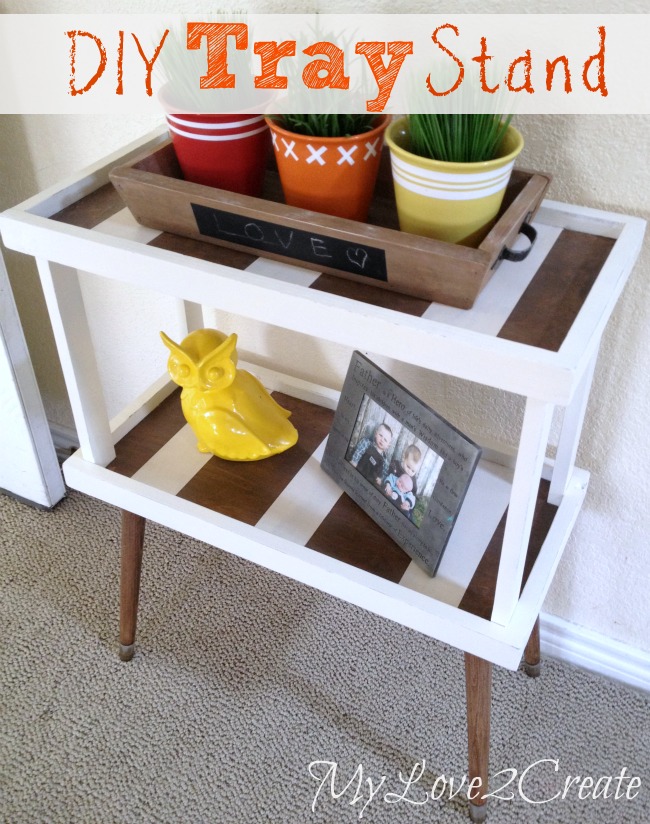

Mindi I love your tray stand on it's own or with the old tool box. Talk about turning junk into treasure!
Marie@The Interior Frugalista
So cool! Love the bright toolbox and the versatility of the stand. I even see a nice drink stand for a party. You make so many beautiful pieces. Pinning.
I <3 your tool box and stacking idea!! Pinned
Your handy DIY skills awe me! Do you teach classes?? This is just awesome. I feel like I say something similar in all my comments to you! 🙂 You are what make link parties like Trash 2 Treasure Tuesday great!! Thanks so much for being a part of it. Pinning to the Highlights board!
Wow, what an amazing creation! I love that orange box, and thank you for the tip on how to get rid of the sticker. Love the table!! Thanks so much for sharing at Vintage Inspiration Party.
great idea! This is the kind of project I love.
What a lot of work you did on this tray stand; it came out beautiful. I do love tool boxes and anything with rusty old metal or chippy old paint. That must be what caught my eye and brought me to your blog from My Romantic Home. I love your orange tool box and how you displayed it.
Cheryl
Your projects never cease to amaze me! You are so creative and I am loving that old tool box. I think I need a restore near me! Thank you for sharing. I'll be featuring this project on tonight's Merry Monday party at 8 CST! Be sure to check it out.
What talent! It's really neat and pretty! Thanks for linking. Come back Monday!
XOXO
I love the white and stain strips a lot! There is something about the contrast that I find elegant and warm. As far as that orange tool box – yep, I have an orange lover over here too. 🙂 Great find!
What a fun look! I absolutely love it. Thanks for sharing it on Merry Monday.
Featuring on today's Trash 2 Treasure Tuesday! 🙂
What a great job! Thanks so much for stopping by the creative spark link party hope you will link up with us again today http://bit.ly/12aACNj
Talk about re-purposing at its best! Love the white and orange combo, great project Mindi!
Love this Mindi!! Love the colors too. I'll be featuring your project this week. Thanks for sharing @DearCreatives Inspiration Spotlight party! Theresa
PINNED. Linda Crafts a la mode
dang new Restore manager!! Raising prices and all…