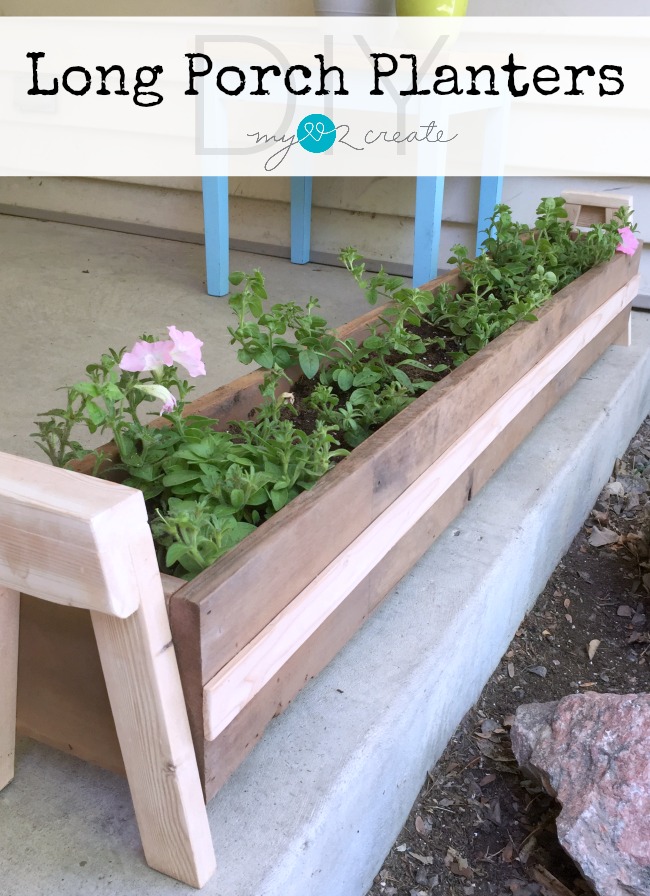
Long Porch Planters
Hi friends! It is the end of the school year, which means life is crazy town!! All good things going on, just super busy. 🙂
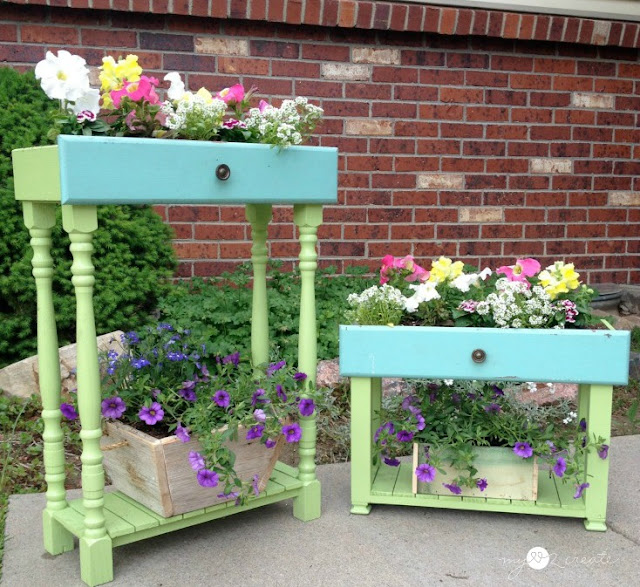
Today I have a special treat! Not only am I sharing my Long Porch Planters that I just built…
(Love)
I am honored to be part of the Power Tool Challenge Team. Eeeeek! This is an awesome group of bloggers that share fun projects using power tools. Today we have some pretty sa-weet Patio and Porch projects for you to check out at the end of this post, so don’t forget to visit everyone!
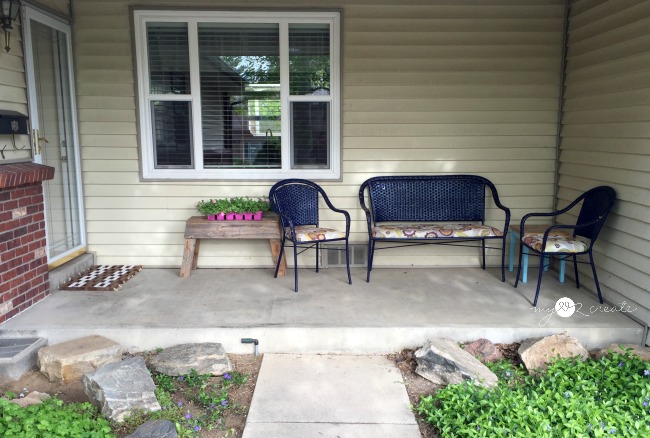
First let’s start with a good before of my porch.
Here is what my porch looked like yesterday morning, yes I did say yesterday…my porch transformation took me one day to do, and I worked pretty hard all day. 🙂
I had cleaned things off last fall and this is what was left of my winter porch.
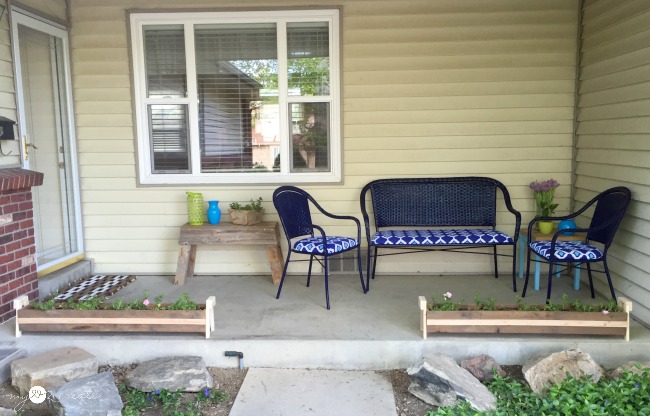
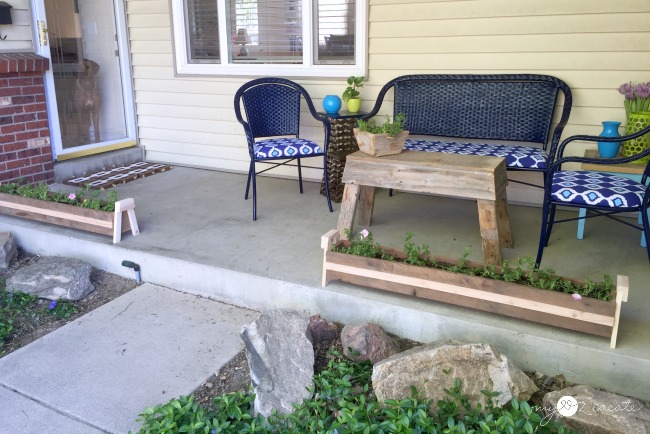
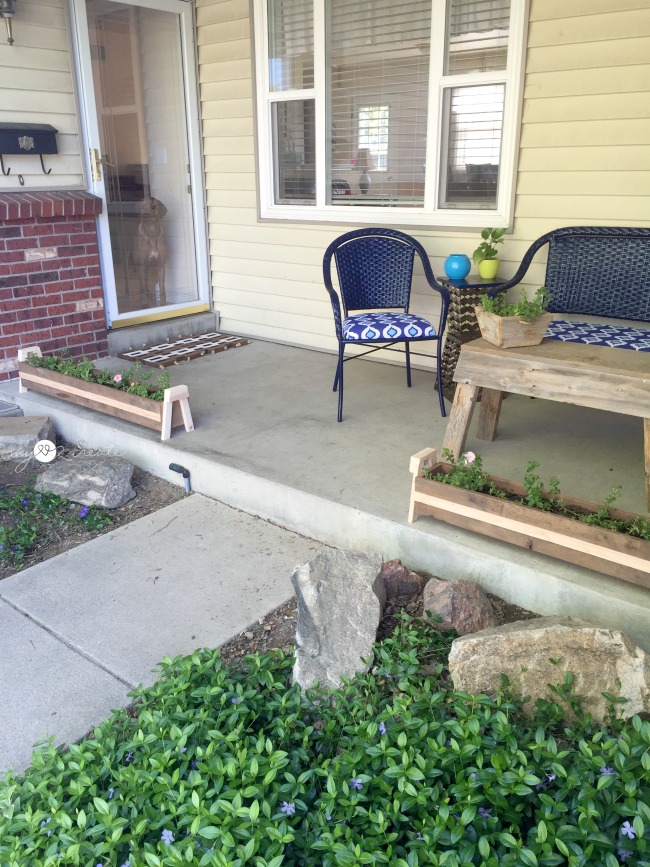
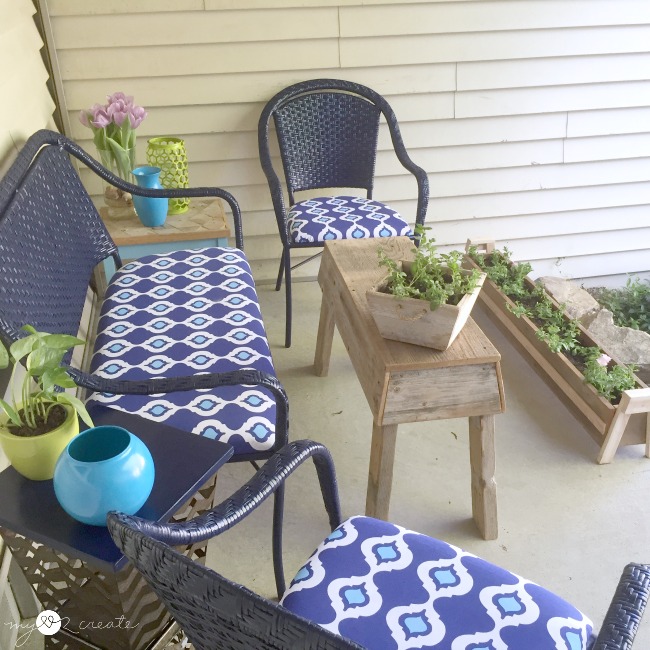
And here is the after! Ok, it is not that amazing, but it does look better, especially for a one day transformation. Right?! Humor me people.
Then after I took all my photos, I moved things around again…and took even more photos. Only a blogger…Ok you probably do it too…ever evolving!
Anyway… this whole thing started with this challenge and my long time desire to build some long planters for my porch. I have always thought they would look good in these spots, and my inner self thinks that maybe it will keep the kids from falling off the rocks and trampling my plants, er…walking on the rocks. Time will tell if they help with that or not…but at least they look cute. 🙂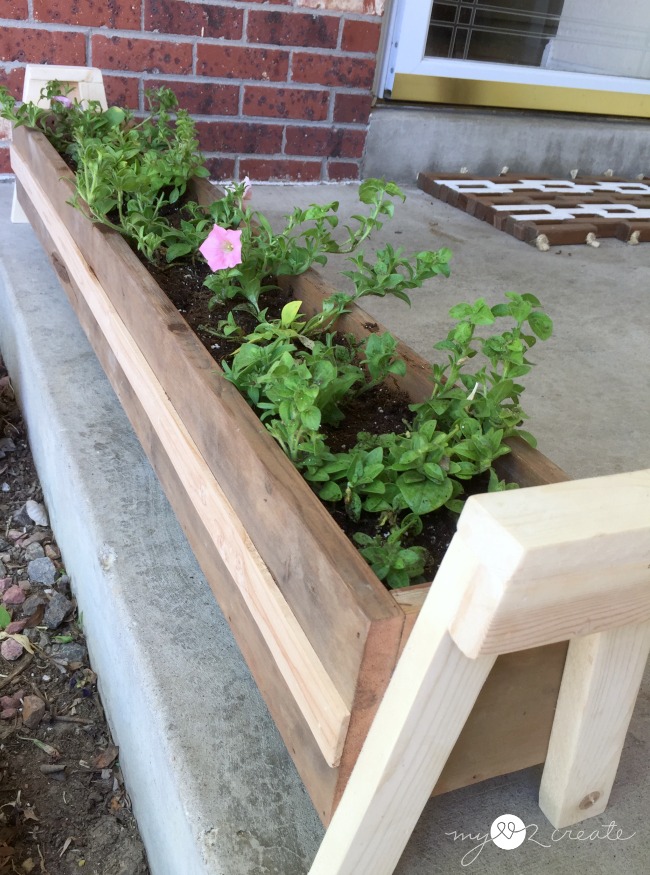

Plus, ever since I built my Long Tapered Crate (which I sold), I have wanted a cool long planter, it is nice to have finally done it! Oh, and I am so loving my Reversible wooden door mat…happy smiles!
So do you want to build your own?
How To Build a Long Porch Planter: *This post contains Affiliate Links
Supplies (for ONE planter):
- 2- 1x6x8 foot boards
- 2- 48” lath boards
- 1- 1x2x8 foot board
- Miter saw
- Gorilla Wood Glue
- Ryobi Drill and Driver
- Ryobi Cordless Nailer
- Potting soil
- Plants
- Wood filler
- Sand paper
Cut List (for ONE planter):
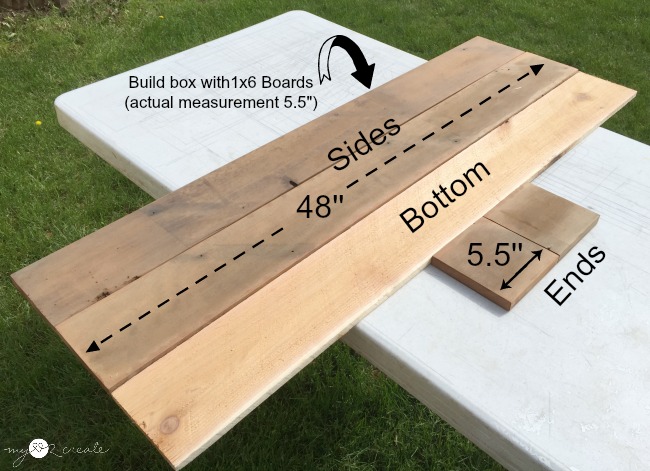
- 3- 1×6’s @ 48” (sides and bottom)
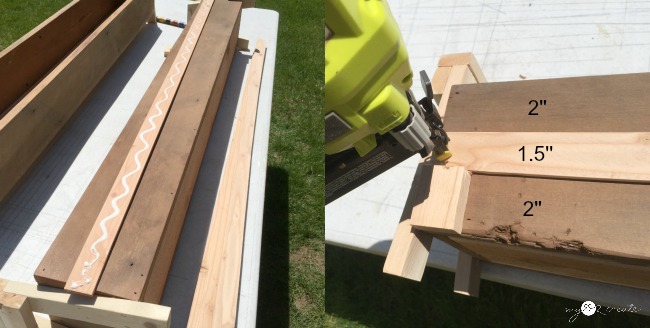
- 2- lath boards (1/4”x 1 1/2”) @48” (decorative strip on sides)
- 2- 1×6’s @ 5.5” (or same as width of your 1×6 board, some sizes may vary)
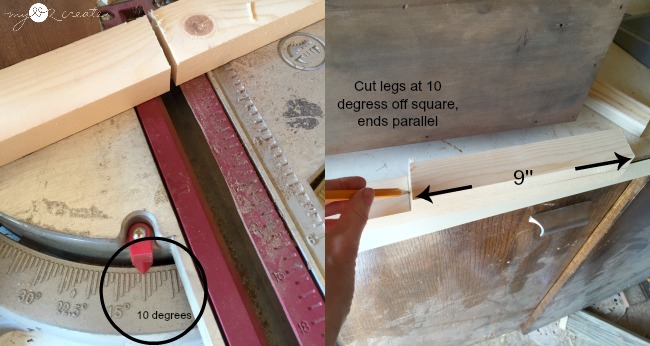
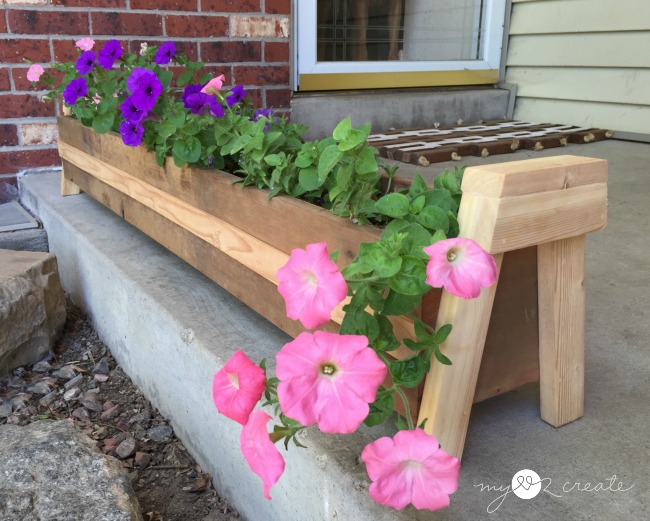
- 4- 1×2’s @ 9” ends cut at 10 degrees off square ends parallel (legs)
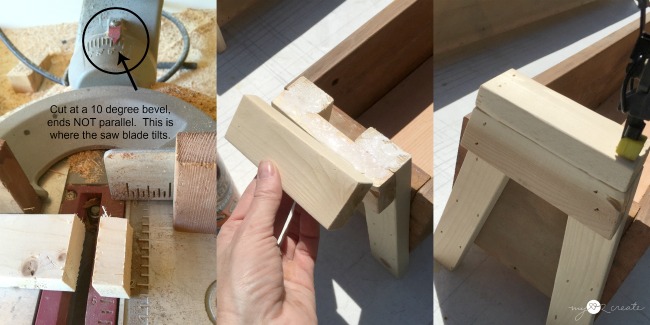
- 2- 1×2’s cut to fit (see picture tutorial below) ends cut at 10 degrees, ends NOT parallel (bottom handle pieces)
- 2- 1×2’s cut to fit (se picture tutorial below) ends cut at a 10 degree BEVEL, ends NOT parallel (top handle pieces)
Start by cutting the wood for your planter box. You can use any type of wood, but I recommend cedar since it is great for planters. I used some left over deck wood that I had on hand, and a cedar fence panel for the bottom.
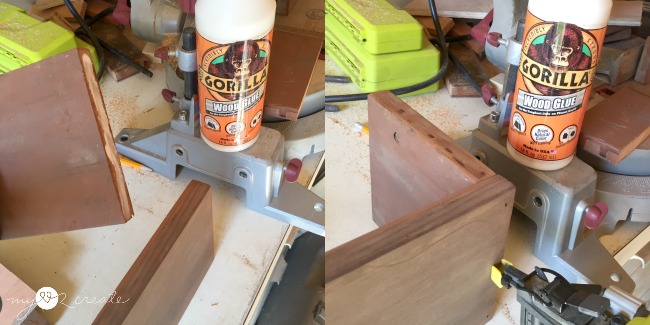
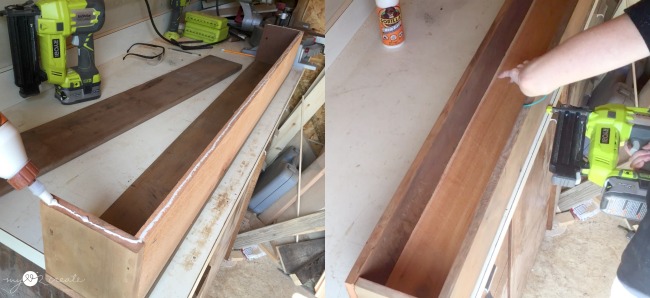
Begin by gluing and nailing both end pieces to one side. I used Gorilla wood glue and 2” finish nails.
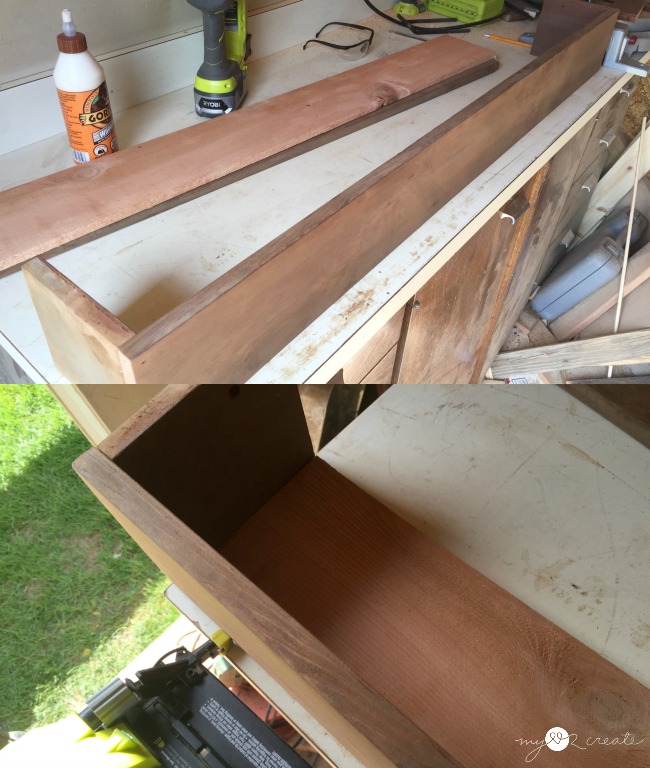
Then take your bottom piece and add glue to one side and both ends. Place it inside your half finished box and nail through all sides into the bottom.
Now you can add glue to the other side. Nail on the last side piece to complete your box. 🙂
Next up is cutting your legs. Set your miter saw at 10 degrees off square, and cut your legs to the length you want them. I cut mine at 9” ends parallel.
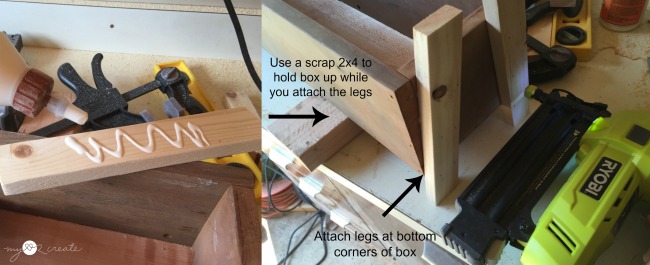
To attach your legs to the box find something to set your box on to raise it up. I used a few scrap 2×4’s, just be aware that what you use will determine how high your box is from the ground. Then take your legs and add a generous amount of wood glue to the middle where they will attach to the box. You can set your legs any where you want, I choose to align them at the bottom outside corner of my box. Then nail them on.
At this point I had to do some thinking of how I wanted to do my handle. I based my design off of my DIY A Frame Crate, but I knew I didn’t want a long handle going all the way across the planter box.
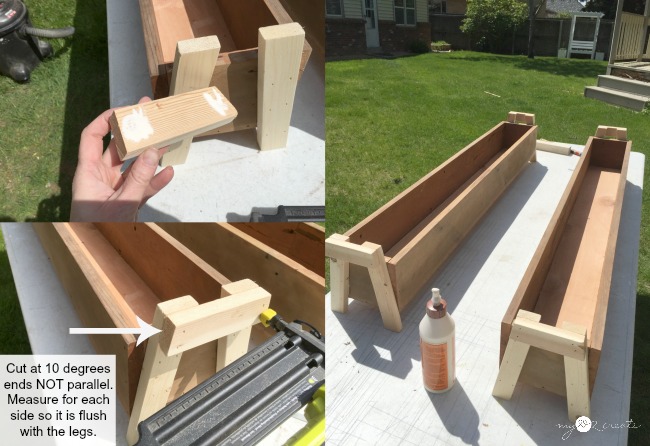
I decided to add a bottom handle to the sides of the legs. Cut your 1×2 piece at 10 degrees off square ends NOT parallel. Measure each set of legs and cut so they are flush with the sides of the legs. I didn’t give you a measurement because my legs were slightly different, so measure and cut as you go. Then glue and nail it onto the legs so it is flush with the top and sides.
Now to add the top of the handle. The same thing applies, measure and cut as you go, because the distance of how you placed your legs will vary. For this cut you will want to set your saw back to 90 degrees (or square-0) and then set your BEVEL at 10 degrees. This adjustment will tilt your saw blade. Now cut the ends NOT parallel to fit flush with your legs and bottom handle piece, glue and nail it on.
I wanted to do something decorative on the side, but my time was VERY limited (one day remember! I guess I could have done this sooner but before yesterday it was pouring buckets for 3 days straight…so I was so happy to see the sun!)
Anyway, I found some lath strips of wood in my stash and they were perfect! I didn’t even have to cut them because the come in 48” lengths! I sanded them down and then glued and nailed them onto the sides. To make it easier I cut some spacing blocks at 2” easily center them.
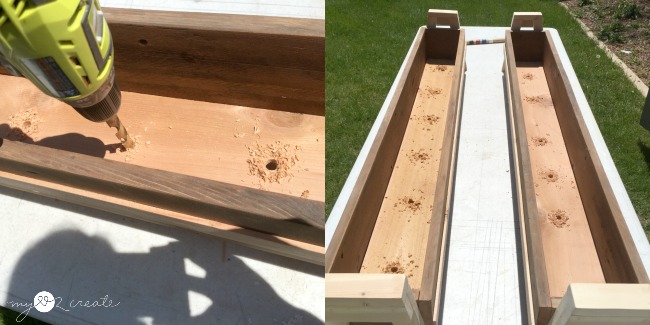
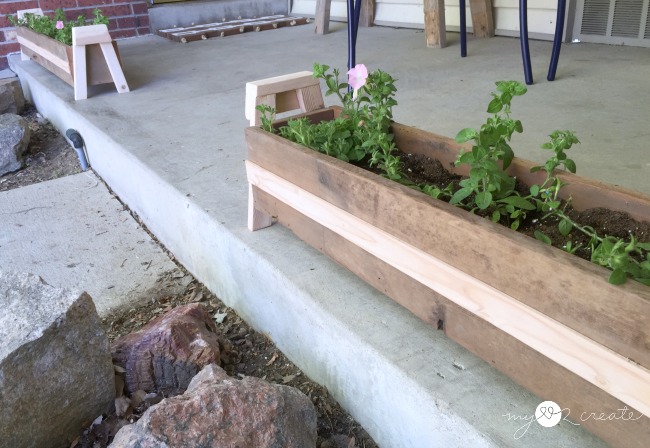
I drilled some holes for drainage and got planting! Oh, and I also put wood filler in my lighter wood nail holes and sanded them smooth. I didn’t fill the darker wood nail holes.
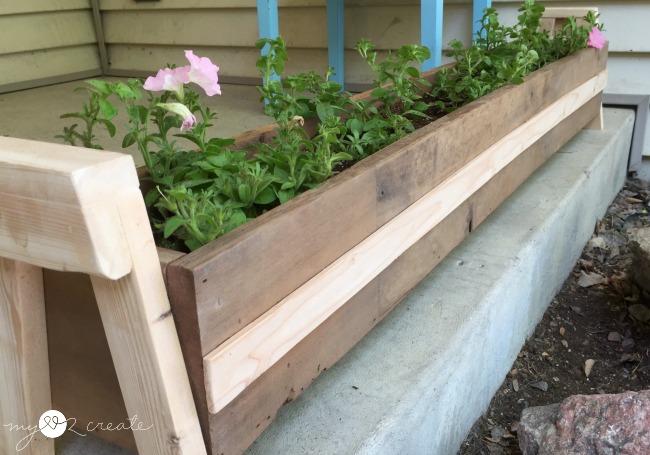
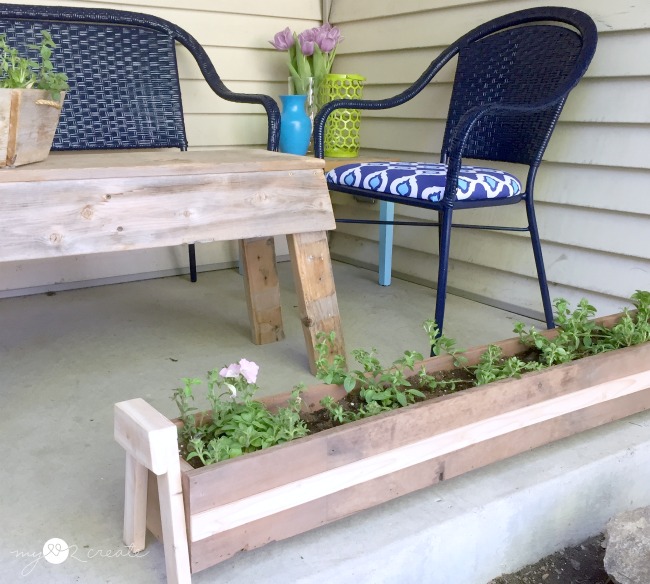
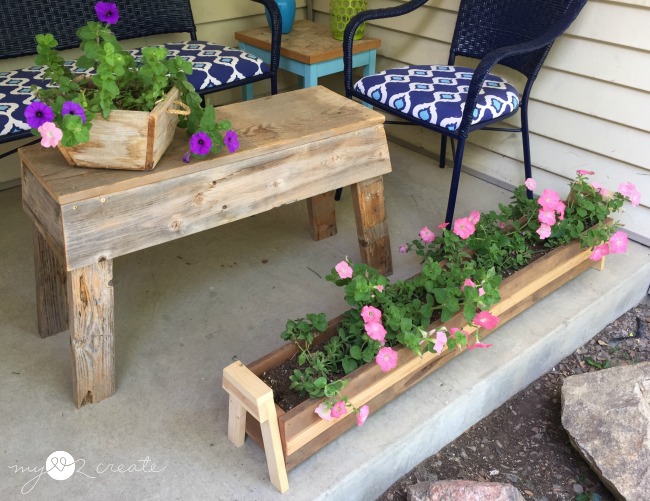
I love the two tone look! Since I used reclaimed wood my box wood was already dark, but you could stain new wood to get the same look.
They are so fun! Too bad my plants don’t have very many flowers right now. I purchased them last week (you can see them in my before shot) but because of the rain I didn’t have a chance to do this sooner, and all the flowers have since moved on…but I can see more starting to bud…they will be so pretty as they grow!
Even without a ton of flowers, the green makes me happy!
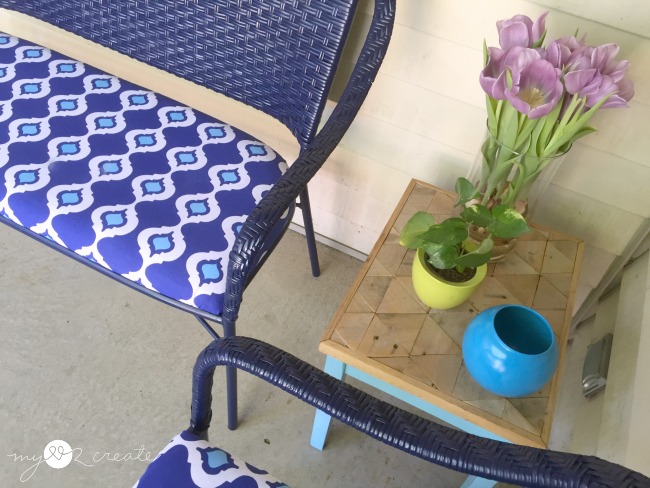
So what about those chairs? You can read about my first Wicker Furniture Makeover here, I did the same thing to these, but just bought a new tablecloth on clearance for $9, you can also learn how I make my Pallet Top Table too!
My Old Fence Wood Bench is doubling as a coffee table in this shot, and you see a peek of my tapered crate I made a million years ago!
The last little table I stole from my teen boys room makeover and spray painted the top, they haven’t been using it since I built them their shoe cubby dressers.
Now my porch is nice and cozy!! Good thing the sun came out…now if it will just stick around I can enjoy relaxing while my kids play outside.
Bring on summer! 🙂
Update: I thought I would share my planters a few weeks after I posted this…they have started to bloom!
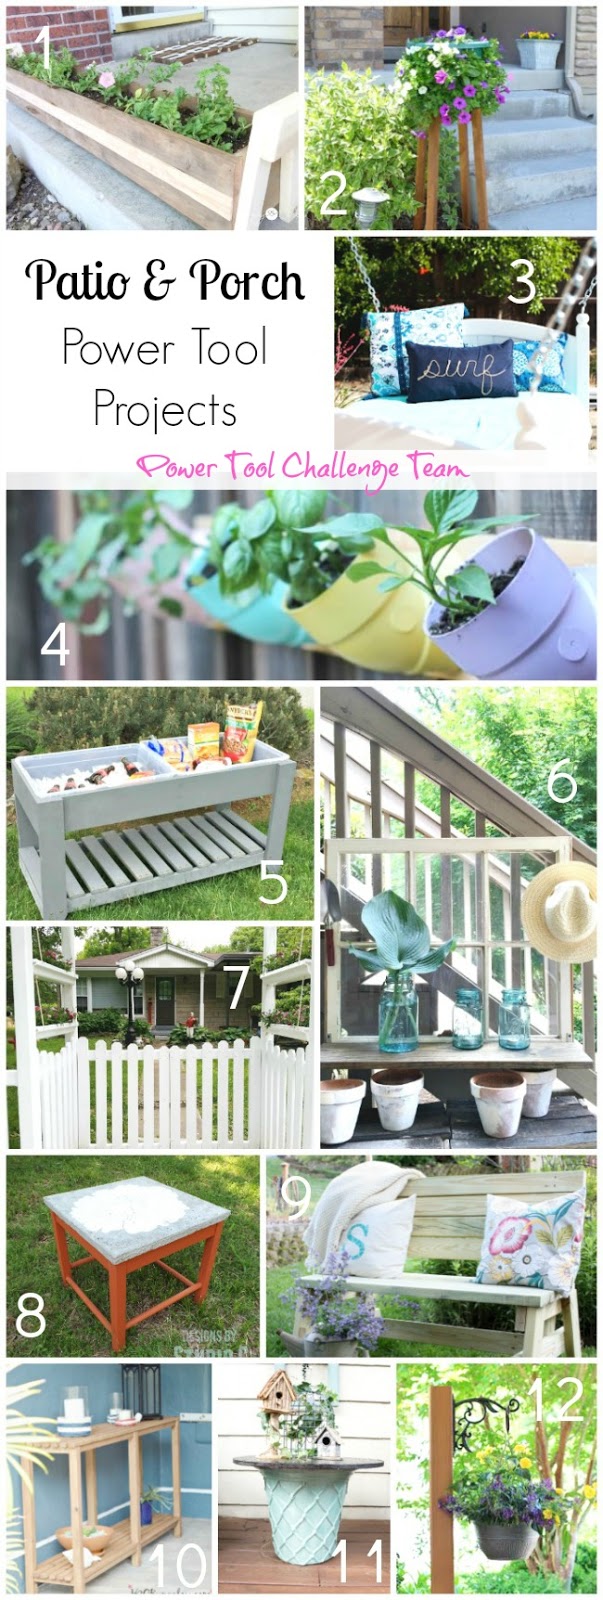
Ok it is time to check out everyone else’s projects in the Patio and Porch Power Tool Challenge!!
I am drooling at all the inspiration!
1. Long Porch Planters by My Love To Create
2. DIY Flower Pot Plant Stand by Her Tool Belt
3. DIY Easy Swinging Bed by Domestically Speaking
4. PVC Pipe Vertical Garden by Kim Six
5. How to Build An Outdoor Serving Table by Create and Babble
6. Repurposed Window Garden Shelf by Refresh Restyle
7. Trimming Out Porch Posts by My Repurposed Life
8. Stenciled Concrete Topped Table by Designs By Studio C
9. 2 X 4 DIY Bench by Virginia Sweet Pea
10. DIY Outdoor Sofa Table Tutorial by H2OBungalow
11. Repurposed Electrical Spool Holder Table by Designed Decor
12. DIY Outside Standing Plant Hanger by Confessions of A Serial DIYer
Thank you so much for stopping by!
Hugs!
Mindi
I will be linking to these parties, Savvy Southern Style, and Bloom Designs


I love these planters! What a good way to break up the porch opening. Hopefully your kids will be steered away from the rocks! LOL. Welcome to the group!
Your porch looks so pretty! The planters are the perfect border for the patio and give it a finished look!
Mindi, I love your planters, especially the two toned look! The flowers will look so good in a few weeks when they fill out.
I feel your pain with the rain! I had a half a day window the other day to take my pictures and it's rained ever since until today…of course. Love these planters and the two toned look! Also loving the French bench! XO
Oh my gosh, first… I love that french wood bench. How did I miss that? Or did I? I'm so old!
Your long porch planters are awesome Mindi! I adore the look of the new wood with the old. You made it all come together beautifully.
I sure hope the planters do what you need them to do (with the kiddos) because if they do, they are definitely a win/win because they are sooo pretty!
pinning!
gail
What cute planters – they frame your patio perfectly!
Love this idea! It would be great for an herb garden! Pinning for later!
These look great on your porch and once they fill out with flowers are going to be stunning. I know that you'll really enjoy these all summer.
What a super project! I love the detail on the planters – especially the legs! They are really fabulous!
What a super project! I love the detail on the planters – especially the legs! They are really fabulous!
What a wonderful planter and a fun place to enjoy company. Thank you for sharing at SYC! Jo
I love the 2 tone wood you used! They turned out great!
The planters turned out really cute and will be gorgeous out on your porch once the flowers fill in! Thanks for sharing with SYC.
hugs,
Jann
Each week I am blown away by the projects your share.
Thanks for sharing with SYC.
Hi Mindi, finally catching up on May's Power Tool Challenge Rockstars! Welcome, so nice to see you in our group because your DIY skills certainly deserve to be shared here. It sucked missing the challenge this month but I'm enjoying everyone's projects! Your DIY planters look great – love the two different colors of wood. Like the final rearrangement of your porch too.
Marie, The Interior Frugalista
What a great idea and gorgeous planter!
Mindi – you are super talented and skillful! Your planter is beautiful and it looks perfect on your porch!