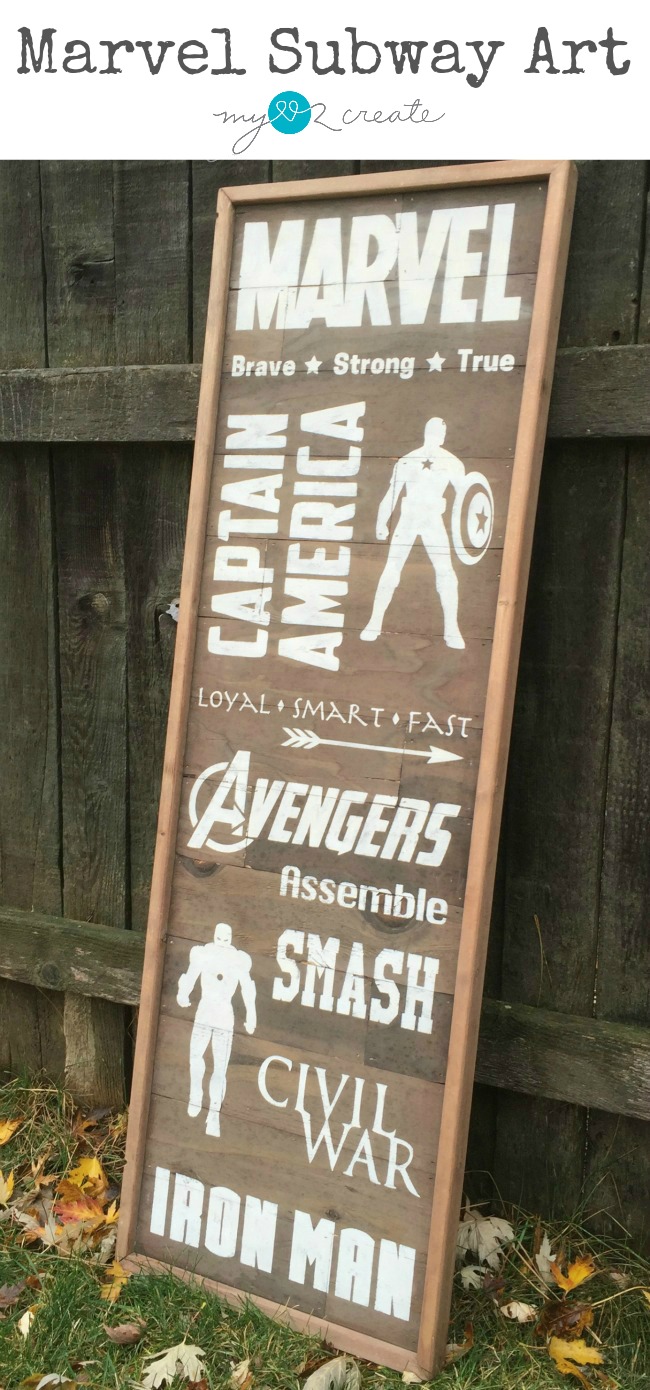
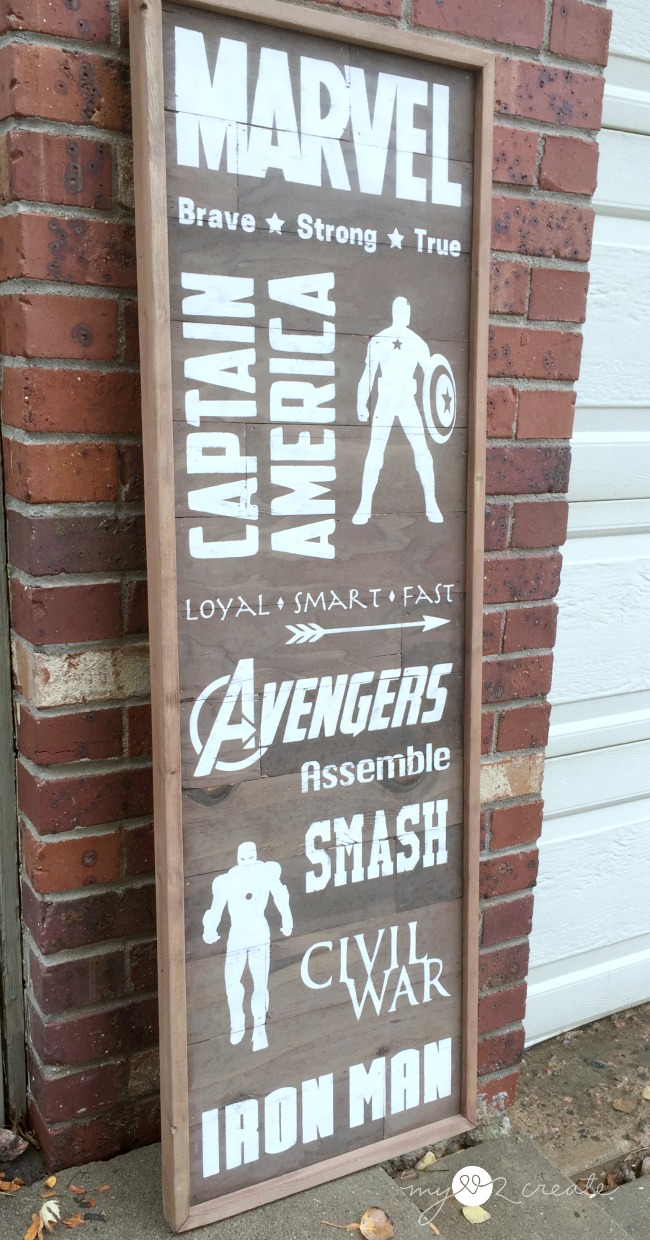
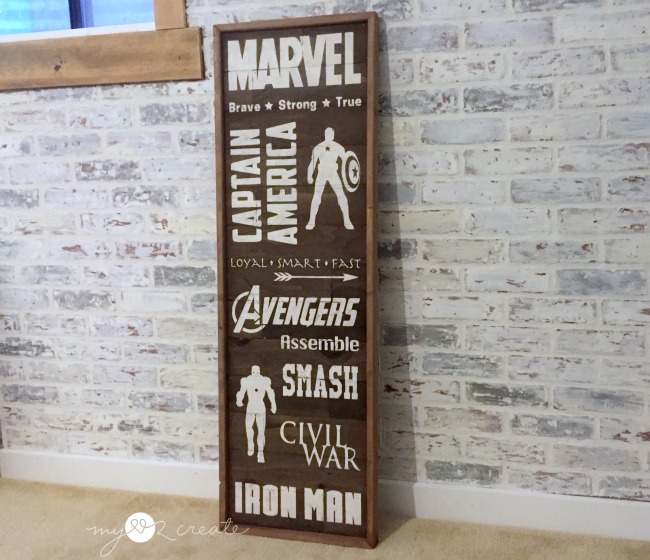
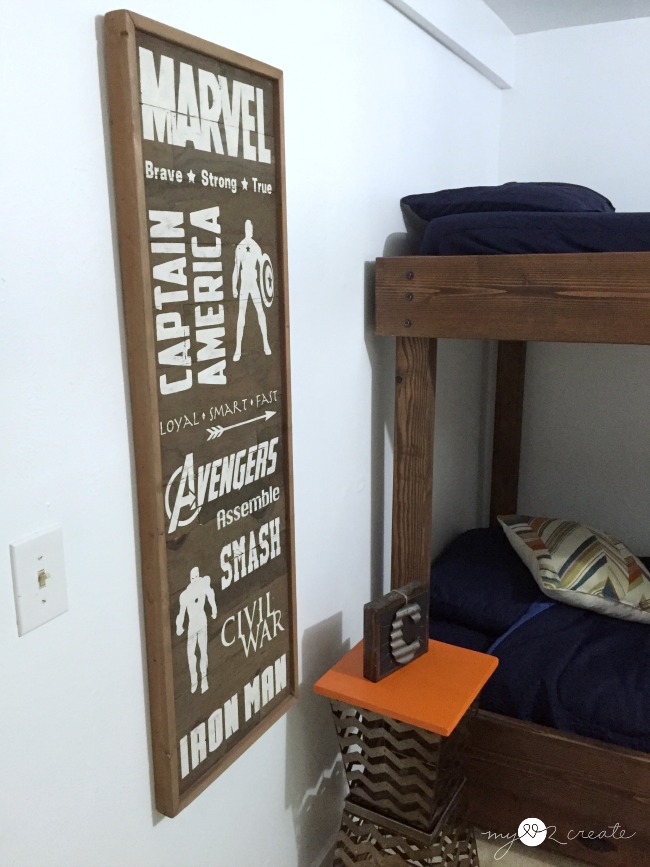
Hello friends! I am thrilled to share my boys Marvel Subway Art that I made for their room makeover last fall.
This was seriously a fun project for me and especially because my boys were so excited about it. I actually shared this first as a contributor post on My Repurposed Life.
Of course my boys had most of the say in what actually went on the sign, then I designed it. It was nice not to make ALL the decisions, but I practically did, boys are sometimes TOO easy going! 🙂
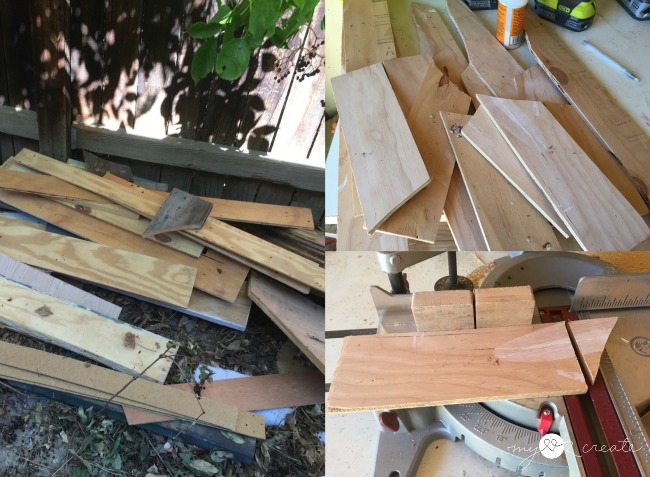
This project needed to be free, because I was working on a VERY tight budget for this room. I had attempted to throw some scraps away, and because they hadn’t actually made it in the garbage can yet, I started digging around. Yep, even my garbage scrap pile had some treasure in it!
I cut the scrap pieces on my miter saw to make them square on the ends. See the curved ends? These scraps were from my
Pottery Barn Know of Clock, which is still one of my favorite projects.
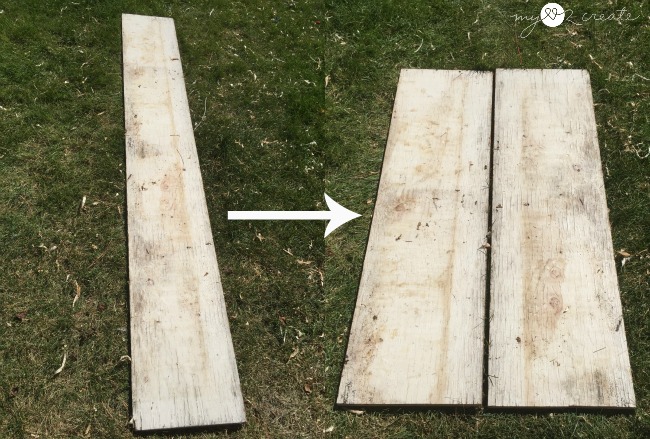
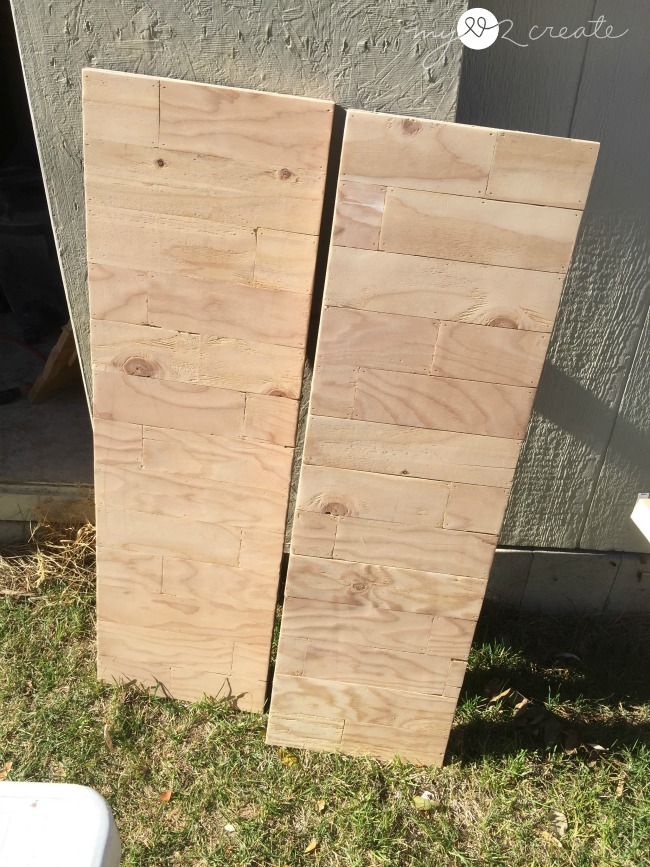
I had decided to use the scraps to make a planked looking sign. I was able to use this very old heavy piece of plywood as my mounting board. It was wraped a little but nothing to stress about. You can see I choose to cut it in half.
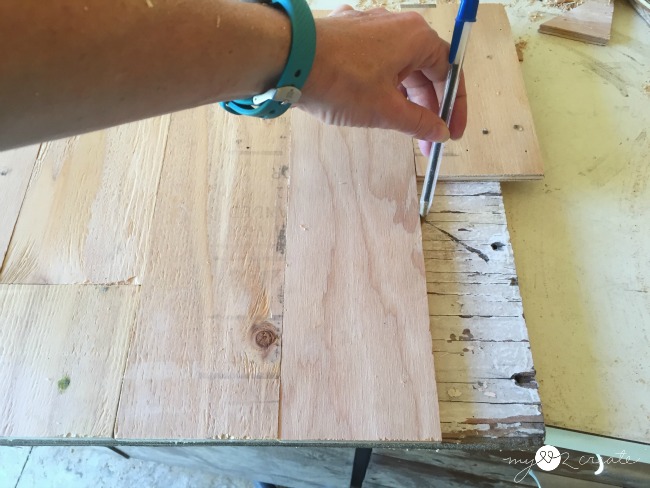
Using wood glue and nails, I started cutting my 1/4 scrap plywood to fit my back board. I made sure to stagger my lines so it had a varied planked look.
Tip: Before I started gluing and nailing, with my awesome
Ryobi Nail Gun
, I put scraps on to see how long my back board needed to be, then I drew a line and cut it so they would fit perfectly.
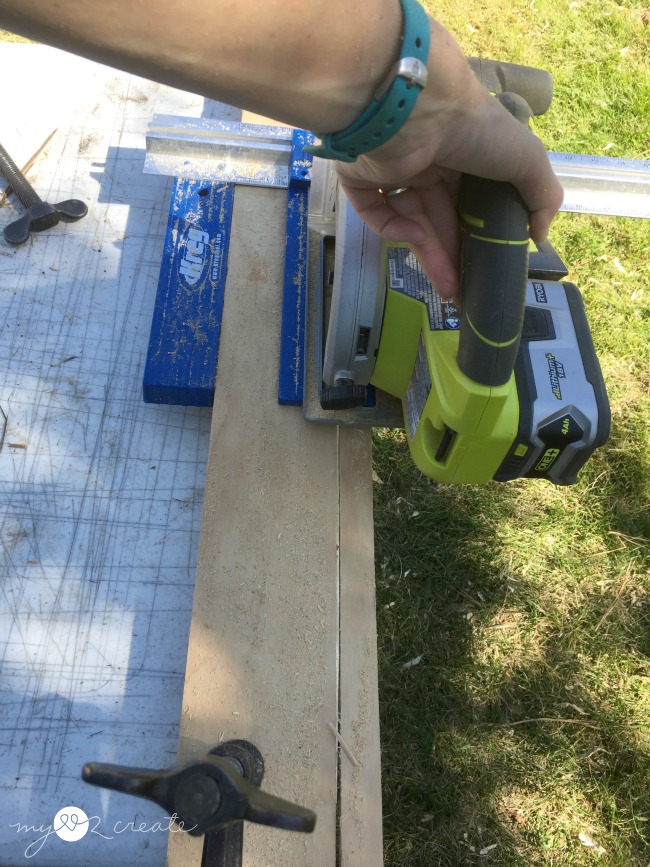
When I originally purchased this 1/4 plywood, it seems like a million years ago, for 51 cents from the Home Depot cull bin, (which sadly doesn’t exist anymore) I had them rip it into strips for me. The last piece ended up being wider and I hadn’t used it yet, so I used my
Kreg Rip-Cut
and
Ryobi Circular Saw
to make it the same width as my scrap strips, which was 3 1/2 inches wide.
I ended up making two planked boards, because I was planning on making two things of subway art. When I took the boards down to the boys room, they were HUGE, and I knew it would be too cramped to do both, so I just made the one. The other is still waiting for some type of inspiration to strike…while it sits hidden away, where I never see it or think about it, until I just did, writing this post right now. #idonothaveahoardingproblem #okido #shhhyoudidnthearmesaythat
I cut frames for both and figured my younger boys could eventually have a sign in their room with their favorite Avengers: Hawkeye, Hulk, and Thor, but obviously that hasn’t happened…
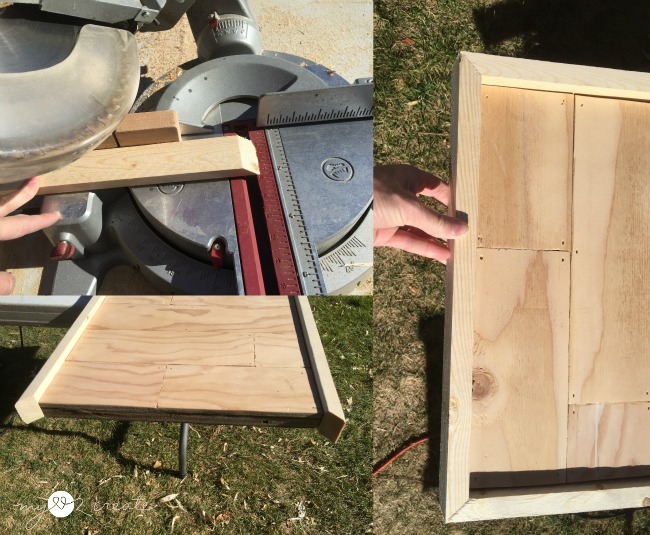
I used 1×2’s to frame the outside. I cut the ends at a 45 degree bevel to meet the corners, but you could also do it the same way I did my
“It’s the most wonderful time of the year” sign, that way you could just do straight cuts. 🙂 Either way looks good, I like them both.
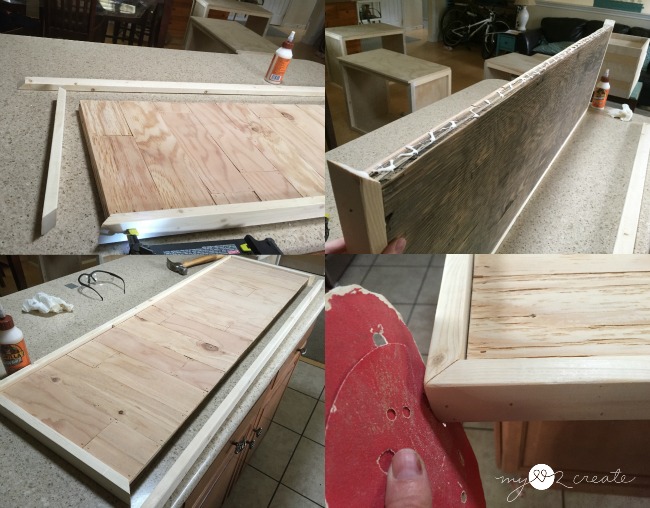
To attach the frames I simply glued and nailed them onto the plywood. Then I sanded the corners nice and smooth. If you are one with a keen eye you may have spotted the ever awesome
why didn’t I build these years ago lego tables, I was building them at the same time…you know, room makeover and all, it is non stop projects all the time.
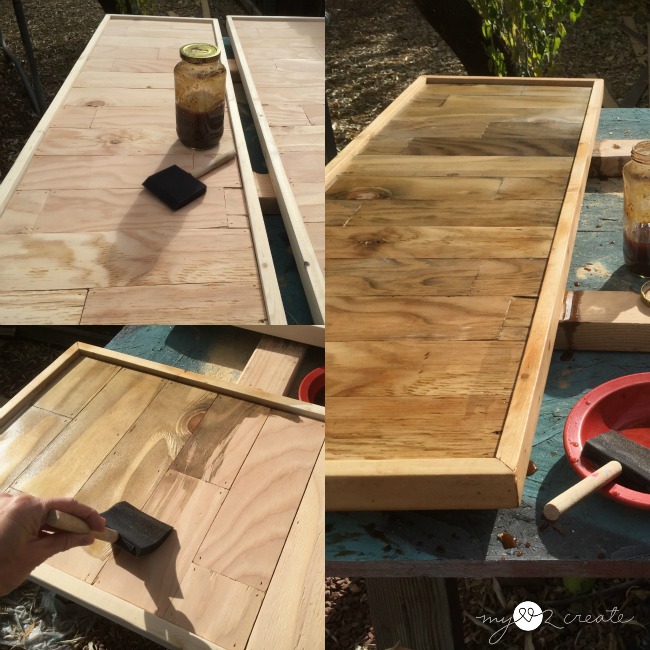
I ended up using my natural stain (the same thing I used on my
camping crate) to change the color of the wood. I wanted this because after doing my
clock I knew that the 1×2’s would be lighter than the plywood, and I really wanted the contrast, with less work!
After the stain dried and I heroically saved the signs from the on coming rain storm, with only minimal a million water spots…just adding character folks… anyway, I proceeded to lay out my design.
This can be a very tedious process of deciding what words, photos, etc…to use. I would ask my boys and all I got was, “I don’t know” I think it was harder pulling out what they actually wanted than it was to make the sign!
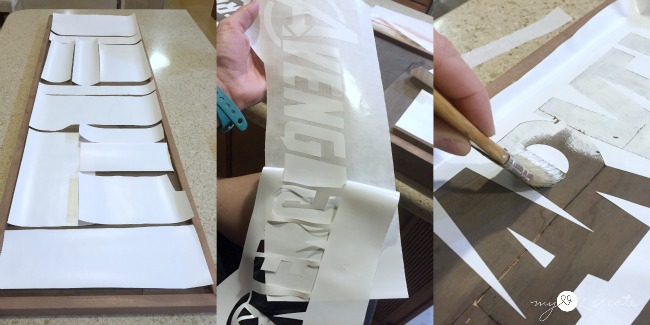
Once we figured it out…I cut the words and photos with contact paper on my
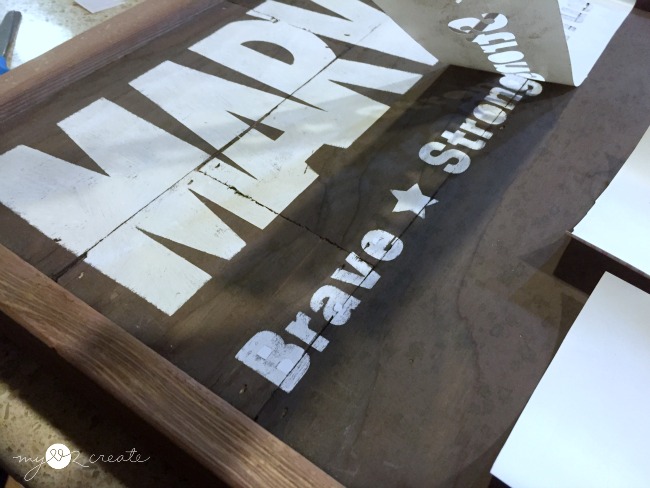
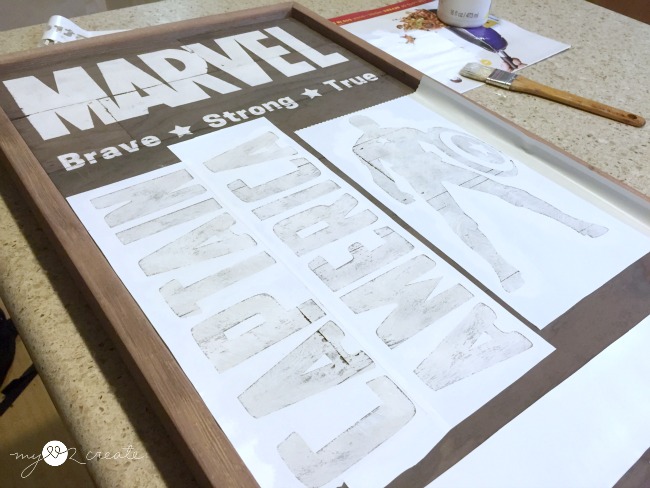
Cricut Explore Air™. Then I put them on the sign to see if they would fit, and where I wanted them. I pulled off the outside of each stencil and placed it on the board. Next, I stenciled on white paint, loading and unloading my brush and pulling into the center of my stencil.
As soon as I was done painting I pulled off the stencil and then removed the center parts of the words.
It was easiest to work in small sections or one word at a time. If you want more details you can check out my post on
How to make your own signs, I show you several different methods! It is SO MUCH FUN YOU GUYS! *Warning- If you start, you just might become addicted. 😉
Oh, and how about those water spots eh? Niiiice.
My oldest two boys favorite avengers are Captian America and Ironman, so that is why they are featured on this subway art. Gotta give them what they love!
I really love it in their room, and because they are such big Marvel fans it is perfect for them!
Man, after writing this post I am realizing that I have a TON of tutorials from this room that I haven’t shared yet…geez I am a slacker, or a very busy mom….ok maybe both!
SaveSaveSaveSave
Hugs,
Mindi
I will be linking to these parties, Savvy Southern Style, and Bloom Designs
SaveSave



Mindi what a great subway sign and I appreciate the tutorial you included. You have answered questions I had about using contact paper to make stencils using a Circut. Thank you.
Joy
Yay Joy! I am so glad, you are very welcome! 🙂
I love it! I might do a minecraft one!
Zoe, that would be seriously awesome! Do it! …and then share, cause I would love to see it! 😉
Very Very cool Mindi!
Oh my gosh Mindi! What little (or big) boy wouldn't love this? Fabulous job!!
hugs,
Jann
This is all around awesome!
Love this! Sammie would love me to make her something like this. Maybe with a few girl super heroes too.Thanks for sharing at the #InspirationSpotlight Pinned & sharing
Darn cute and I pinned it!
This is an awesome tutorial. I want to make some signs for my garden, and have lots of scrap wood. Thank you for the great directions!