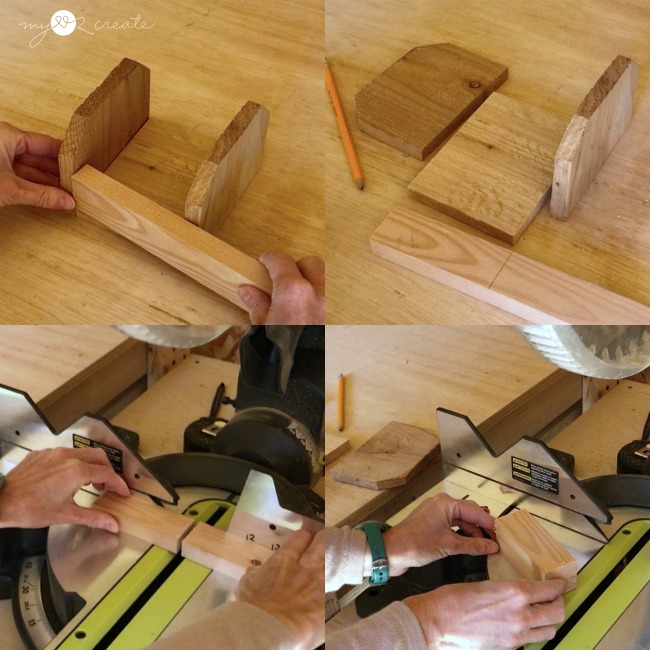
Step 1- Cut wood
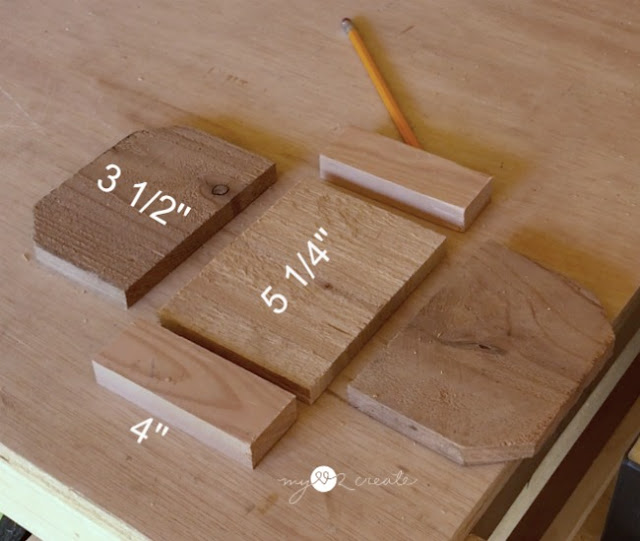
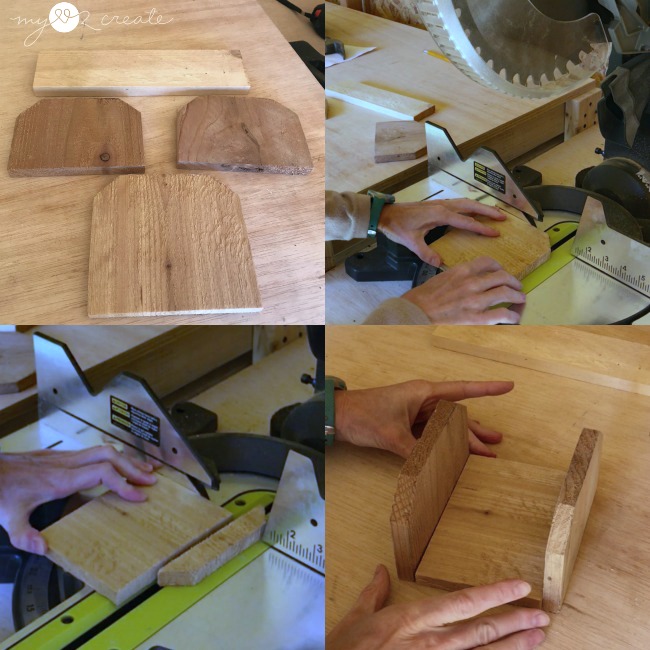
I used scrap wood to make my caddy, I love the look of the dog-eared ends of the picket fence. If you don’t have dog eared ends, just set your miter saw at 45 degrees and cut the ends off of a straight piece of wood. Or you could use a jig saw too.
I cut the dog eared ends off to make my bottom piece.
With my ends and bottom pieces cut, I used them to mark my 1×2 side pieces and cut them to size.
This caddy can be made to any size you would like, just follow the same method, but adjust your wood to the size you desire.
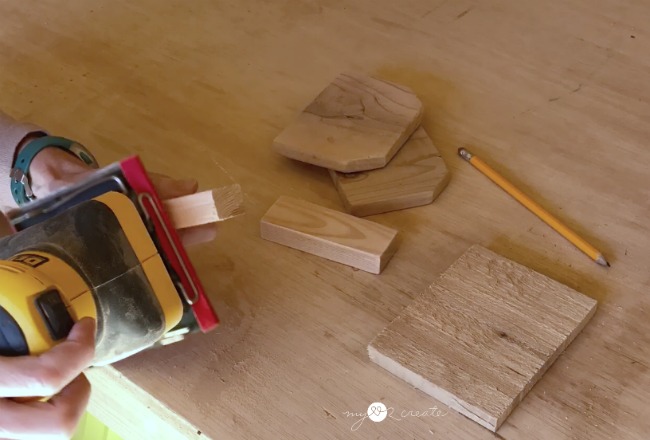
Step 2- Sand
I find it easiest to sand my wood before I build. The cedar pickets are pretty rough, but I like the rustic look it adds. They were nice and smooth after sanding, I used 100 grit. For a crate or caddy I don’t sand more, unless I am going to stain, then I will sand with 220 grit prior to staining.
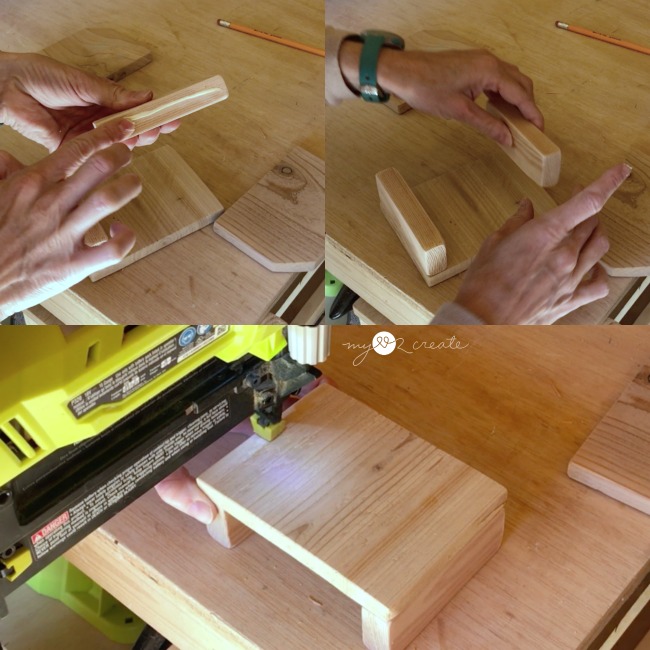
Step 3- Add the side pieces to the bottom.
With wood glue and 1” finish nails I attached the sides to the bottom piece.
If you don’t have a nail gun, you can use wood glue and clamp your pieces until they dry, for at least 30 minutes. I show you how to do this when I made my
DIY Chalk Box.
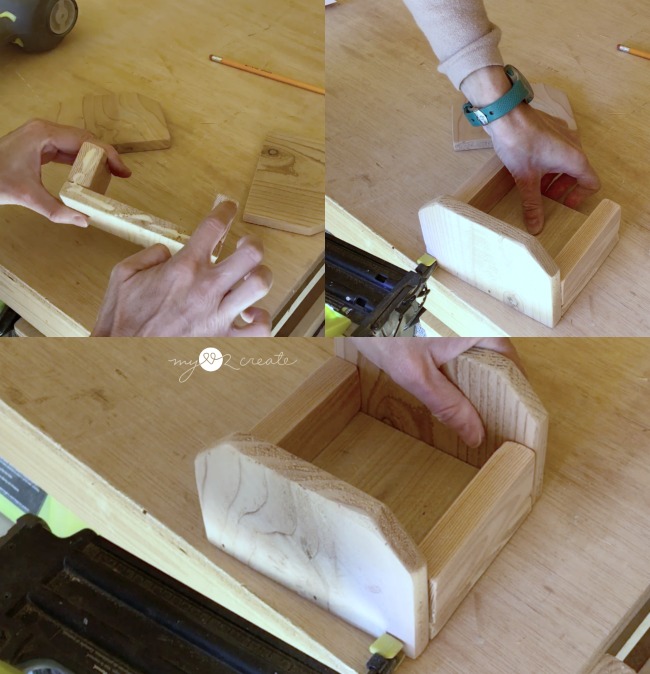
Step 4- Add end pieces
Next, I put wood glue on the sides and bottom and then nailed on my end pieces.
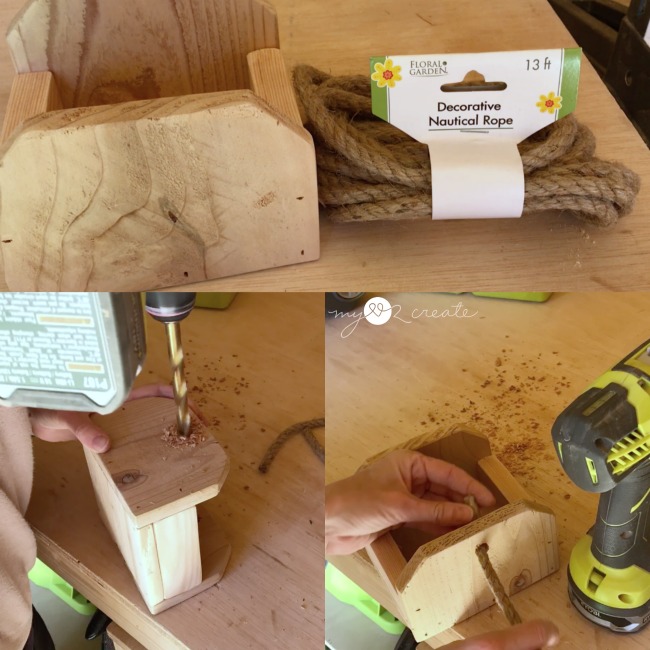
Step 5- Drill holes for rope handle
Part of the fun of making crates and caddy’s is the different handles! For this one I went with a rope handle.
I found a drill bit just larger than my rope and eyeballed the center of my ends and drilled holes. If you don’t feel comfortable eyeballing where to drill, you can measure too! 🙂
Tip: When you drill push hard into the wood, these bigger drill bits like to creep. Or you could drill a smaller pilot hole with a smaller bit to help keep it drilling in the right spot. But if it is off a little bit, it doesn’t matter!
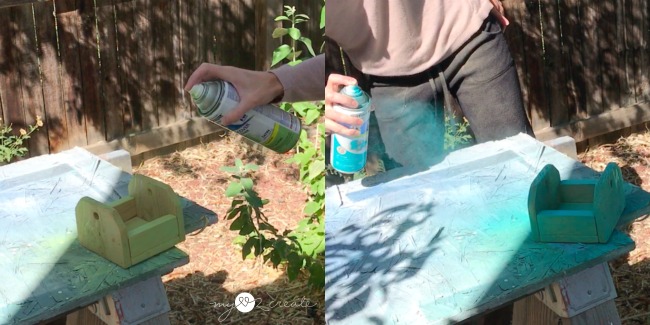
Step 6- Paint
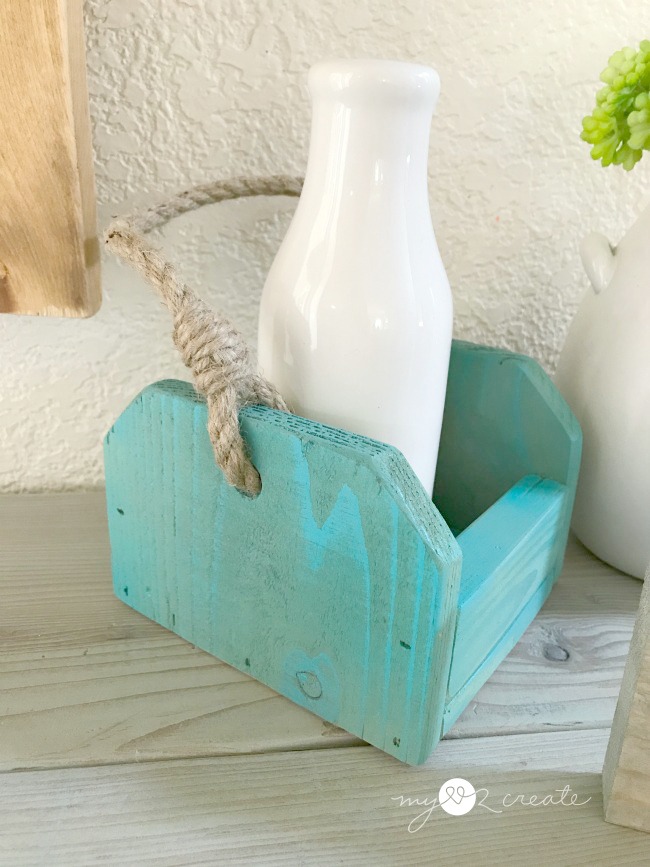
I used a rustic spray paint technique (hee hee I just made that up) I wanted the wood grain to show through, so I sprayed very light coats of spray paint, so the coverage was minimal. I started with a green, but wasn’t thrilled with the color, so I finished off with a dusting of blue. 🙂
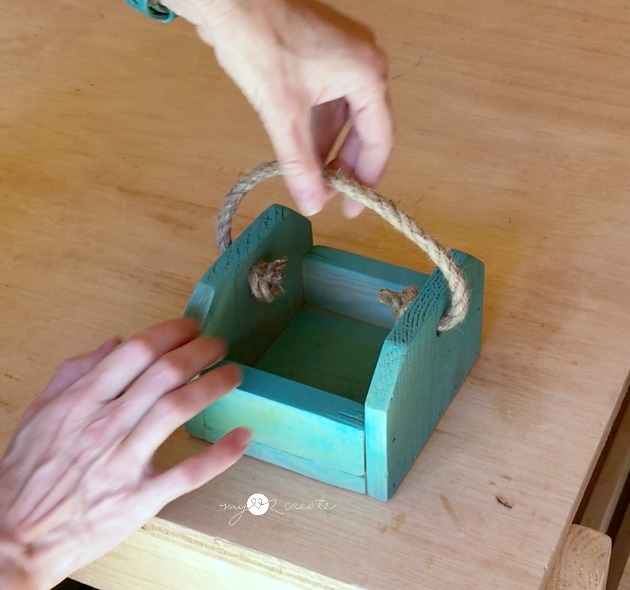
Step 7- Add Rope Handle
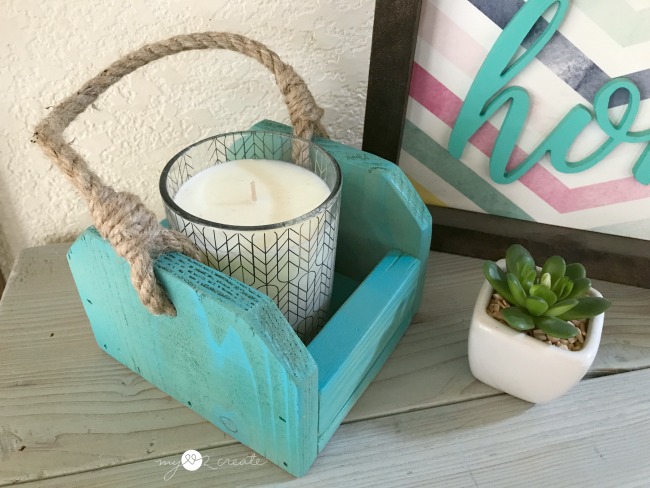
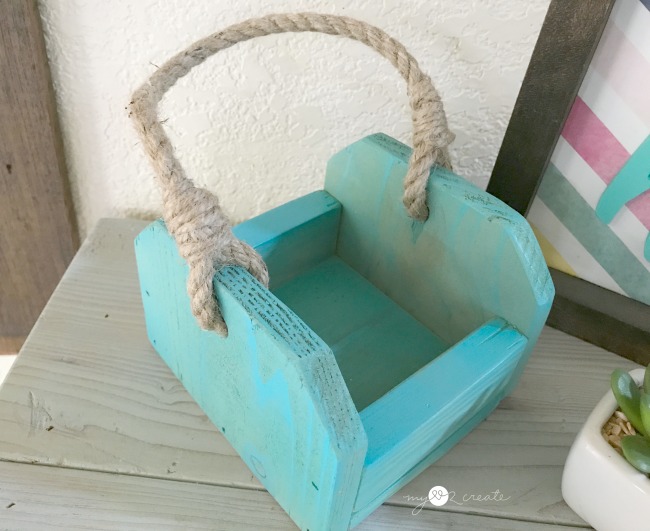
You can attach your rope handles with simple knots on the inside of the caddy as shown above, this is super easy and totally cute. I have done a ton of my
rope handles this way.
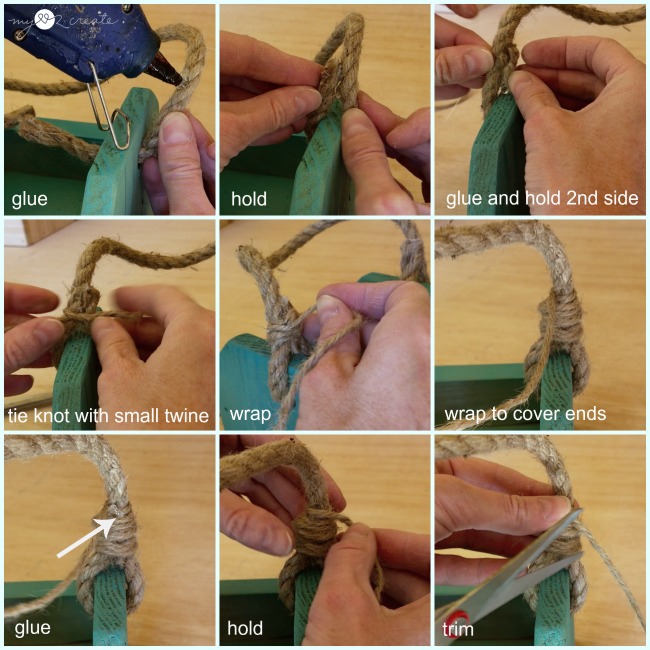
For this caddy I wanted to try something a little different…
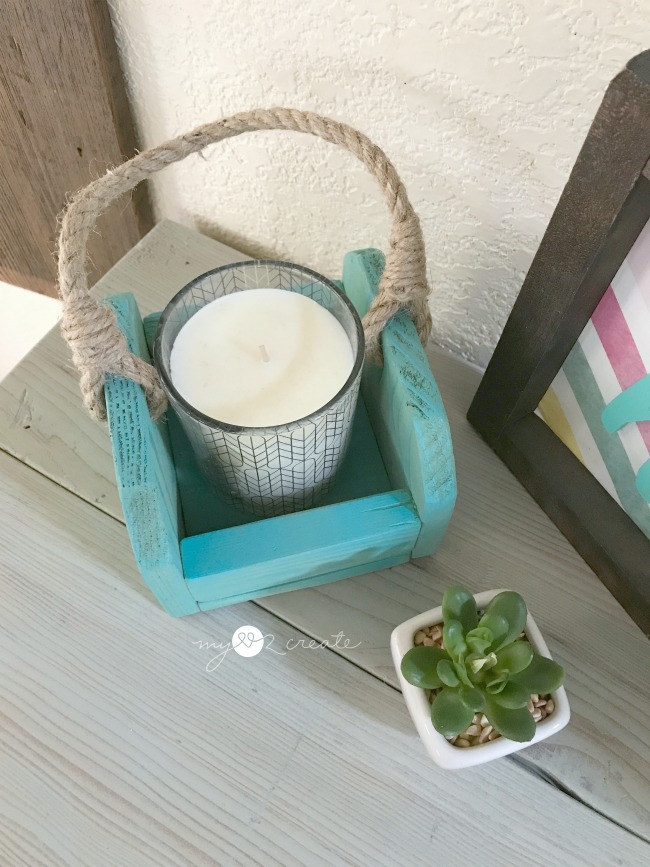
I pulled the end of the rope up through the hole and hot glued it to the rope handle. Then I used some twine, tied a knot around the rope and then wrapped it around to cover the rope ends. I secured it with hot glue and cut off the rest.
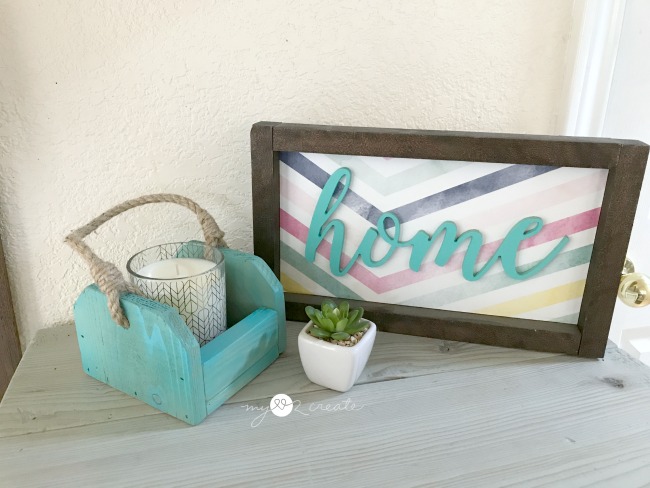
I think it adds it’s own little charm doing the handle this way!
It sort of has a nautical fell to it, makes me want to go to the beach! 🙂
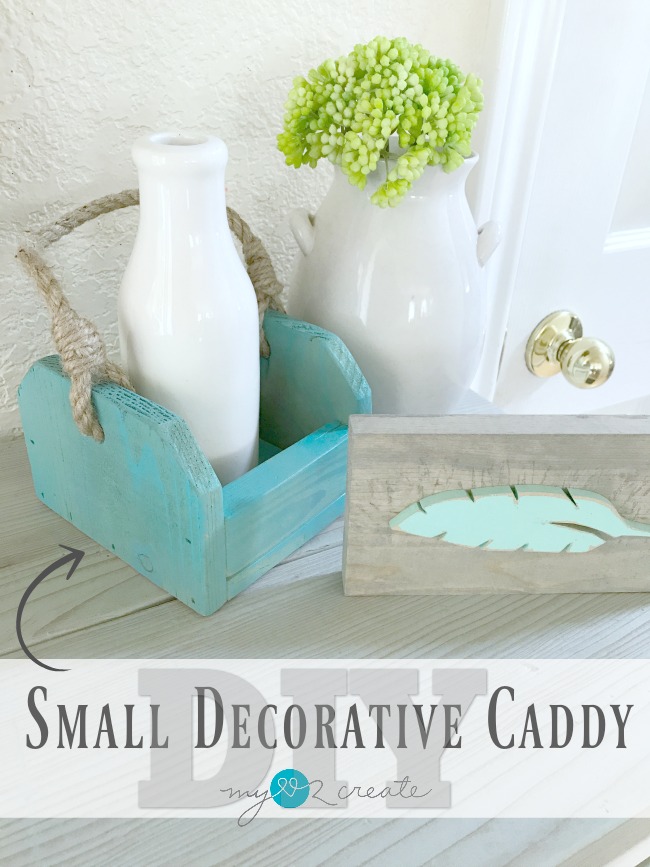
For a quick simple build like this you could make a few of these at different sizes and have a fun grouping for your decor! I think that would look fabulous!
Kind of like how people have different sizes of lanterns…just do it with crates!
I can’t wait to give it to my friend today! I hope she loves it!
What would you use this small caddy for?
I would love to hear your ideas!
But wait that it not all!! It is Power Tool Challenge Team time again!! This is where a group of bloggers show you project with power tools! Check out all these other amazing projects that you can make!
Be sure to check them out!
Hugs!
Mindi
, and a 1×2
, or Circular Saw
or Clamps
, Bar Clamps
and Drill Bit
(just larger than rope thickness)
or jute
and Sandpaper



Your friend is going to love this and after she enjoys the chocolate, she can use this in just about any room in her home. I love the paint color you used and also the way you added detail to the rope handle.
We like all the same things about this project Paula!! Thanks so much!
Mindi
You KNOW I love a cute little caddy! Great tips and tutorial on how you made this. The chunky rope handle really brings this project together. Super job!
gail
ps pinned!
Mindi…this is darling and what a sweet gift to give a friend. Love your idea of filling it with chocolate and then she has the caddy to use after the sweets are gone. Pinned my friend 🙂
I sorta love it too! Especially with that rope handle. Pinning!
PS Your friend is very lucky ; )