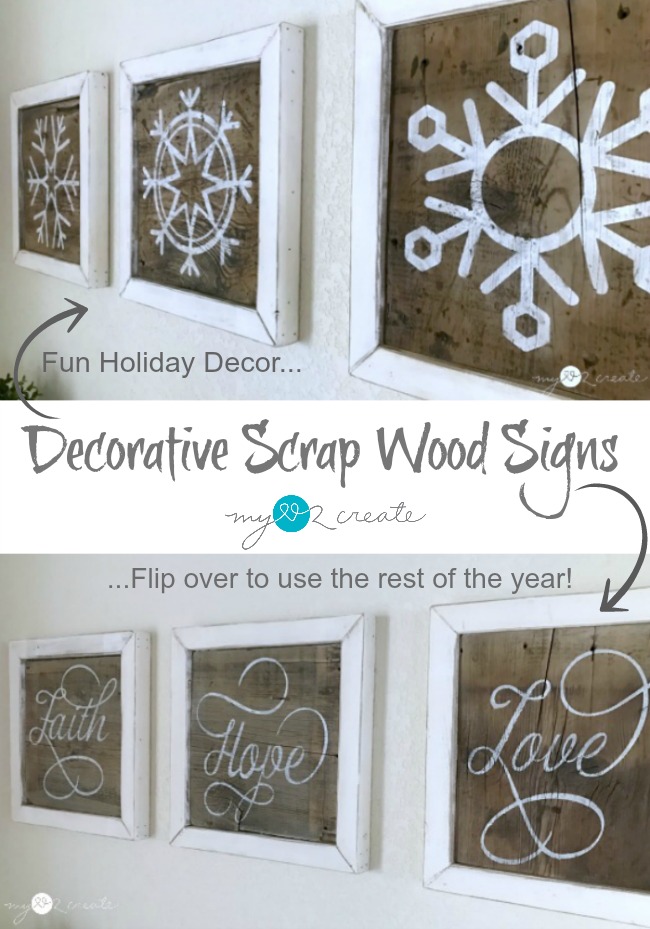
Decorative Scrap Wood Signs
If you saw my post on Monday then you know that for the next 13 days some of my awesome blogging friends and I are sharing a project each day, and they are super cool projects you guys!
It is our gift to you for being such amazing readers, after all we couldn’t blog without you! I hope you enjoy my project today… DAY #1.
But wait… as if 13 awesome projects is not enough… we are doing a Giveaway too!!! Oh yeah!
You could win Ryobi’s new One+ 18v Brushless Hammer Drill/Driver Kit and Fuji Spray’s DIY turbine paint spray, PaintWIZ!
To enter to win the giveaway, starting December 1st repost the 13 Days of Woodworker Christmas Image to your Instagram feed with the tag #13DaysofWoodworking. Your account will need to be set to public to be counted for the giveaway. Want additional entries? Each day a different blogger “unwraps” their project they’ll post a teaser image on their Instagram feed. Follow their account (and check out their project!) and repost their teaser image to your Instagram feed with the same tag #13DaysofWoodworking along with the unique tag that’s will be given out along with each project. What? We are giving you 14 different chances to win this awesome gift pack? Darn right, it’s the season of giving isn’t it? You have until 10:00pm PST on December 14th to enter. All entries will be tallied and a winner will be announced Friday, December 16th.
Now onto my project! 🙂
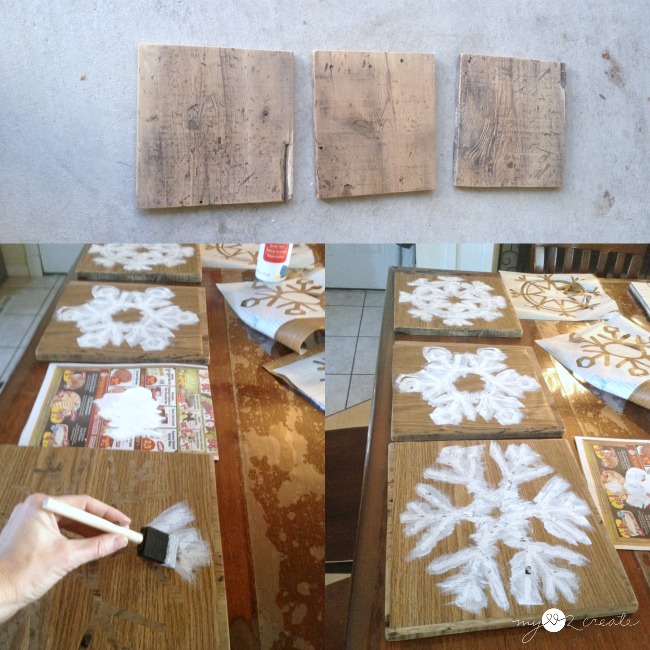
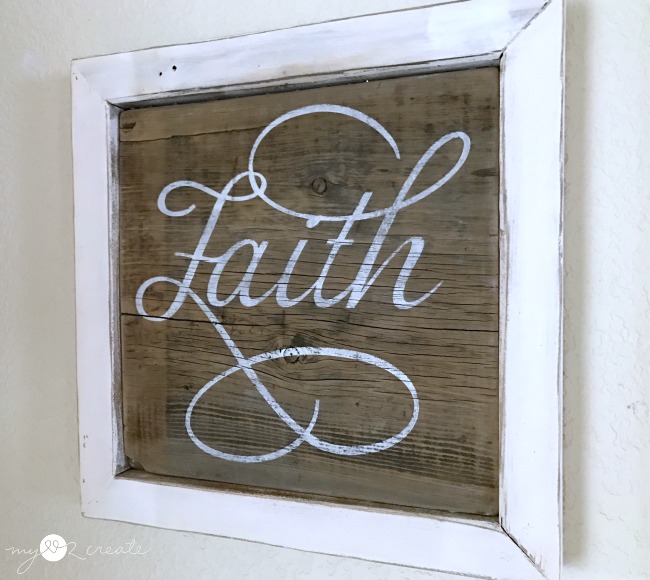
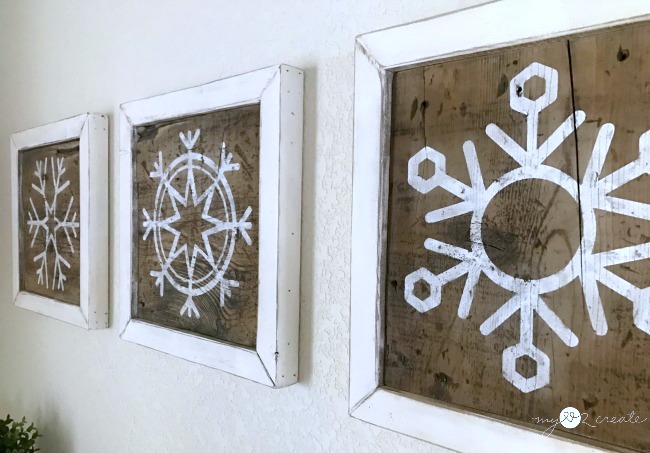
To make your own decorative scrap wood signs you will need (supplies for one sign):
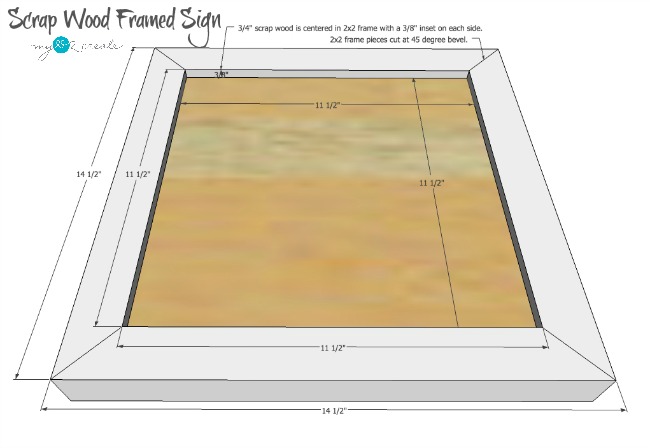
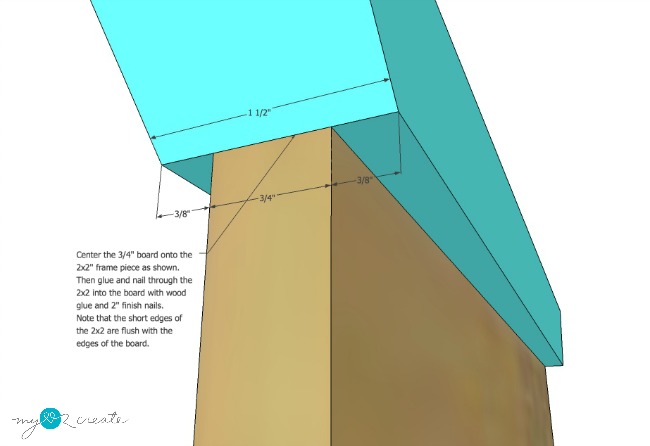
- 3/4” Scrap wood @ 11 1/2” square (I used reclaimed wood that was 11 1/2” wide, you could use plywood or any wood to any size you want) If you use a 1×12 scrap wood piece it will probably be 11 1/4” square instead, just decrease the frame measurements 1/4” to match your board size)
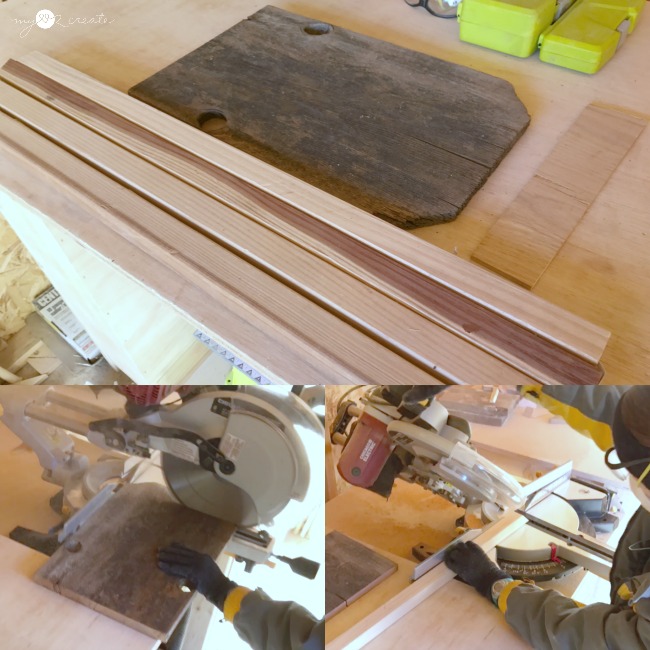
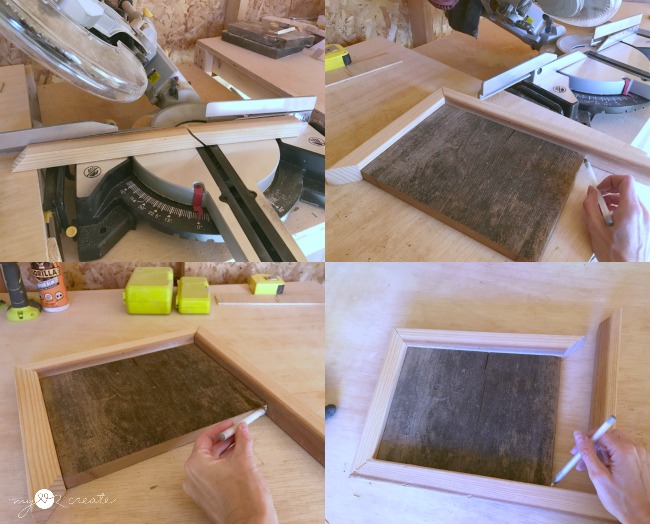
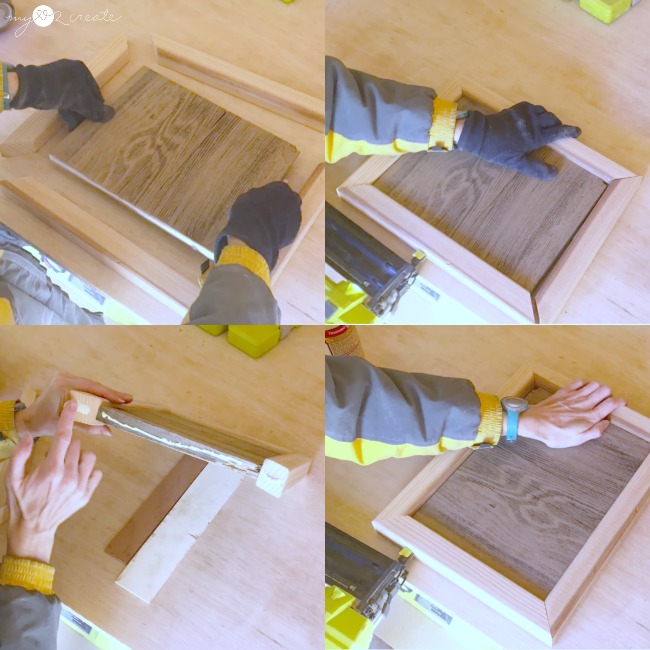
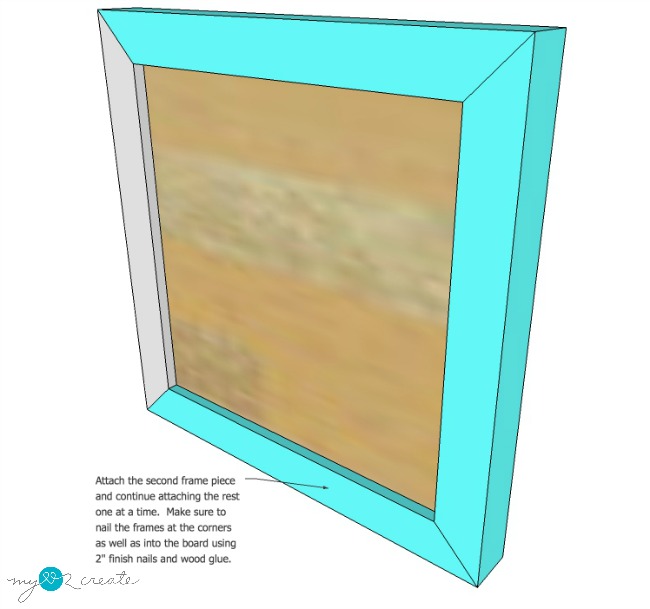
- 4- 2×2’s cut at a 45 degree bevel, 14 1/2” long point to long point (14 1/4” if using a regular 1×12 board)
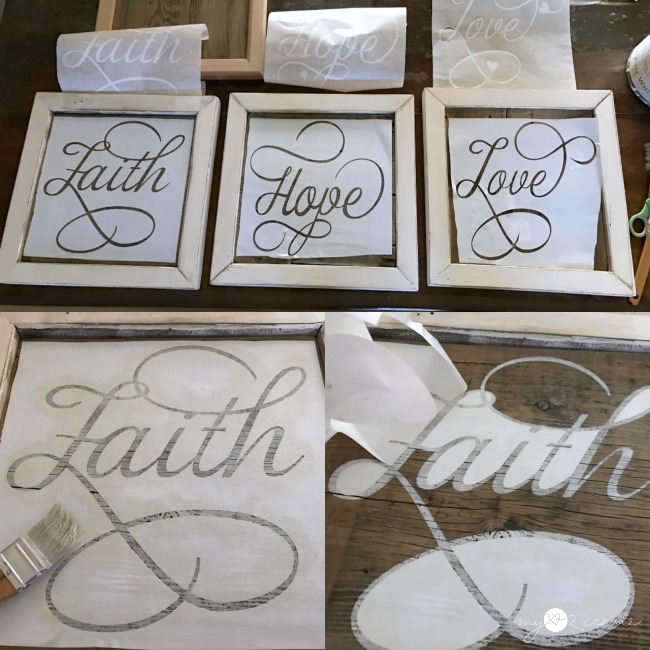
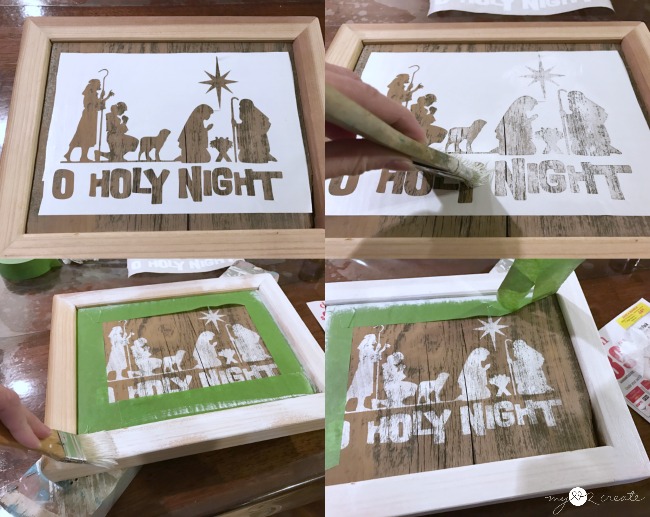
- Stencil of your choice and paint/stain of choice
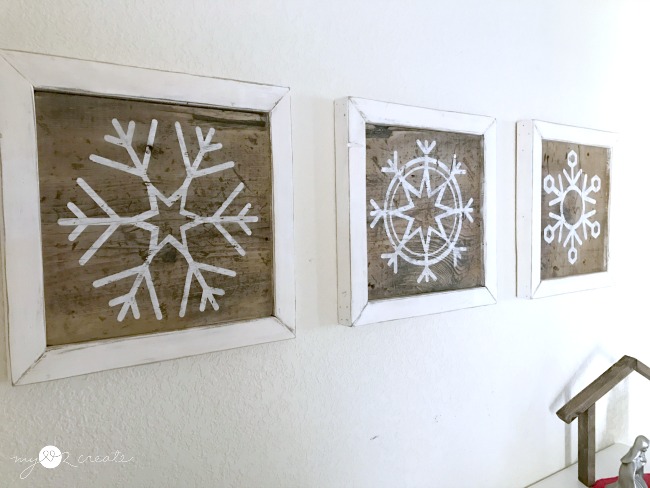
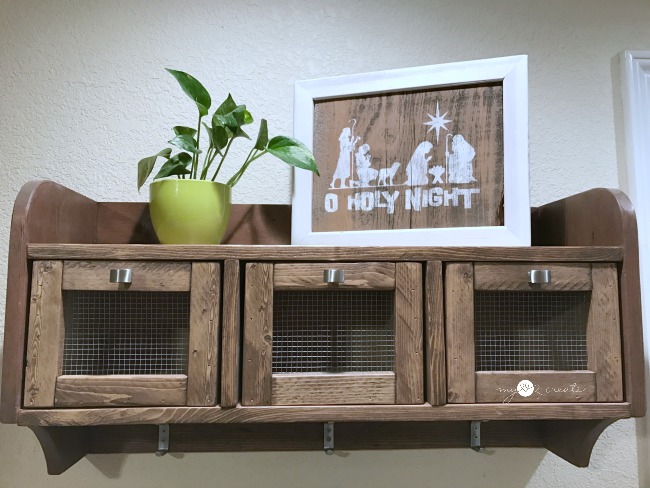
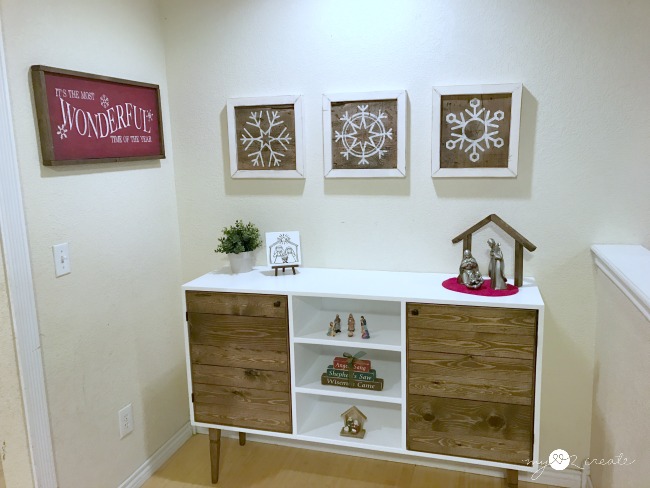
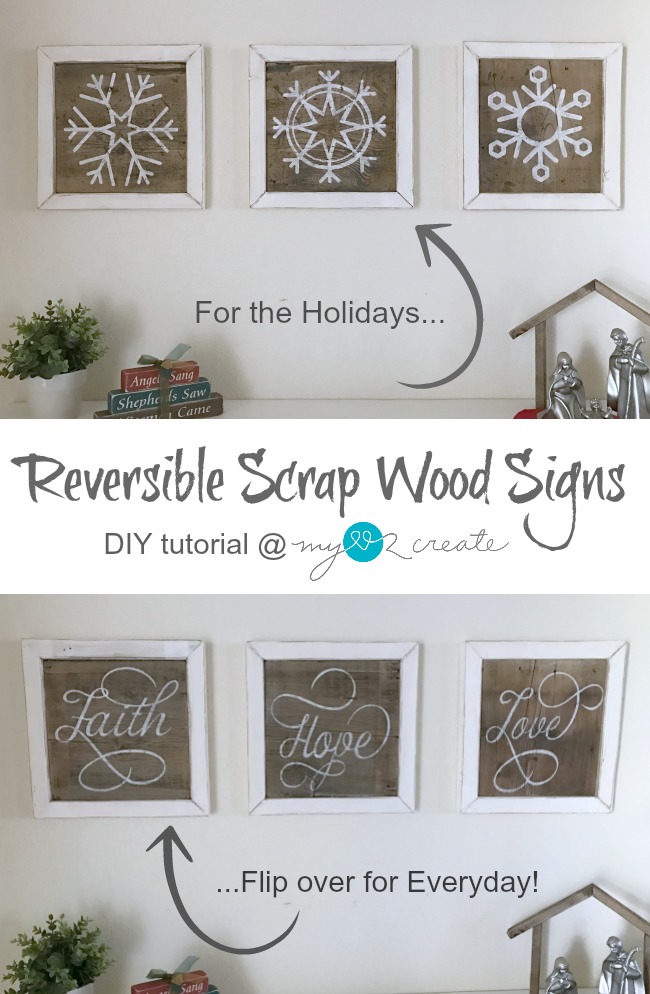
I forgot to mention how I hang them. I put a couple nails in the wall at an angle and hang the inset part of the frame on the nails. I hammer the nails in at an angle, so the bottom of the nail slightly tilted towards the floor, this helps the top of the nail to grab into the wood. If you prefer you can use screws as well, but I have not had a problem hanging them this wall in a couple of years. To change them you just lift them off and flip them over. 🙂
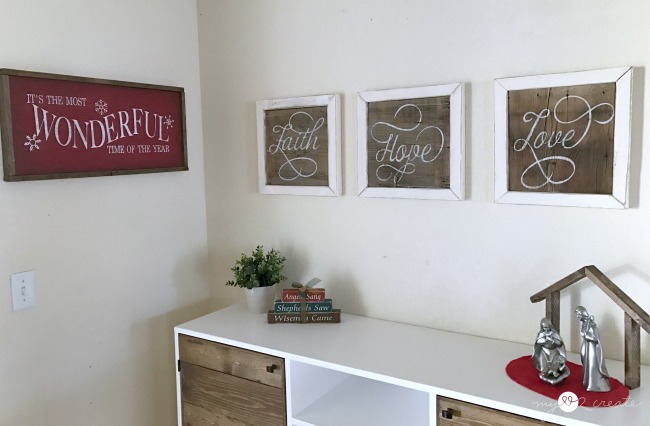
Speaking of reversible wall art…you may have noticed my Pottery Barn knock off “It’s the most wonderful time of the year” sign. It was actually my first reversible signs and it is still one of my faves. Be sure to check it out, because the frame is a little different and has straight cuts to make it super easy if you are nervous to try miter cuts. You also may have seen my Modern Rustic Buffet, I am so LOVING it.
Now that you have unlocked day one! Don’t forget to come back and check out all the other projects from my blogger friends below for the next 13 days! This is so much fun!!
Craftsman Drive – Do not open until December 3rd
Hazel & Gold – Do not open until December 5th
The Painted Key – Do not open until December 6th
The Created Home – Do not open until December 7th
Her Tool Belt – Do not open until December 8th
Lazy Guy DIY – Do not open until December 9th
Uncookie Cutter – Do not open until December 10th
Knock It Off Crafter – Do not open until December 11th
The Jawn Shop – Do not open until December 12th
Keddie Woodshop – Do not open until December 13th
Hugs,
Mindi
I will be linking to these parties, Savvy Southern Style, and Bloom Designs







Love your signs, and making them reversible is such a good idea. One question: how do you hang them?
Thanks Julie!! That is a great question, I totally forgot to address! Because they are inset on each side, I simply hang them on two nails in the wall, they are nice and sturdy that way, and easy to flip over when I want to change them out. I put the nails in the wall at an angle so the grab the wood better, hopefully that makes since! Thanks for stopping by! 🙂
Lovely! Such a great idea to make them reversible :)!
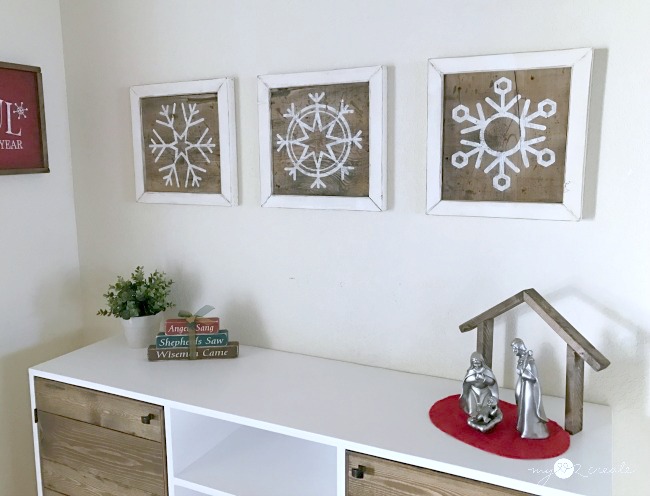
Hi. I LOVE these snowflakes! I wish you had pin buttons on your photos. : (
This is soooo cool! I love that they are reversible (the snowflakes and o holy night ones are my favourite). I wish I was creative and able to work with wood to be able to do these lol
Oh Mindi, I absolutely adore the snowflakes! So smart to make them reversible. Thanks for sharing with SYC.
hugs,
Jann
I love the versatility of these if for no other reason than it's one less Christmas decoration I have to store! I also appreciate the tutorial on how you made them since I will be able to incorporate that knowledge into other projects. Definitely something I am going to try so thanks!
Yay!! You are so very welcome!! 🙂
Oh my goodness, this idea is genius! Scrap wood is my favorite "medium." With limited storage for holiday decor, I'm loving the idea to have every day decor on the other side.
You always come up with the most amazing projects using reclaimed wood or repurposed items! I love these!
great tutorial. thanks
I just scanned over it for now, but pinned it for later use.
did you say how you hung them?
thanks
Blessings
Barb