Cubby Storage Rack
Lets get started! This tutorial will give you the basic guidelines of how I built my cubby storage rack, and you can build it to fit your needs.
The wood I used was reclaimed wood I had gotten for free. It is very close to 1×4 boards, except it is only about a 1/4 inch thick and 3 1/2 inches wide, a 1×4 is 3/4 inch thick by 3 1/2 inches wide.
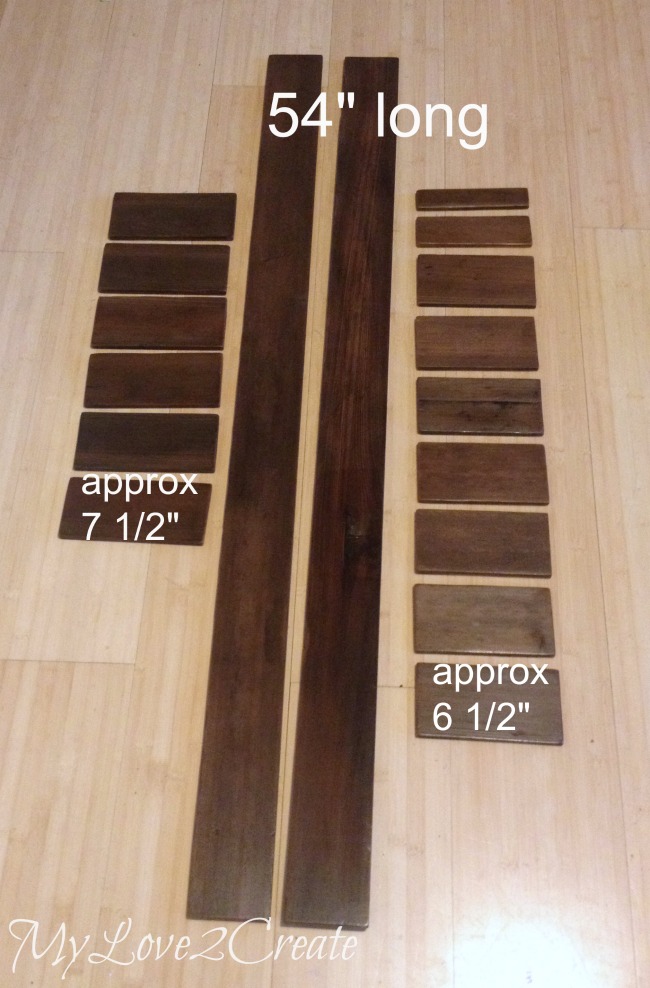
I measured my closet and determined how tall I wanted the shelf. I also considered how many cubbies I wanted. I had used an adult size pair of gloves and a hat to determine about how wide and tall each cubby needed to be… I then cut my boards (see above). The 54″ boards are for the sides. The 6 1/2″ boards are for the bottoms of the cubbies, the top, and the ones that are not as wide are for support boards, I actually ended up cutting one more support board, so there total. The 7 1/2 boards are for the front of the cubbies.
After I cut the boards and sanded them I gave them two coats of poly before building. I was easier to do it before I built because I didn’t have to get in all the nooks and crannies. I am glad I did! The wood I used was naturally dark and so I didn’t need to stain it, if you wanted to stain you would do it before you applied the poly, I am sure you already knew that. 🙂
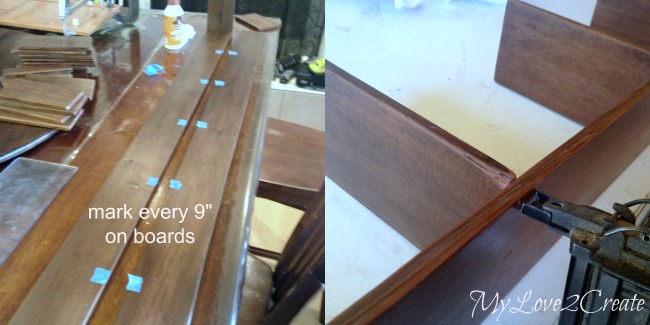
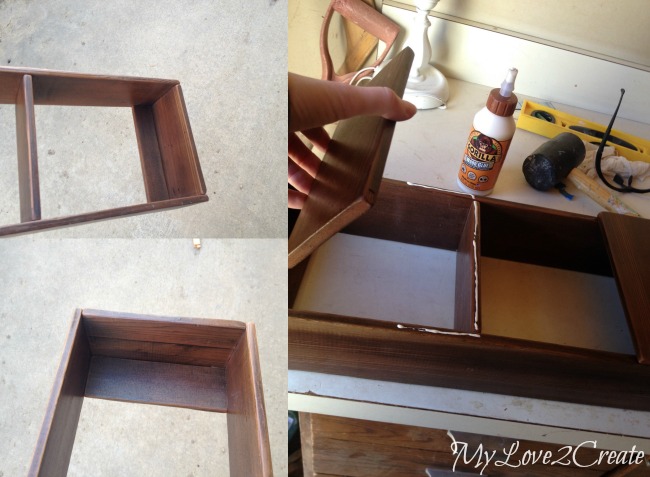
I used painters tape to mark the boards every 9″ inches so I knew where to glue and nail on the bottoms of the cubbies. On the right you can see me nailing them on. The painter’s tape is on the back side so you can’t see it, but it is there, and it was extremely helpful.
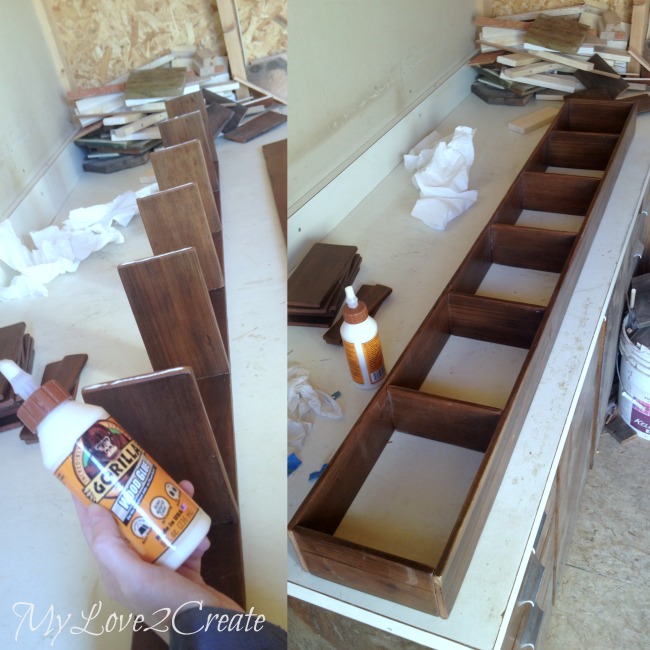
Once I finished the first side, I added glue to the bottom boards and nailed them to the second side, again it had painter’s tape as well, I had just removed it in the photo above.
On the left you can see I added my support boards at the top and bottom. These were scrap pieces that had broken apart, and so they weren’t straight, but I figured it didn’t matter they would be in a closet… Then I used glue and nails to nail on the fronts of the cubbies.
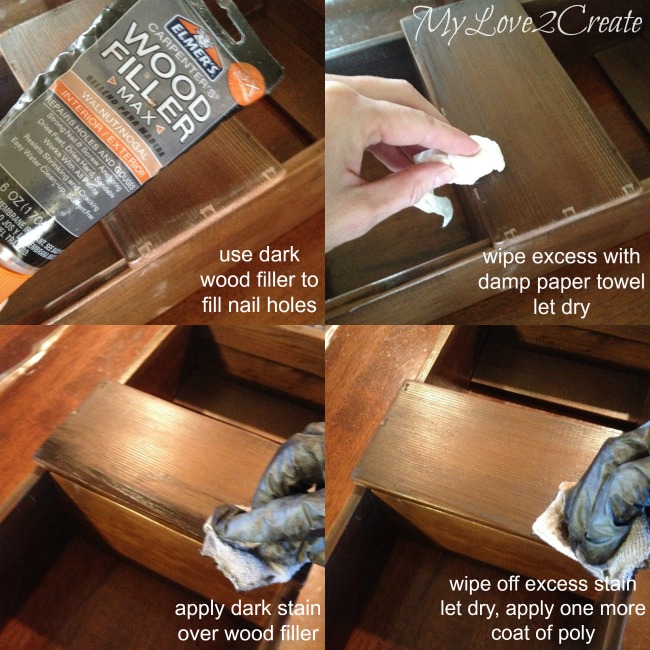
I ended up filling the nail holes with some dark wood filler. It is recommended to let it dry for 24 hours because it helps the wood filler take the stain better. I decided not to wait (impatient) and went ahead and stained them as soon as the wood filler dried, it was close enough of me! Once the stain finished drying I sealed it with one more coat of poly.
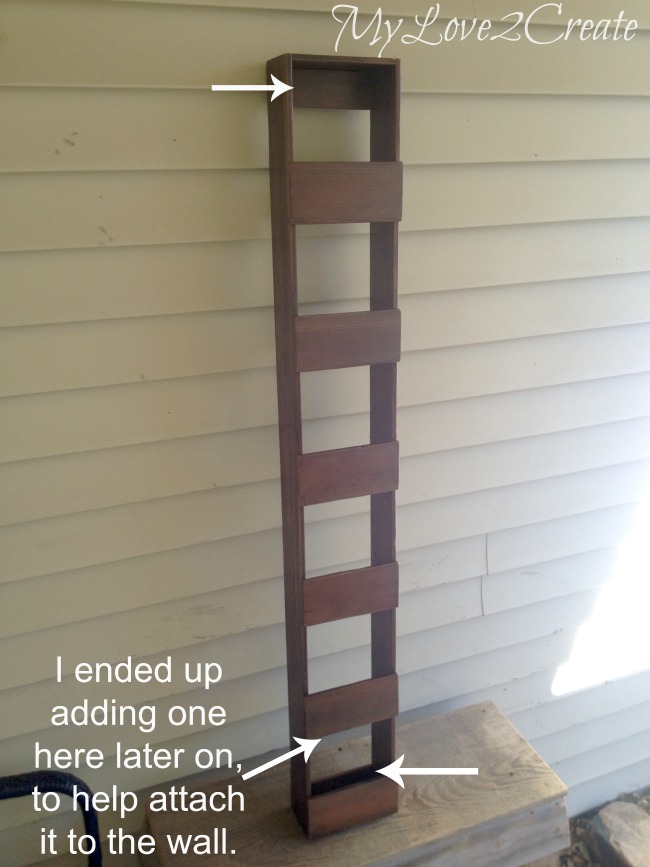
And I was done! So easy! I wanted to show where I added the extra support board, so I could screw it into the wall, see above photo.
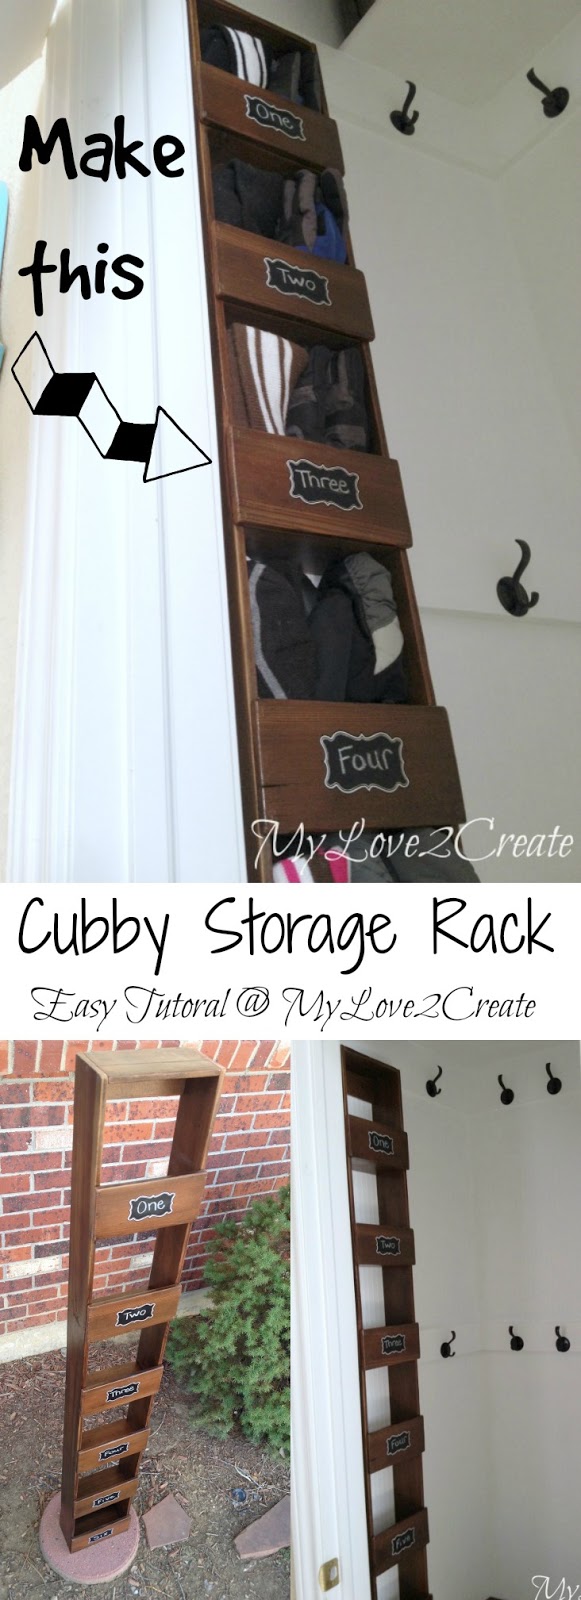
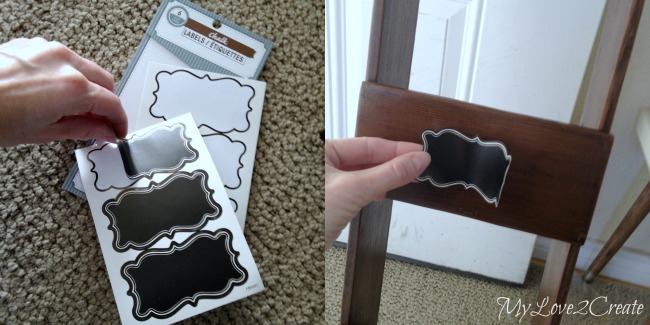
I thought about painting on some chalk board labels like I did on my Family File System, but then I remembered my awesome dollar store find. I got a six pack of chalkboard labels for $1! They work great! I did reposition a couple of them and they didn’t stick as well after that, but the others have stayed fine, not bad for a dollar, and it only took seconds to apply them. 🙂 You can also buy these at craft stores, I am not sure if the quality is better, but I would assume so because they are more money, right?
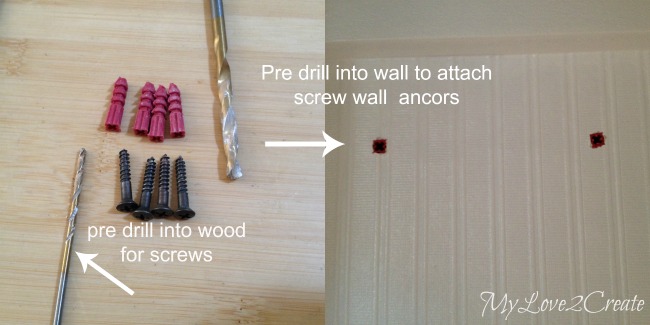
I drilled two holes in the top and middle support boards (the one just above the bottom cubby). Then I held the cubby on the wall where I wanted it, made sure it was level, and drilled through the holes in the wood right into the wall. I then removed the cubby and used those holes in the wall as my marks to drill the bigger holes for my screw wall anchors. I did this on the top and the bottom since no studs were where I wanted to hang my cubby rack, if you have studs you don’t need the wall anchors. After I hammered the anchors into the holes I held up the cubby rack and screwed right into my anchors through the support boards. It is nice and solid!
I LOVE it! Why did I wait to do this?
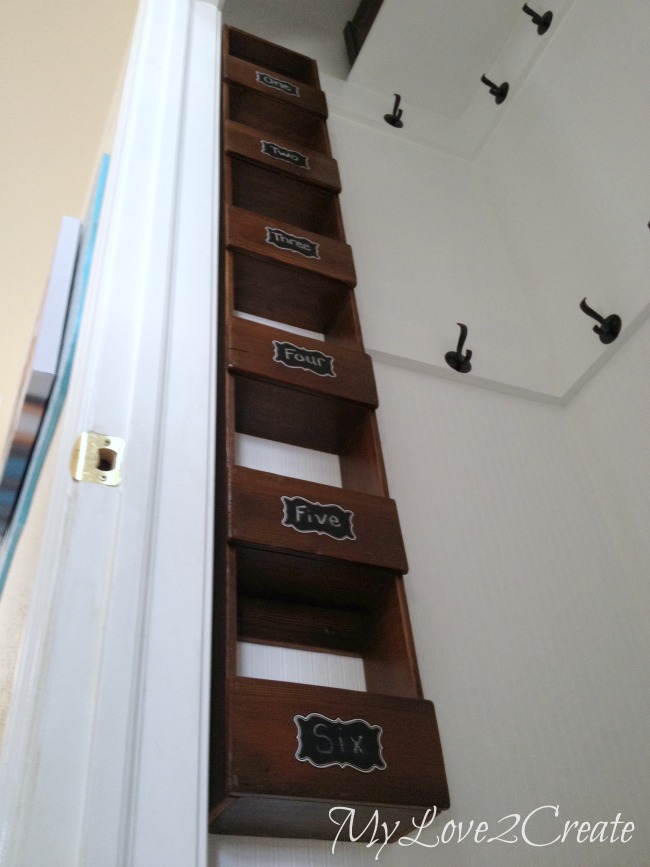
In this shot you can see the bottom support board and you can “kind of” see the screws. I had to lay on the floor for this shot. Your welcome. (wink)
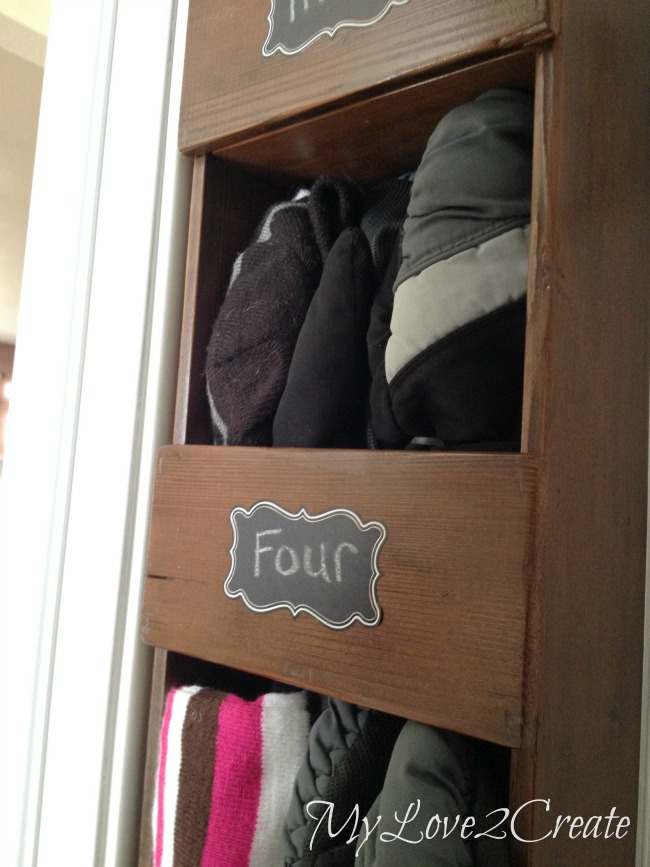
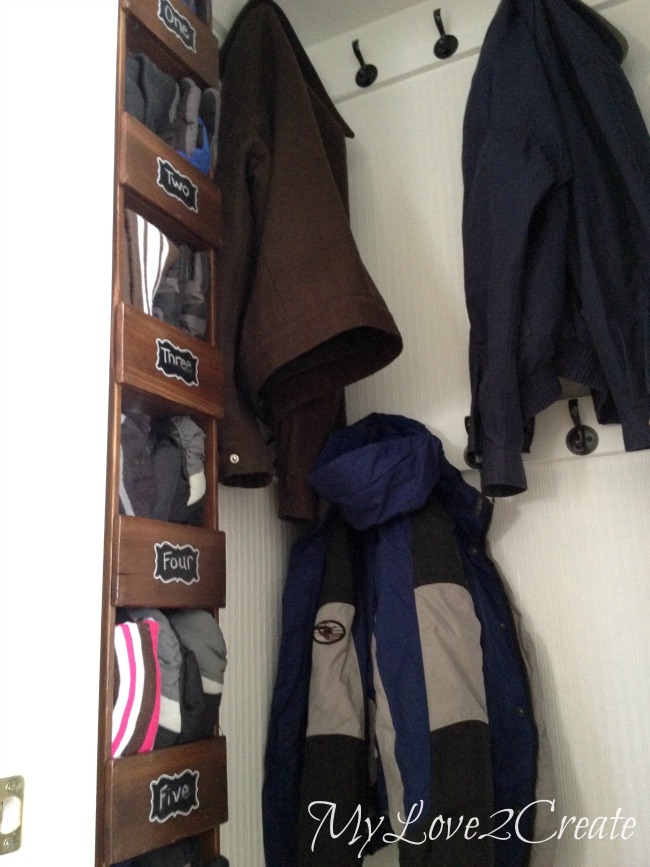
Every thing fits perfectly too. A pair of gloves and a hat for each cubby. No excuses not to put it away and easy to find when you need them. Ahhh, happiness.
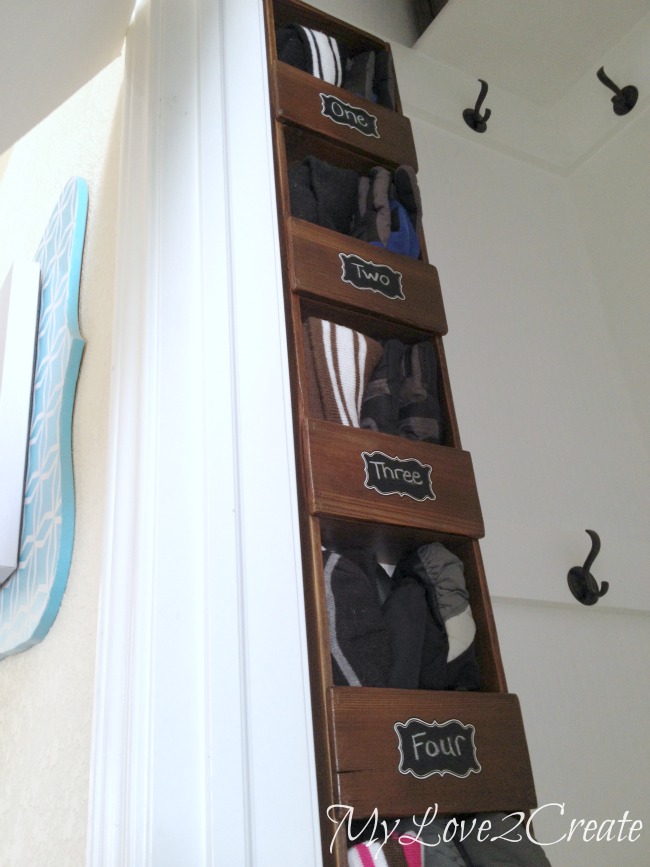
They are assigned oldest to youngest, top to bottom, so everyone can reach their cubby. The numbers have been replaced with names and they all feel pretty proud to have their very own place to store their stuff. I walked by the other day and saw a cute little stuffed monkey hanging out in my daughter’s cubby, he looked very comfortable.
Isn’t organization wonderful!? Please share if you love this. That way everyone can bask in the joy of having a spot for their stuff! And it doesn’t have to just store hats and gloves…
Hugs!
Mindi
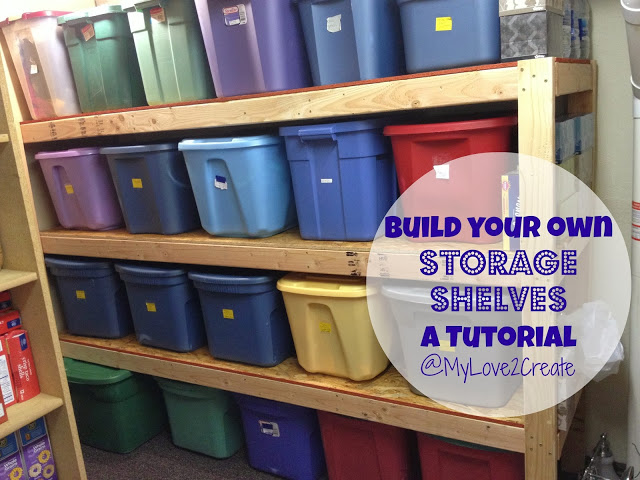
If you like being organized check out more great storage solutions below. Have a great day!
I will be linking to these parties!


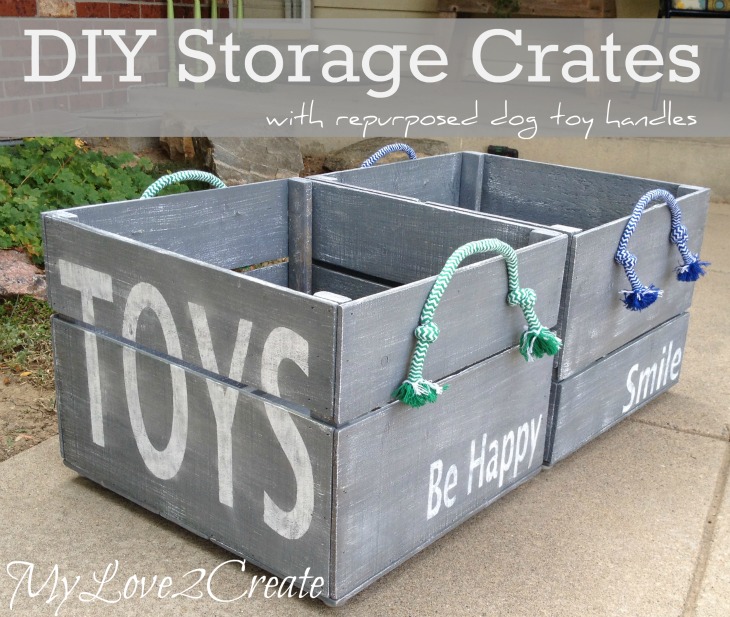


Love the storage crates!
http://madcraftingmama.blogspot.ca/
Where did you get your wall hooks? So many hooks I see are "wimpy"–these have a nice heavy look.
Hi Teri! I got my hooks from D Lawless Hardware online. They are AWESOME, and they sell them for a super great price! Here is the link to the ones I used in my hall closet. http://www.dlawlesshardware.com/bronze-wall-hook.html
I like this Mindi! Good for you for organizing your coat closet so well! I am sure it is very refreshing to have it all pretty and contained. 🙂
Amazing friend!!!! You would laugh I you so my goofy rigged storage thingy in my closet! HA! Yours is straight out of a magazine!!! And it is so functional as well!!! When you live in cold climates it is so important to have something in place like this for your kids snow gear! A job well done buddy!! LOVE it!! Nicole xoxo
Oh I love it!!!! Definitely need to make a few around here.
Love your ideas! I so enjoy when I can repurpose an item. You Cubby Storage Rack came out so nice. Great Tutorial. Thank you for sharing with the Clever Chicks Blog Hop! I hope you’ll join us again next week!
Cheers,
Kathy Shea Mormino
The Chicken Chick
http://www.The-Chicken-Chick.com
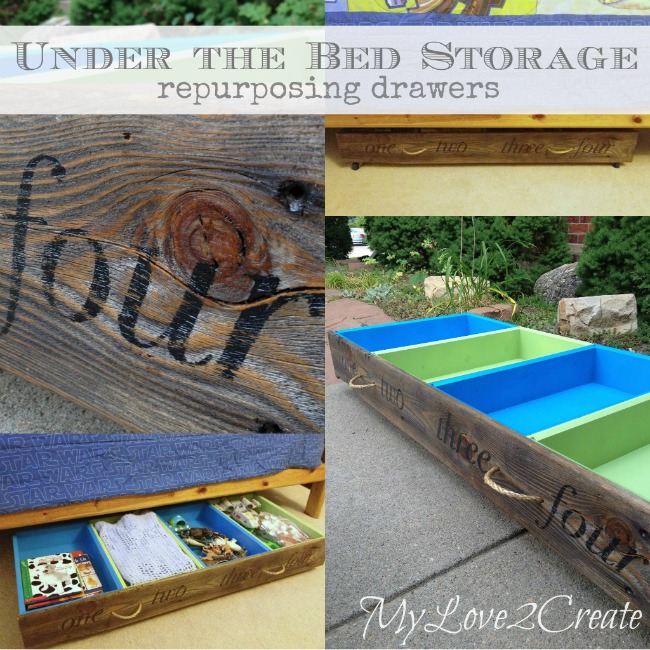
Love your storage ideas! Love the under the bed and the storage cubby rack, doesn't take a lot of room but provides lots of storage.
How fun! Your cubby storage turned out great! Pinned. 🙂
Cute and easy and SHARED on Facebook! Thanks for linking up to The Vintage Inspiration Party!
What a great idea ! Wonderful tutorial.
Thank you for sharing
Wilma. Shabby Royale.
I wish that I was handier. You make it look so easy. What a great organizer.
I love what you did with your closet so much! And I am so glad your shared this tutorial because this may have been my favorite part! Thanks for sharing at Fridays Unfolded!! I will be featuring you this week!!
I love this!! How a simple shelf (I don't mean too simple) but it can change your storage options forever!! Very resourceful…Thanks for sharing!! Hey I would love it if you stopped by and shared your stuff on My 2 Favorite Things on Thursday – Link Party…it's going on now!! I would love to have you!! http://www.cookinandcraftin.com/my-2-favorite-things-on-thursday-link-party-6/
Awesome! I need something like this for my kids. The gloves, scarfs and hats are stored on a shelf that's to high for them to reach, it's almost out of my reach too 🙂 Got to change that! I'm off to see the whole closet makeover.
Hello beautiful! This looks so amazing. I can't wait to try it. Pinned and tweeted. Thank you for being a part of our party and we hope to see you on Monday at 7 pm. We can't wait to party with you! Happy Valentines' Day! Lou Lou Girls
This turned out amazing. Such a great use of space too. Thank you for sharing at Merry Monday!
Wow Mindi! That cubby storage for your closet is perfect! That IS the best thing about DIY, you can do it the way you want. 🙂
gail
ps I'm late check out out your post–I've already seen this on pinterest-and yes, I am pinning it!
Wow Mindi! That cubby storage for your closet is perfect! That IS the best thing about DIY, you can do it the way you want. 🙂
gail
ps I'm late check out out your post–I've already seen this on pinterest-and yes, I am pinning it!
I love this idea! Great job! Thanks so much for sharing at Totally Terrific Tuesday! This week's party starts at 10pm tonight. We hope to see you again!
What a clever idea and such a functional piece as well! Thanks for sharing it with SYC.
hugs,
Jann
Wow! What a great way to make use of space! So pretty, yet functional, too! Thanks so much for sharing at Talented Tuesdays!
Love this! Thanks for the tutorial!
LOVE it! What a space saver. I think we all need this and you make it look so easy (and pretty)!
~ Robin