Installing Trim and Drawer Fronts
Trim, trimminy, trim trim…
A little Mary Poppins melody to start us off today…because I could dance like a chimney sweep right now! I am really excited to share how I installed my trim and drawer fronts this week!
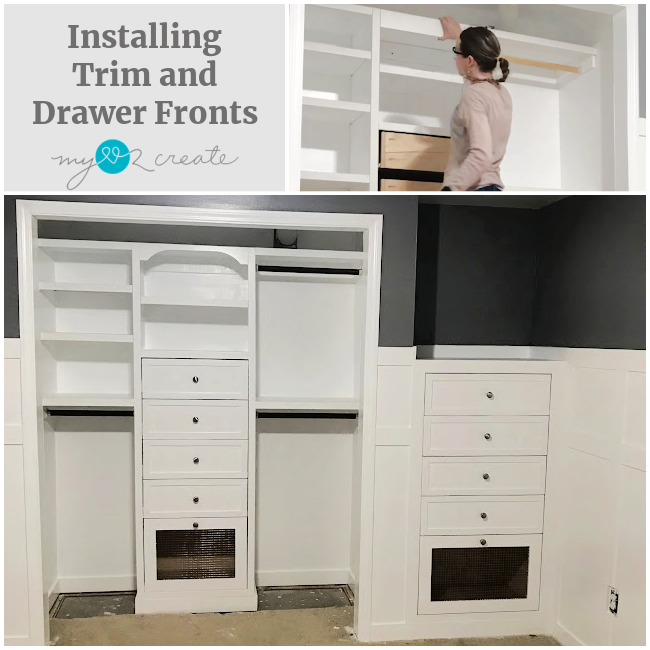
Don’t they look so pretty?!
Seriously though, I know most people don’t add trim to their closets, but I just. can’t. help it. I makes it look SO much better, and I like it to look pretty, even if it is just a closet. So there’s that.
When I installed the board and batten I didn’t complete the baseboard trim around the niche and the closet, since I still had to build them first. Here is a brake down of how I added all the finishing trim to this closet and built-in.
Installing Trim and Drawer Fronts for closets and built-in’s
Step 1: Add baseboard Trim.
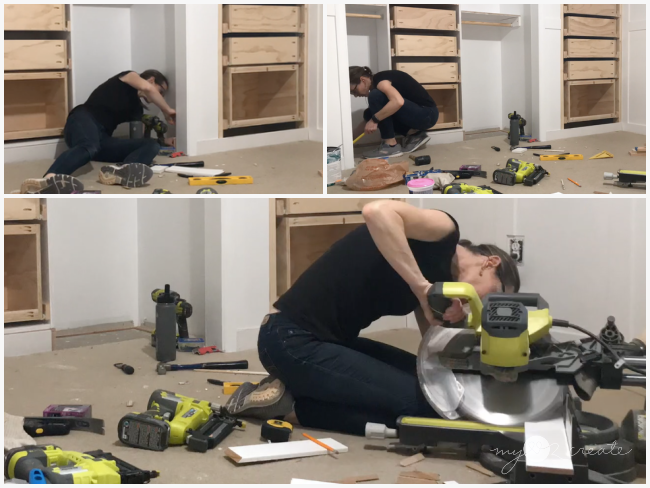
When adding baseboard trim it is best to measure and cut as you go. I like to start on one end and work my way around the space until each piece is cut. I started at the niche first using the same trim I used with the board and batten. Corner pieces will need to be cut at a 45 degree angle, I prefer to set my saw on a bevel, I get more accuracy that way.
In the closet I had removed the carpet, so I needed to make sure I set my trim up high enough so the new carpet could be installed underneath. Once I had all the pieces measured and cut so they would fit nicely, I nailed them in place with my Ryobi Nail Gun using 2” finish nails.
Step 2: Add vertical and horizontal trim to closet tower and built-in space.
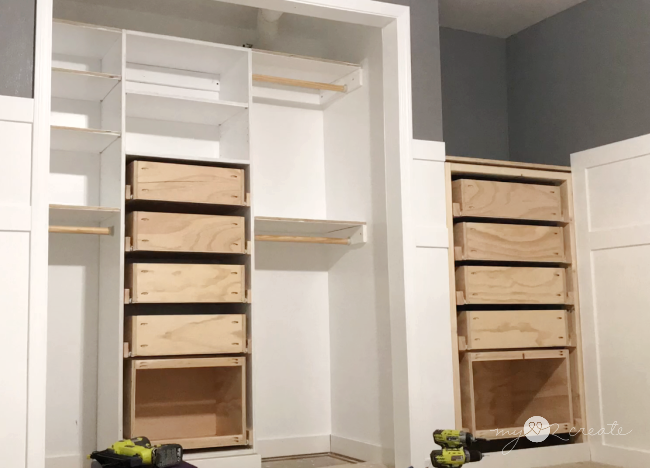
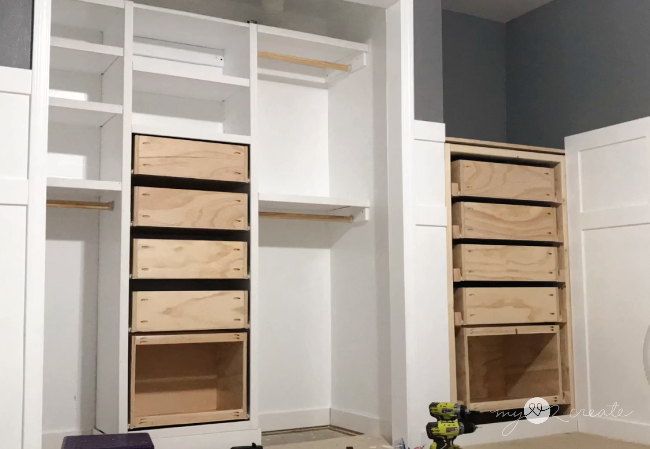
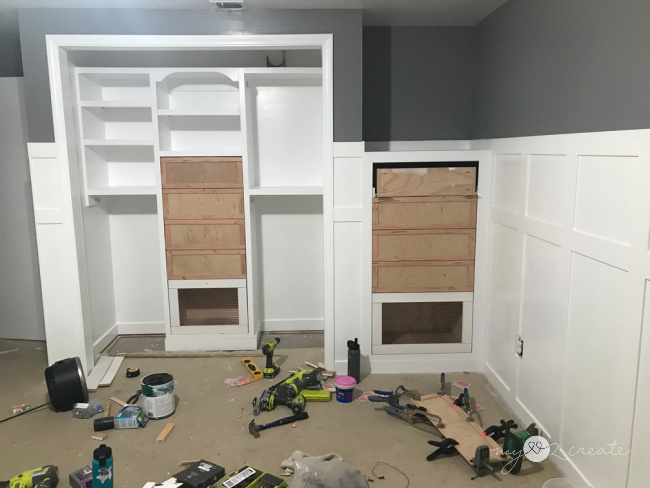
Before we add the trim, here is a quick shot. See all the baseboards ready to go with a gap for the carpet? Check.
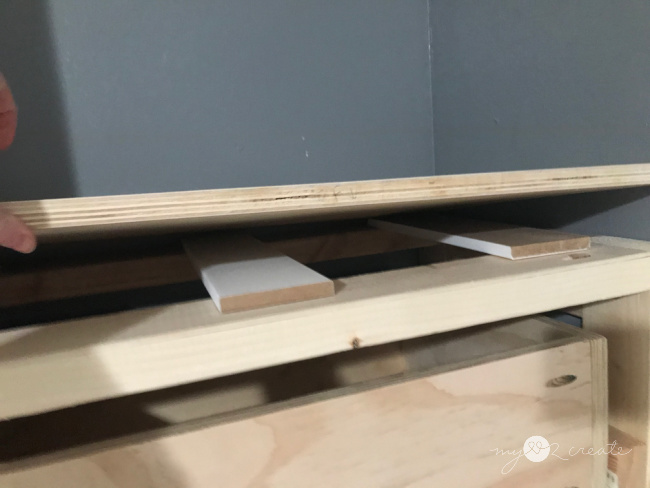
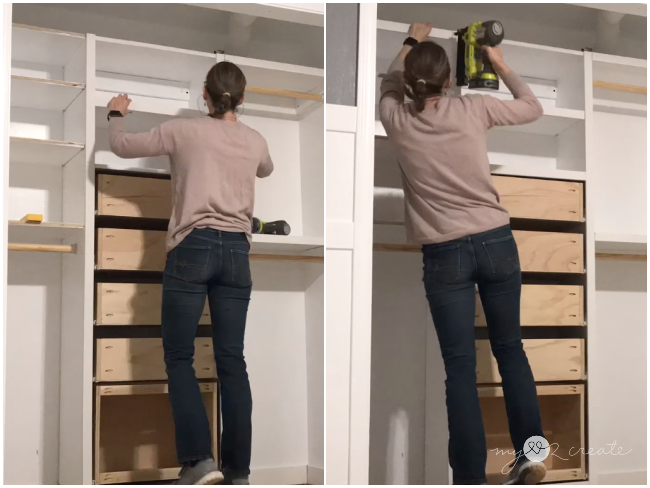
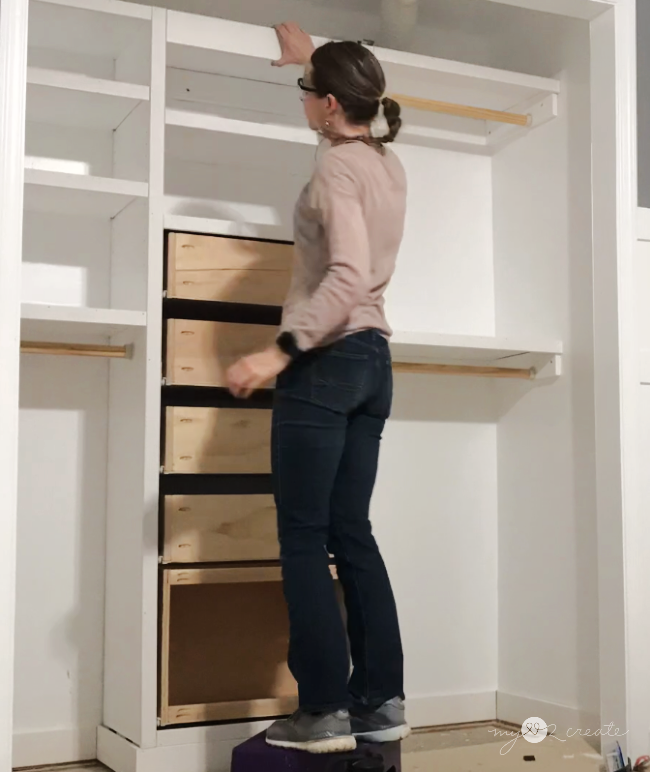
Here is a quick shot of how I gave it height! I just nailed some scrap 1/2” material to the frame and then attached the shelf on top of that.
I measured and cut the vertical trim. This is why the baseboards need to be done first, so that the vertical trim can sit on top of the baseboards. Say “Hi” to Sunny! She likes to hang out with me ALL the time and sometimes she makes it in the shot, every dog deserves a cameo every now and then. 🙂
Once the vertical trim was attached, then I measured, cut, and attached the horizontal trim.
This trim is basically added to all the fixed and adjustable shelves in the closet. Make sure it is level before you nail it into the shelf boards. On your adjustable shelves you will need to leave a small gap on either side so you can, well…adjust it if needed!
For my top trim in the tower, I used a 1/2”x3 1/2” piece of MDF. I cut it to fit the space and then…
I marked 1 1/2” (to match the thickness of the other trim a 1×2) on either side of the ends and used a large bowel to trace a semi-circle shape to create that custom design look. Then I simply cut it out with my Ryobi Jig saw.
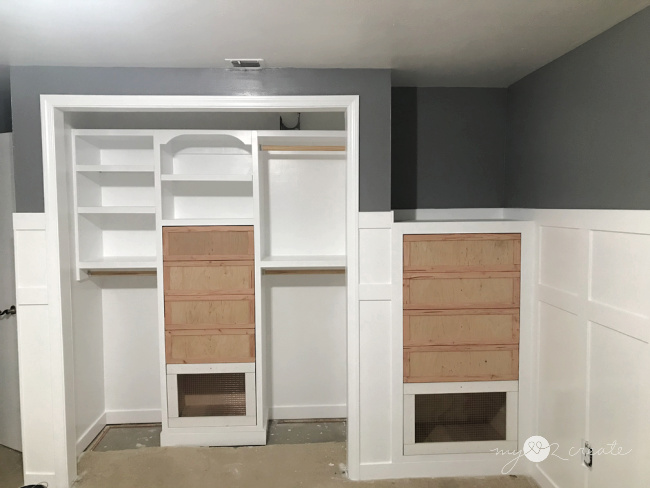
Here is a shot of all the trim in the closet, except the top tower trim, looking much better…now to address the built in trim.
I followed the same pattern as I did in the closet. Attach the vertical trim and then the horizontal trim. For these built in’s instead of doing a 1×2 vertical trim I used a 1×3” piece of trim to cover the space. I used a 1×3 for the top horizontal trim as well, and only a 1×2 for the bottom trim. I also added the 1×3 trim around the top of the built-in (not pictured above) to match the board and batten as before mentioned.
And the trim is complete!! What do you think? SO much better right? I think so too!
Step 3: Adding drawer fronts to closet and built-in drawers.
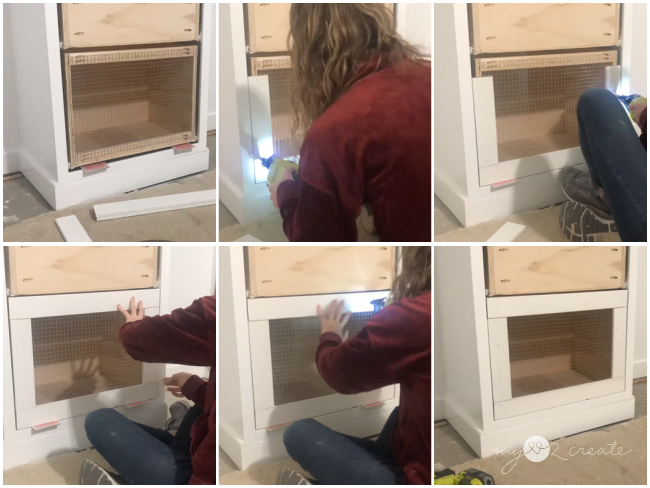
I like to have a space for the laundry to be placed without having to have a hamper around the room. Adding Hardware Cloth to the fronts give the drawer breathability, also important for dirty laundry.
I used 1×3 mdf for the trim around the hamper drawers. Using the playing card trick I used them to give my 1/8” gap and then nailed the trim to the drawer. Once I had all four pieces nailed on I was done with that drawer, yay!
When adding the drawer fronts it is important to make sure they are level, I like to make sure they are in the correct place, spaced well on all sides, then I nail the drawer front to the drawer. After the drawer front is nailed on, I remove the whole drawer from the built-in and screw from the inside of the drawer to secure the drawer front. I did this for all of the 4 drawers in the closet and built-in.
On the closet I worked from the bottom to the top, since I had already done the hamper drawer. You can see the cards were also used to help space.
I recommend doing that way, on the built-in I didn’t, and in the end I had to adjust my top drawer. You can see it getting fixed on the floor in front, using an assortment of clamps and Hand Clamps to hold the trim in place while the Wood Glue dried. I had to trim it down a bit. Sometimes you just don’t get it right, and that is ok, you just adjust and fix it.
Step 4: Caulk, paint, and add hardware.
Now for paint! I gave my drawer fronts 3 coats of paint. Once that was dry I measured for my drawer pull and added them to the drawers. I did use Spackling for the seams on the drawers to fill and cover any cracks, this is super important to get that finished look, the cracks will show up after you paint if you skip this step.
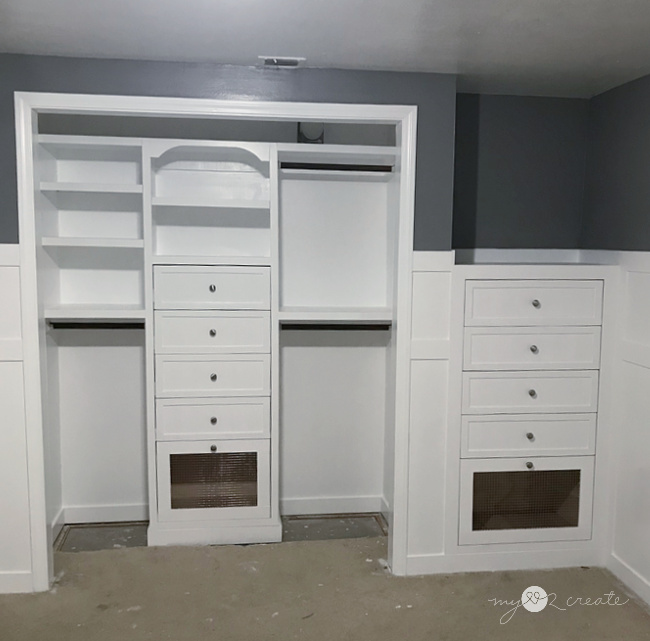
Now to add the finished drawers!! Yay!
Ooo, la la! Can drawers be sexy? Well, I think these qualify!
I am in LOVE with this closet and built-in you guys!! All that hard work is so worth it when you can get a shot like this, I can’t wait to have this room finished!
Until next time…














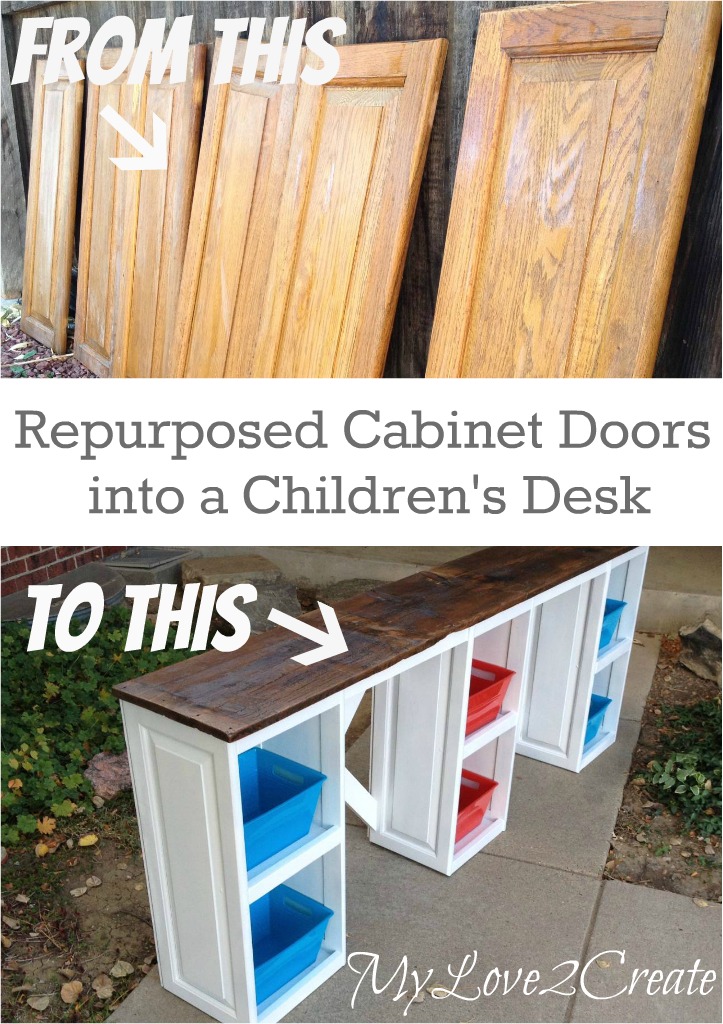

This turned out so good! I’m seriously so jealous at your skills. I’ve been looking into the idea of cabinet refacing for my kitchen because I desperately want a new style of cabinet doors and new cabinet boxes are definitely not in the budget. This gives me so much inspiration and makes me want to start this process again.
Awe! Thank you so much Alex!! I am so glad you are inspired to start on your kitchen again, you have totally got this!! Sometimes it is scary to start, but it is a journey and you will learn so much by doing it, wishing you the best of luck!