I am soooo excited to share this post with you.
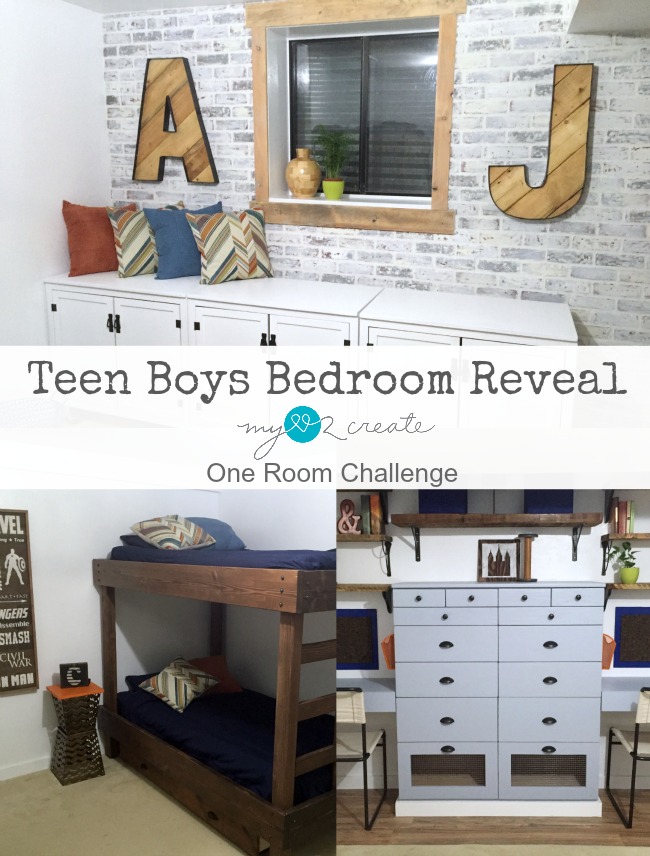
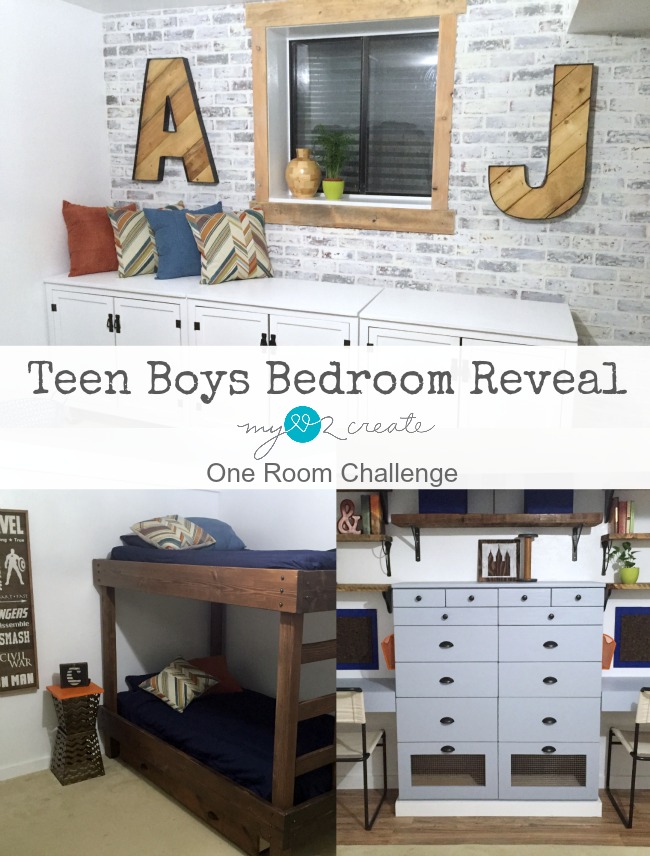
It is the final week of the One room Challenge and I am sharing my Teen Boys Bedroom Reveal!
I honestly can’t believe I finished this room, it was a TON of work, basically almost everything in it is DIY’ed, and I will for sure be sharing some tutorials with you soon.
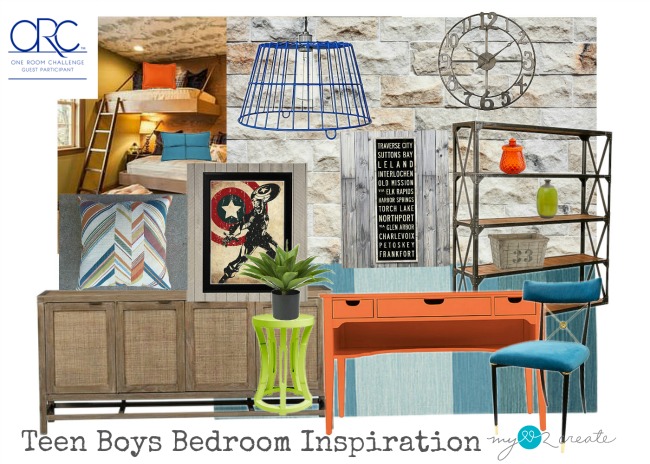
So lets take a look at where we have come from, if you have been following along you remember my first post in the one room challenge which was my
Teen Boys Bedroom Inspiration.
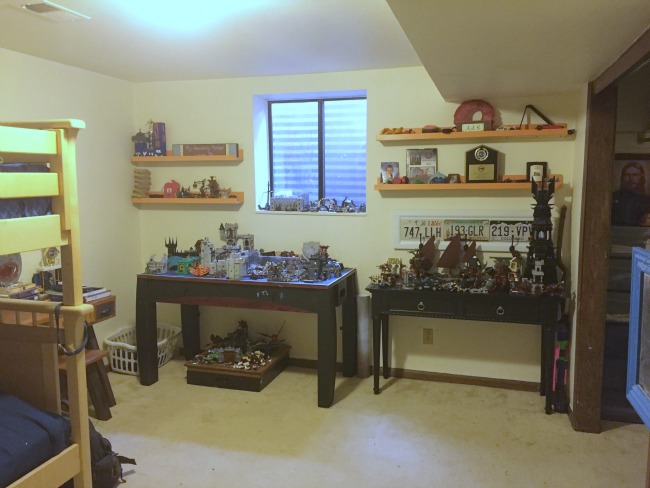
I am not sure how close I came, but it was a great starting off point. Let’s look at the room…BEFORE!
This is what you saw when you used to walk into my boys room.
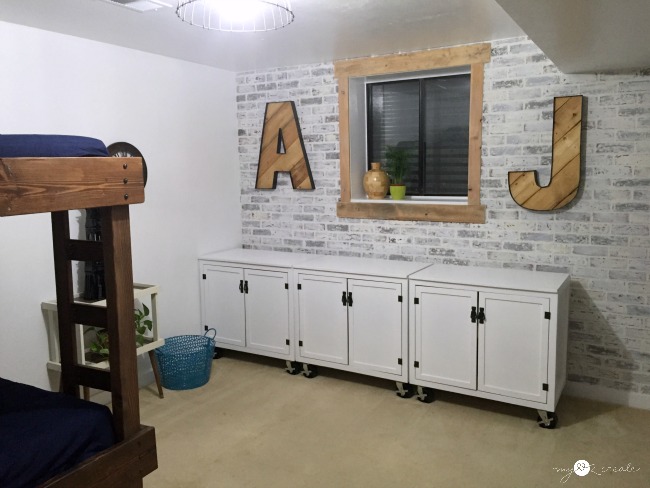
This is what you see now!
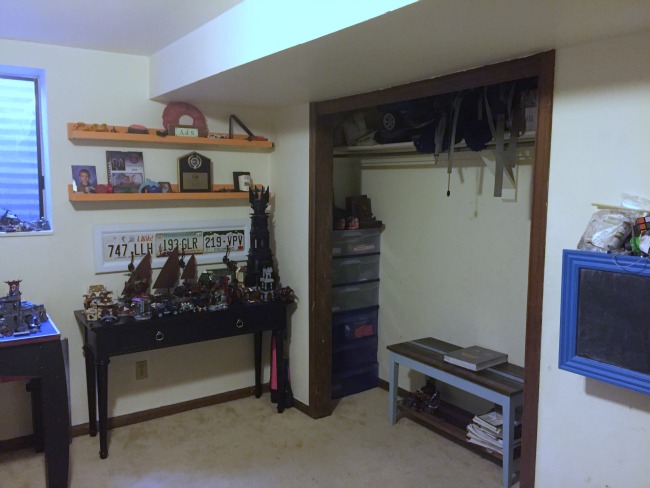
Looking to the right you saw this…
Now you see this. Isn’t this exciting!?!
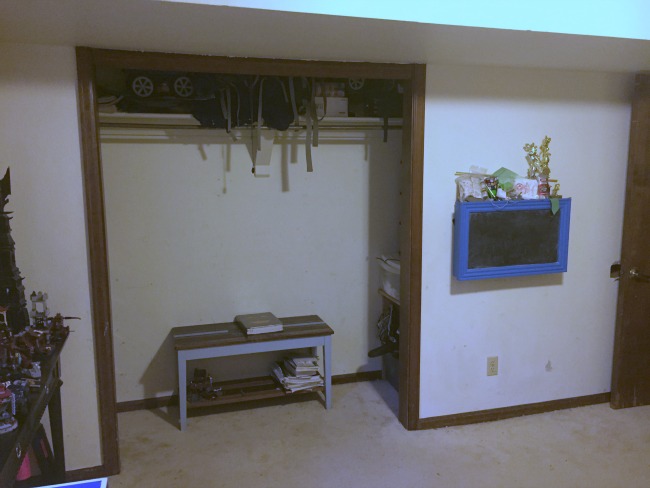
Full view of the closet before I knocked down walls. 🙂
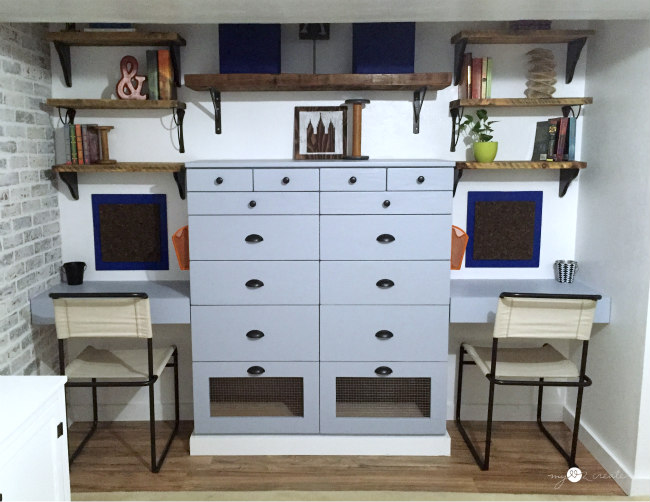
Closet now. I just want to mention a couple of things…first, my boys NEVER hung their clothes, so I decided to skip the hanging rod. Second, they never used their closet doors, so I decided to rip out the walls and make the space more functional. I know for resale you need a closet with a door, and I actually have some ideas of a cool way to make a sliding door, but that is for a future date if we ever move or sell (which I am fine with never doing) and I can easily remove shelves and add a closet rod too…so just in case you were wondering. 🙂
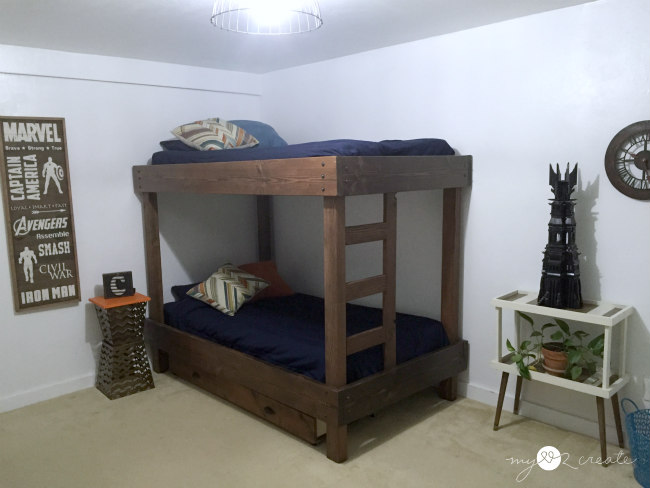
Here is a shot of the bed, which I sold to build my floating beds…what a mess. I should have kept this bed. Apparently this long wall has some loose studs…yep. So I decided that my boys safety is more important than awesome floating beds, I am such a good mom…
So last Saturday when my world came crashing down in the bed department, I came up with this solution. I had already made floating bed frames and bought the hardware and spray painted it for hanging. 🙁 I ended up saving the bed frames and turning them into some pretty cool bunk beds. I love them now, and the best part is that I have no worries about my kids dying because my wall is bouncy. Phew! It all worked out in the end.
On Wednesday I built the ladder part, just hours ago, I forgot my son needed to get into bed. Man kids are so demanding! 🙂
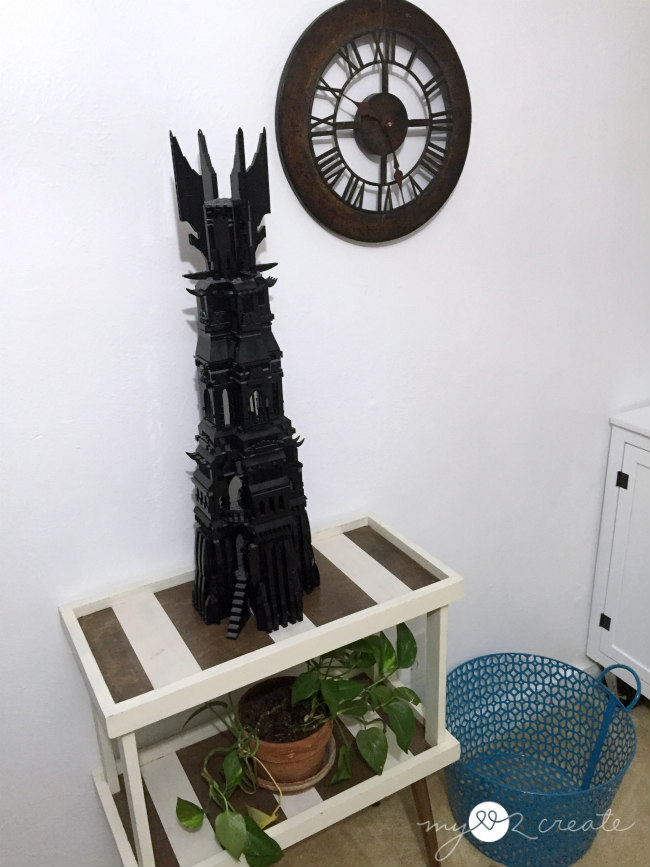
The last before shot of the corner.
Here is a close up this area now. I grabbed this
Tray Stand I made last year, it was perfect for their room, and I even wanted to use the
tool box that I made it for…but the tower of Orthanc (the tall lego set) needed a home, so the pair had to part ways.
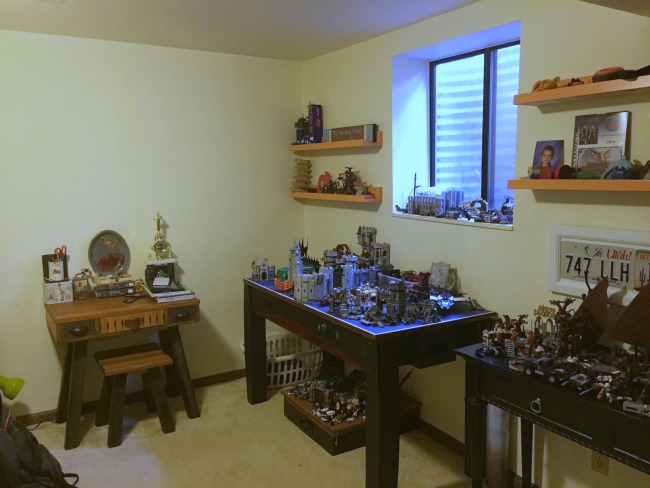
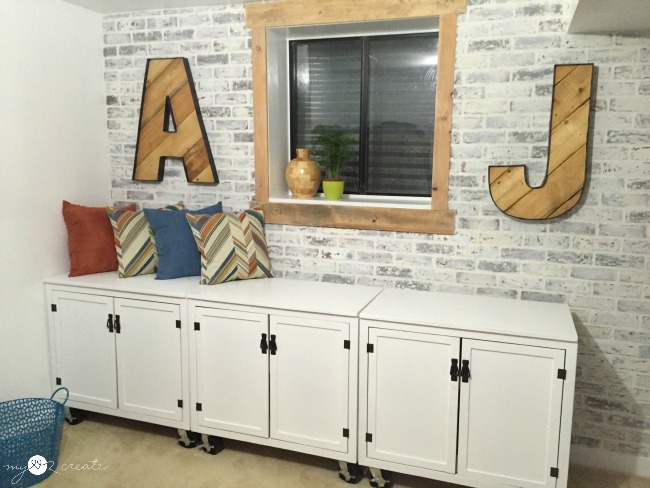
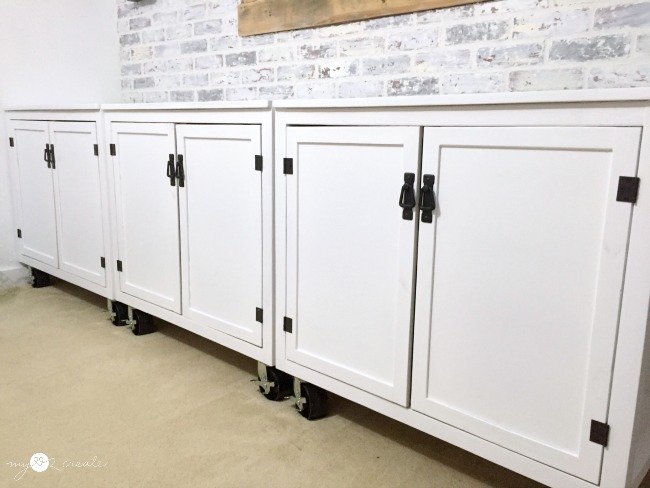
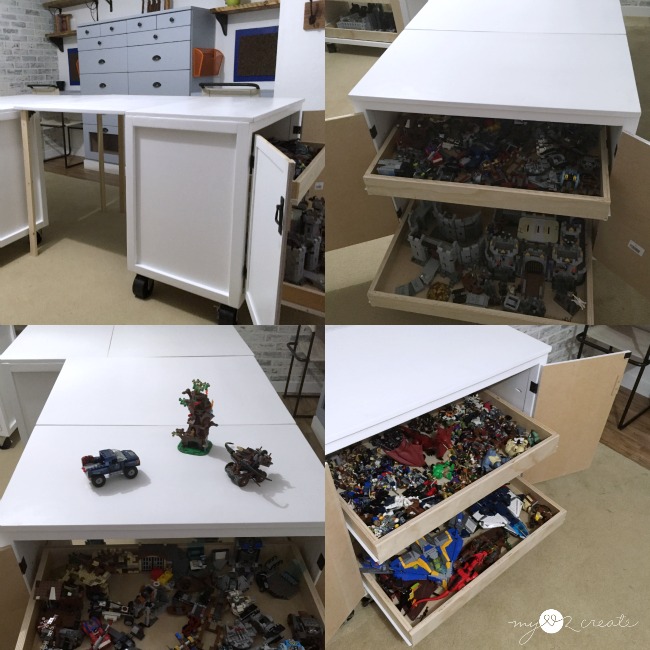
Speaking of lego sets, did you spy my solution to my boys lego problem? I call them lego tables, but they are actually cabinets with a fold up table on the back.
These bad boys took a lot of time and serious brain power and I still made some mistakes…but thankfully they turned out awesome in the end and my boys couldn’t be happier.
I will give more details when I write a post about these but here are a few shot of what they do. With tons of storage and lots of surface area (because of the fold up table tops) the lego game will seriously be epic folks. I can’t wait to show you photos of them playing it!
I threw together this funky side table for my oldest’s boys alarm clock, which he hasn’t set up because he was sleeping on the couch with it while I took these photos. My boys will finally get to sleep in their new room tonight. They are BEYOND excited! Apparently five weeks in the living room wasn’t fun?
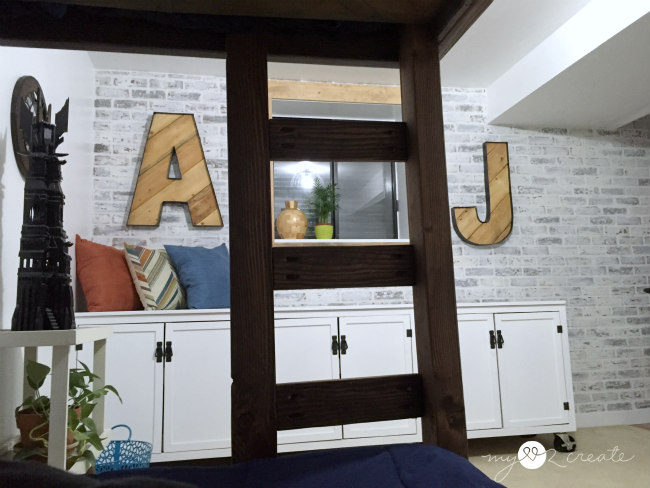
I layed on the bottom bunk to get this shot,
And this one, not a bad view!
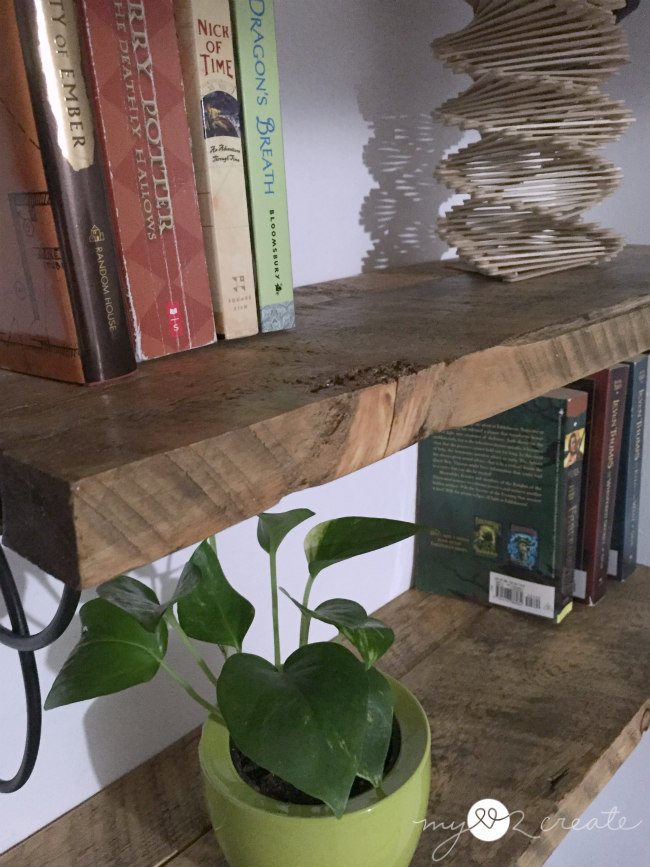
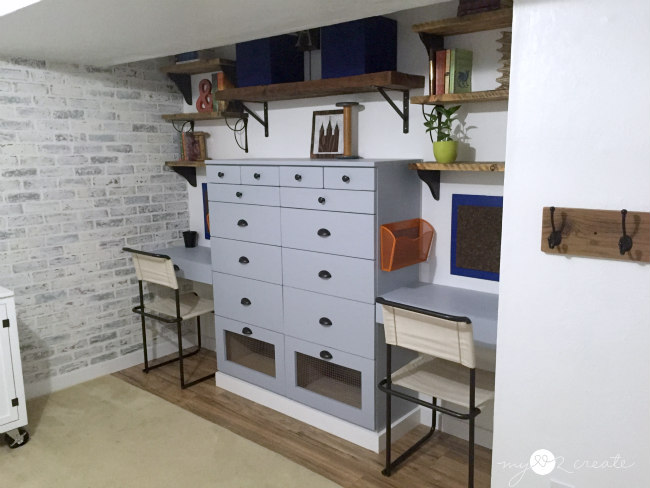
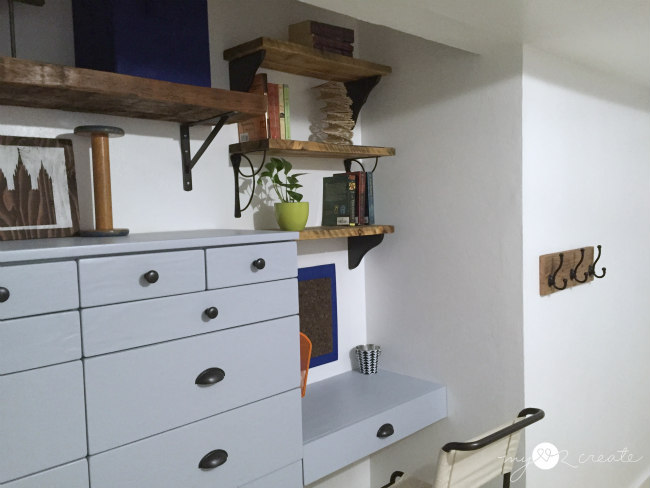
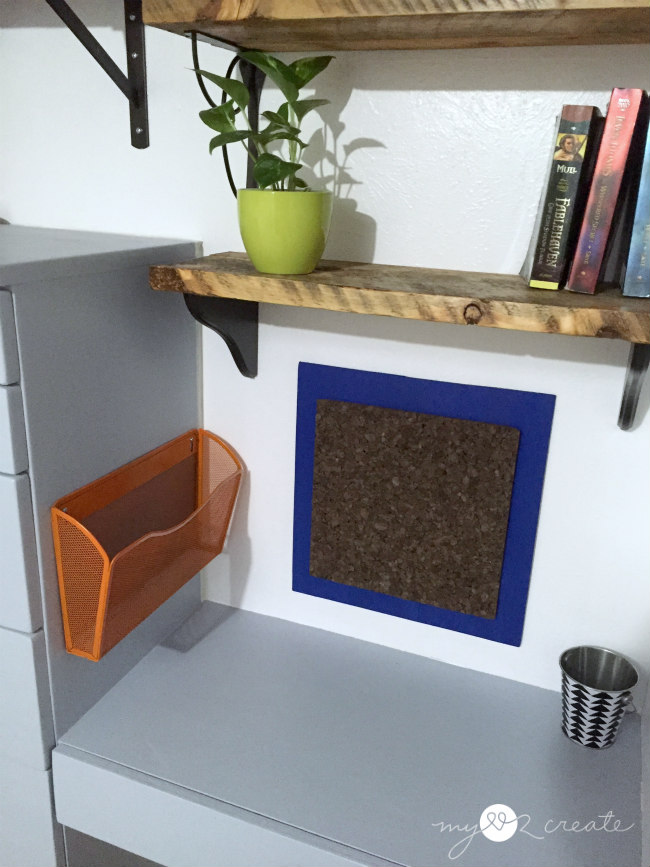
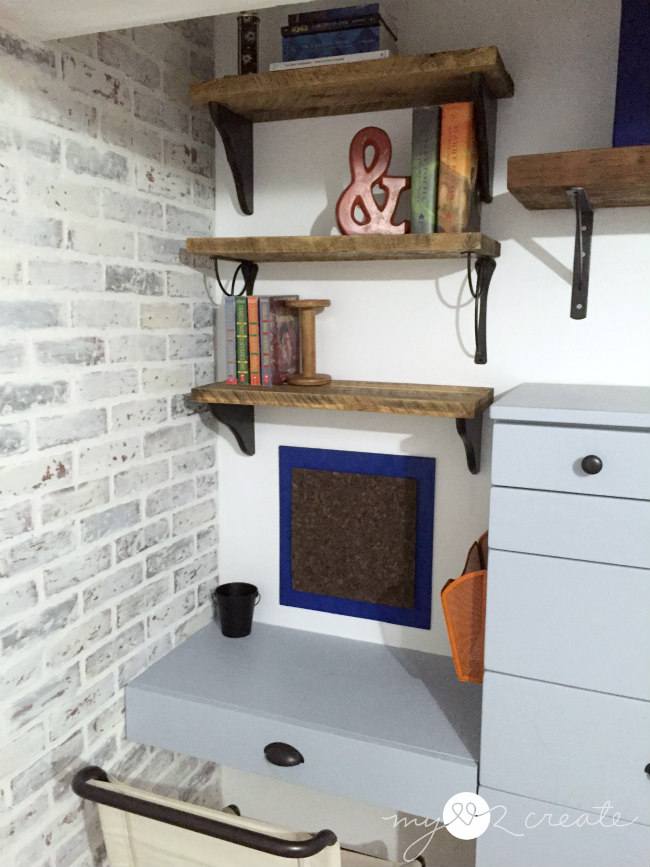
I did a lot of debating of how to do the shelves in the closet. I really wanted the industrial pipe look, but I was out of time and money. I ended up using random brackets that I had collected from thrift stores through the years, I spray painted them oil rubbed bronze to unify them.
The wood is all reclaimed wood that I had gotten for free, and let me tell you, these pictures DO NOT do it justice. Just sayin.
Each of my boys have their own desk area, complete with cork board, pencil cup, and paper holder.
We didn’t get to putting out the accessories…ran out of time!
They are so proud to have their own desk and chair (I scored both chairs for $5 at the restore yippee, they just needed a little spray paint)…it really is super cute to see them all giddy, but don’t tell them I said that…
Like I said photos just don’t capture this wood’s rich goodness, or maybe it is my phone camera…not sure which, ha ha. Someday I will get a real camera, and then maybe you will get some good inside shots from me! 🙂
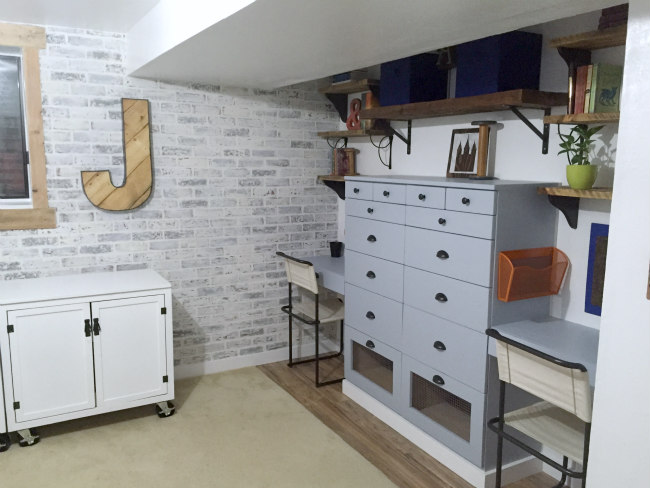
I love the open feel of the closet now. Oh, and I just want to mention those bottom drawers are hampers, which I explained in my
week 4 post, incase you were wondering why they are open with hardware cloth. And the dresser got a serious makeover, I show you all the details on how I did that in my
How to Extend a Dresser Post.
I also did some under the bed rolling drawers with some “old” drawers a friend had given me. I built it almost exactly like my
Under the bed Storage post.
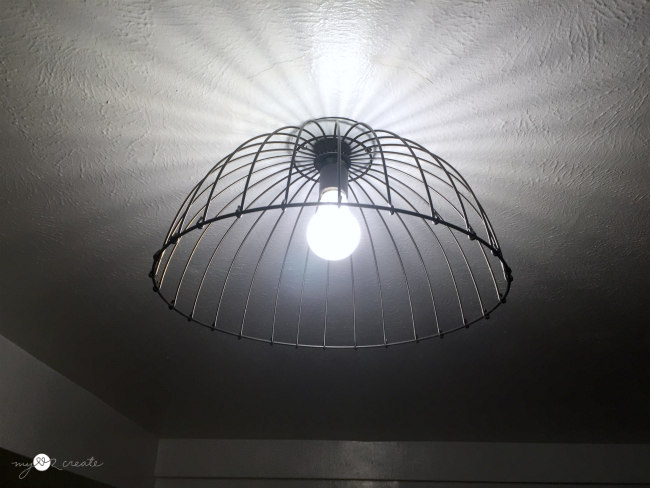
The boys have a new light fixture…holy guac that was a super fun day getting this baby working…NOT! It was a wire planter I got at the thrift store for a couple bucks.
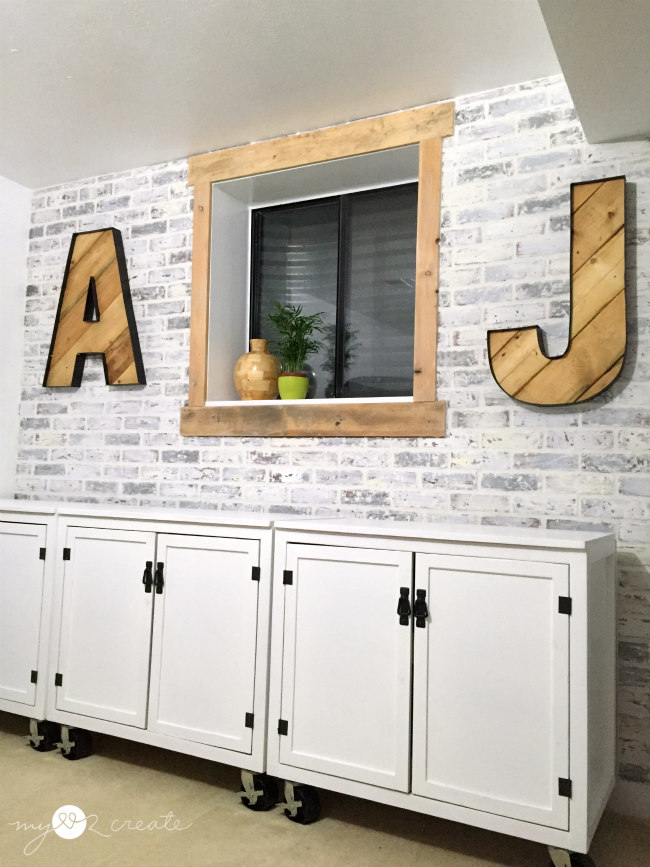
What about that faux brick wall? I think it really sets the tone for this room. It was so worth the effort!
I can’t forget to mention my
Rustic Industrial letters! I totally love them and yes I will share a tutorial! You won’t believe what I made the metal band out of…(you get a closer peek at them in my
week 5 post)
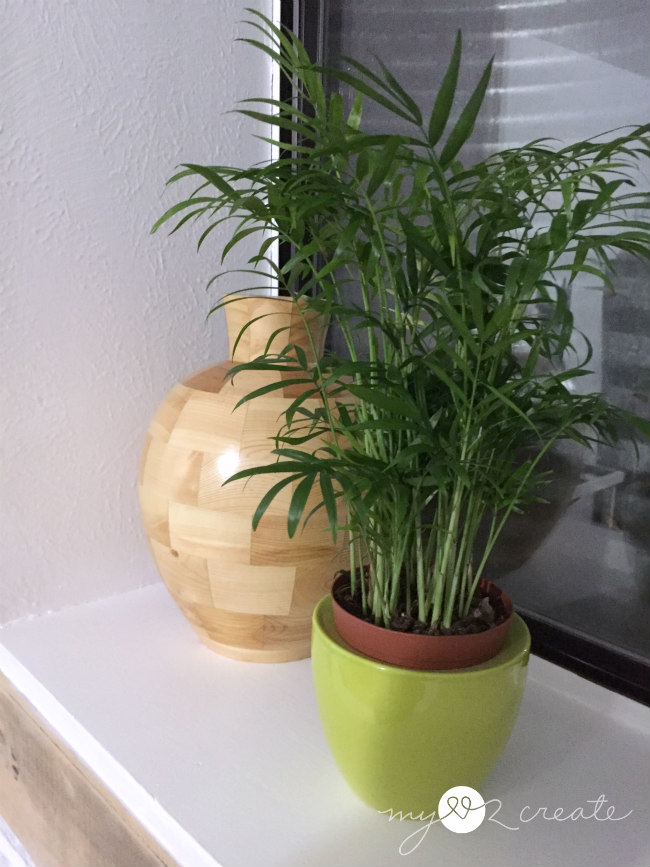
I decided that my boys needed some plants, and it for some reason this one just warms my heart, it is a happy plant. 🙂
That wraps us up! I hope you enjoyed following along! If you did please come back!
I really enjoyed this room makeover, and now I am going to enjoy being lazy for a few days. I am wiped out!
You can catch up on my previous posts below:
I hope you go and check out all the other participants in the one room challenge at
Calling it Home!
Hugs!
Mindi









Your space looks amazing!! Can you believe the challenge is done already?! We hit the finish line! I LOVE the side table you made, and the marvel sign. Can't wait for the tutorials!
Lindi @ Love Create Celebrate
MINDI…I love love love the room. Everything is awesome. Love the beds, lego tables, shelves, art, desk/drawers…everything. You are wonder-woman! So much work, but so worth it.
SUCH a cool space!!! That wall is absolutely amazing and I love the window trim and cabinetry on it! It's all absolutely perfect!!!
THERE AREN'T EVEN WORDS FOR THIS AMAZING TRANSFORMATION!!!! Mindi, you are the best there is.
Wow. Just WOW! Seriously, what you did in 5 short weeks amazes me! It's so fun to see your talent and creativity. You're a decorating, DIYing genius!!!
Wow. You have accomplished so much and this room looks so incredible!! I love the bunk beds, and the removal of the closet doors was genius. It looks so huge now and there is so much space for everything. I love the reclaimed wood shelves and all of the cabinets. Congrats! This is an awesome room!!!
Mindi Mindi Mindi!!!! A+. Who needs unused closet rods taking up space anyway? I wish I would of got rid of mine, because like you said, the boys never used them anyway.
Love that brick wall. And the whole rooom has been built around that color scheme. It looks great. I'm sure the boys must be thrilled to have somewhere to house thier legos.
I love all the storage spaces that you created for the boys. The room looks beautiful and also feels so much more functional than before. Congrats on a job well done!
Mindi, that is all SO MUCH work! I'm tired just looking at it all. You should feel very proud, it's amazing!!!
Those letters are amazing! I am excited for your tutorial!
Oh my goodness, I LOVE it all! So many things, awesome job!
I wish we could've seen their reactions. What an awesome room! And how scary to have loose studs!!??!! Great fix for that, btw.
Those lego tables are EPIC. Truly CANNOT wait to read more about those!
Was the "metal" part from the letters vinyl blinds? I saved the "slats" (what are those CALLED?!) from a set of mine that fell apart and used it to frame out some signs, so if I'm WAY off, that's just why I thought that 😉
You rocked this! I love those letters, the amazing table, the desk area and the accent wall. Amazing job.
Phenomenal job! I especially LOVE the under bed drawer for the shoes! Great use of drawer boxes! 🙂
You did such a great job in here. I love the Lego storage. Sorry the floating bed idea didn't work as planned, but, yes, I'd agree that safety is much more important than floating beds, and you did a great job with the bunk beds. Enjoy your weekend!
What a great space! Love the edgy industrial look and all the organization. And it's light and airy and still masculine. Great job.
Mindi!! It is incredible! I think my favourite thing is how you integrated so much fabulous storage. I am finding that our boys' shared room definitely needs some more practical storage solutions – thanks for all the inspiration! Awesome transformation:)
Wowwwww. It's amazing! Love the brick. And those cabinets. Such an awesome space.
Hi Mindi! Congrats on doing such an amazing job on your teen boys' bedroom makeover! I love all the fun details in this room and it's so awesome that there's so much storage in this space!
Hi Mindi! Congrats on doing such an amazing job on your teen boys' bedroom makeover! I love all the fun details in this room and it's so awesome that there's so much storage in this space!
Wow, you have some lucky boys! Their room looks absolutely amazing. I love how you ripped out walls in the closet to give them something they will actually use. You can worry about resale later, if ever needed! Super scary to hear about the studs, too. You did a great job improvising! I have plans to build a hanging loft bed in a couple of month – I hope my studs are okay, but I'm glad to know there is always a backup plan. Beautiful job!
This is so amazing! Everytime I pick a favorite thing in this space another photo pops up that I love even more! Removing the closet and what you did with that wall was genius! Great Job! and thanks so much for sharing with us at The Creative Circle Link Party!
Wow Mindi! I knew you could do t, but Wow! What an incredible transformation! Beautiful, creative, and functional! What more can they ask for? Awesome! Thank you for sharing. Tali
The room looks great! Thanks for sharing at the #HomeMattersParty!
Spectacular finish. Exciting to look at and on an almost non-existent budget. You are a cheerleader for families everywhere. Your hard work and inspiration awe me. Take a well deserved nap and start dreaming up your next project. We can't wait. Kudos to you Mindi.
La Verne@hopeandsalvage
What an awesome room for two boys. I am working on my teen boys room for Christmas and I got some real inspiration from you. Thanks for sharing.
Mindi,
You are the coolest mom in the world! I love everything about the new room, but my favorite is the letters… no wait-the lego cabinets- or is it the former closet area with the cool reclaimed wood. I love it all!!!!
I know it was a lot of work, but I have to say you knocked this one out of the park.
gail
Wow Mindi, you really outdid yourself with this room. I love it! The faux brick wall is amazing and I love what you have done instead of a closet. Thanks for sharing with SYC. I will be featuring you this week.
hugs,
Jann
You did a fabulous job!! It's so hard to come up with a nice, functional, and fun room for boys. I really love all of the little details. AND I will definitely be on the lookout for your lego storage tutorial. I have been scouring the internet for a good solution to deal with my son's lego habit!!
Mindi, I don't know where to begin. I truly LOVE everything! But, I think what I like most is the fact that you did redid this room with a limited budget. THAT speaks volumes to me. Not only is this room crazy amazing, you showed everyone your resourcefulness, woodworking skills, and what can be done on a tight budget. This room does not scream limited budget to me. Hello, Lego storage, bunk beds, and dresser! And, that brick wall – I love it!
Wait…you know what else I enjoyed about this makeover? The fact that you got your boys involved with the process. Not only are they learning valuable skills, but they are making life time memories with their mom and her amazing building skills. Thank you for getting your boys involved and letting them have a say about their room decor. Go mom!
You have truly inspired me. Don't be surprised if I email you asking for advice on making or tweaking furniture. 😀
Oh, and my little guy has discovered Legos this year and has joined the Lego ranks. lol Yep, looking forward to that Lego tutorial. 🙂
*hugs*
WOW…so much work! Congrats on putting together a great space for your boys! I can't imagine how thrilled they are with their new room now!!
You did such a fabulous job! And what a lot of work. You should be proud of yourself. I'm sure your boys are proud of you too.
I am in love with all the creative lego storage. Well done. You thought of every possible way to have something organized.
Wow what a truly incredible space.
Wow what a truly incredible space.